a great introduction to knitting that doesn’t involve any needles!

I’ve got an exciting tutorial for you all today! I am going to walk you through the steps of hand knitting. This is a great beginner project that helps to develop a deeper understanding of how knitted and crocheted garments work. It is important to note that this technique is not the same as traditional knitting. There are absolutely no needles or hooks involved with this technique, so it’s a great way to work with what you have…on hand!
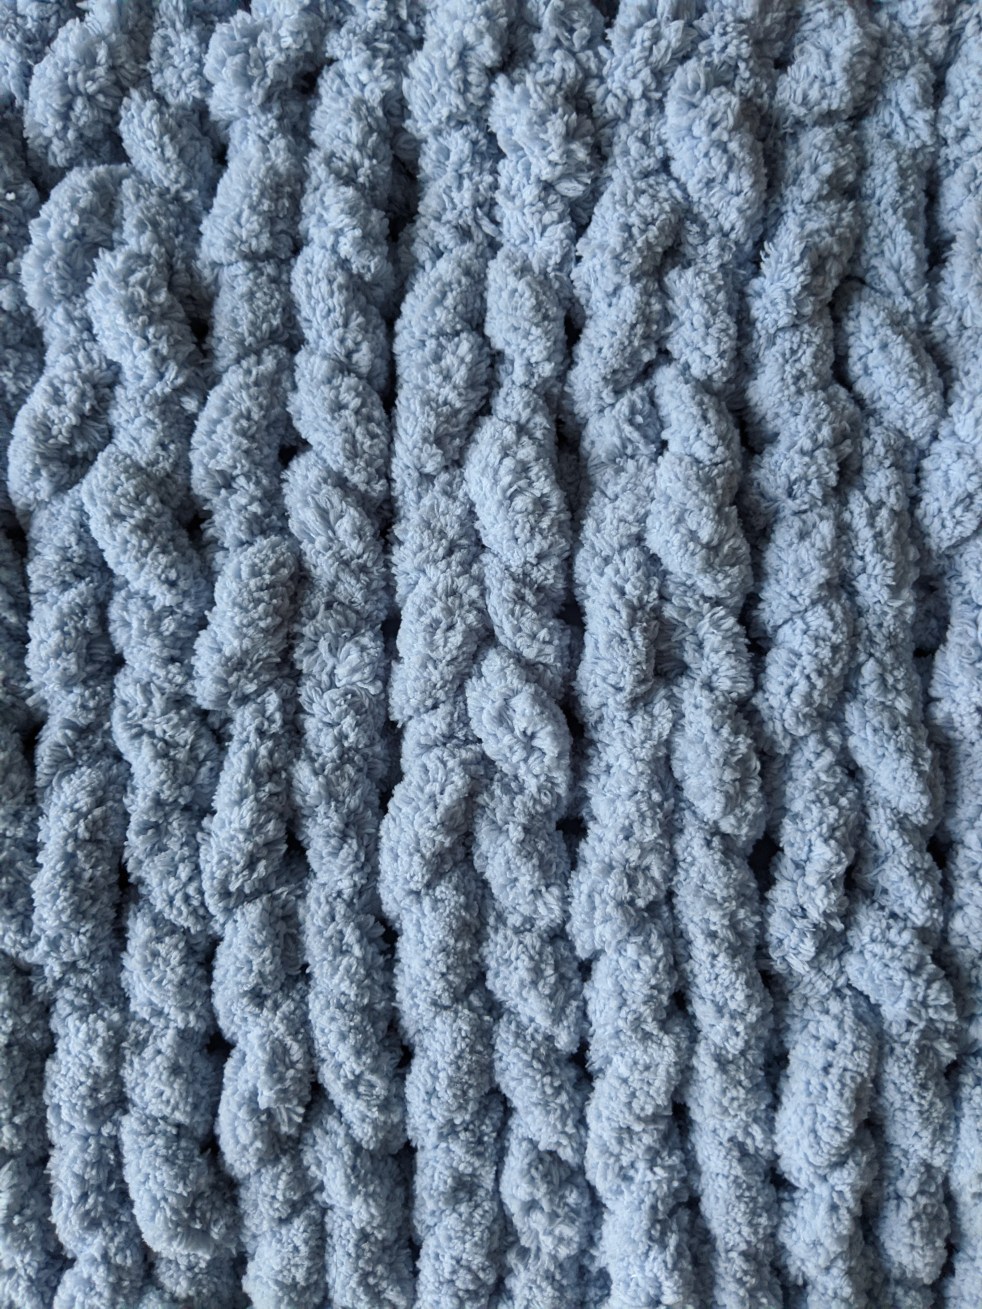
For me, hand knitting was a great lesson in regulating stitch size and made me grateful for my needles that regulate my stitches so evenly. As you work on your hand knitting project, take time to double check that your stitches are even in size.
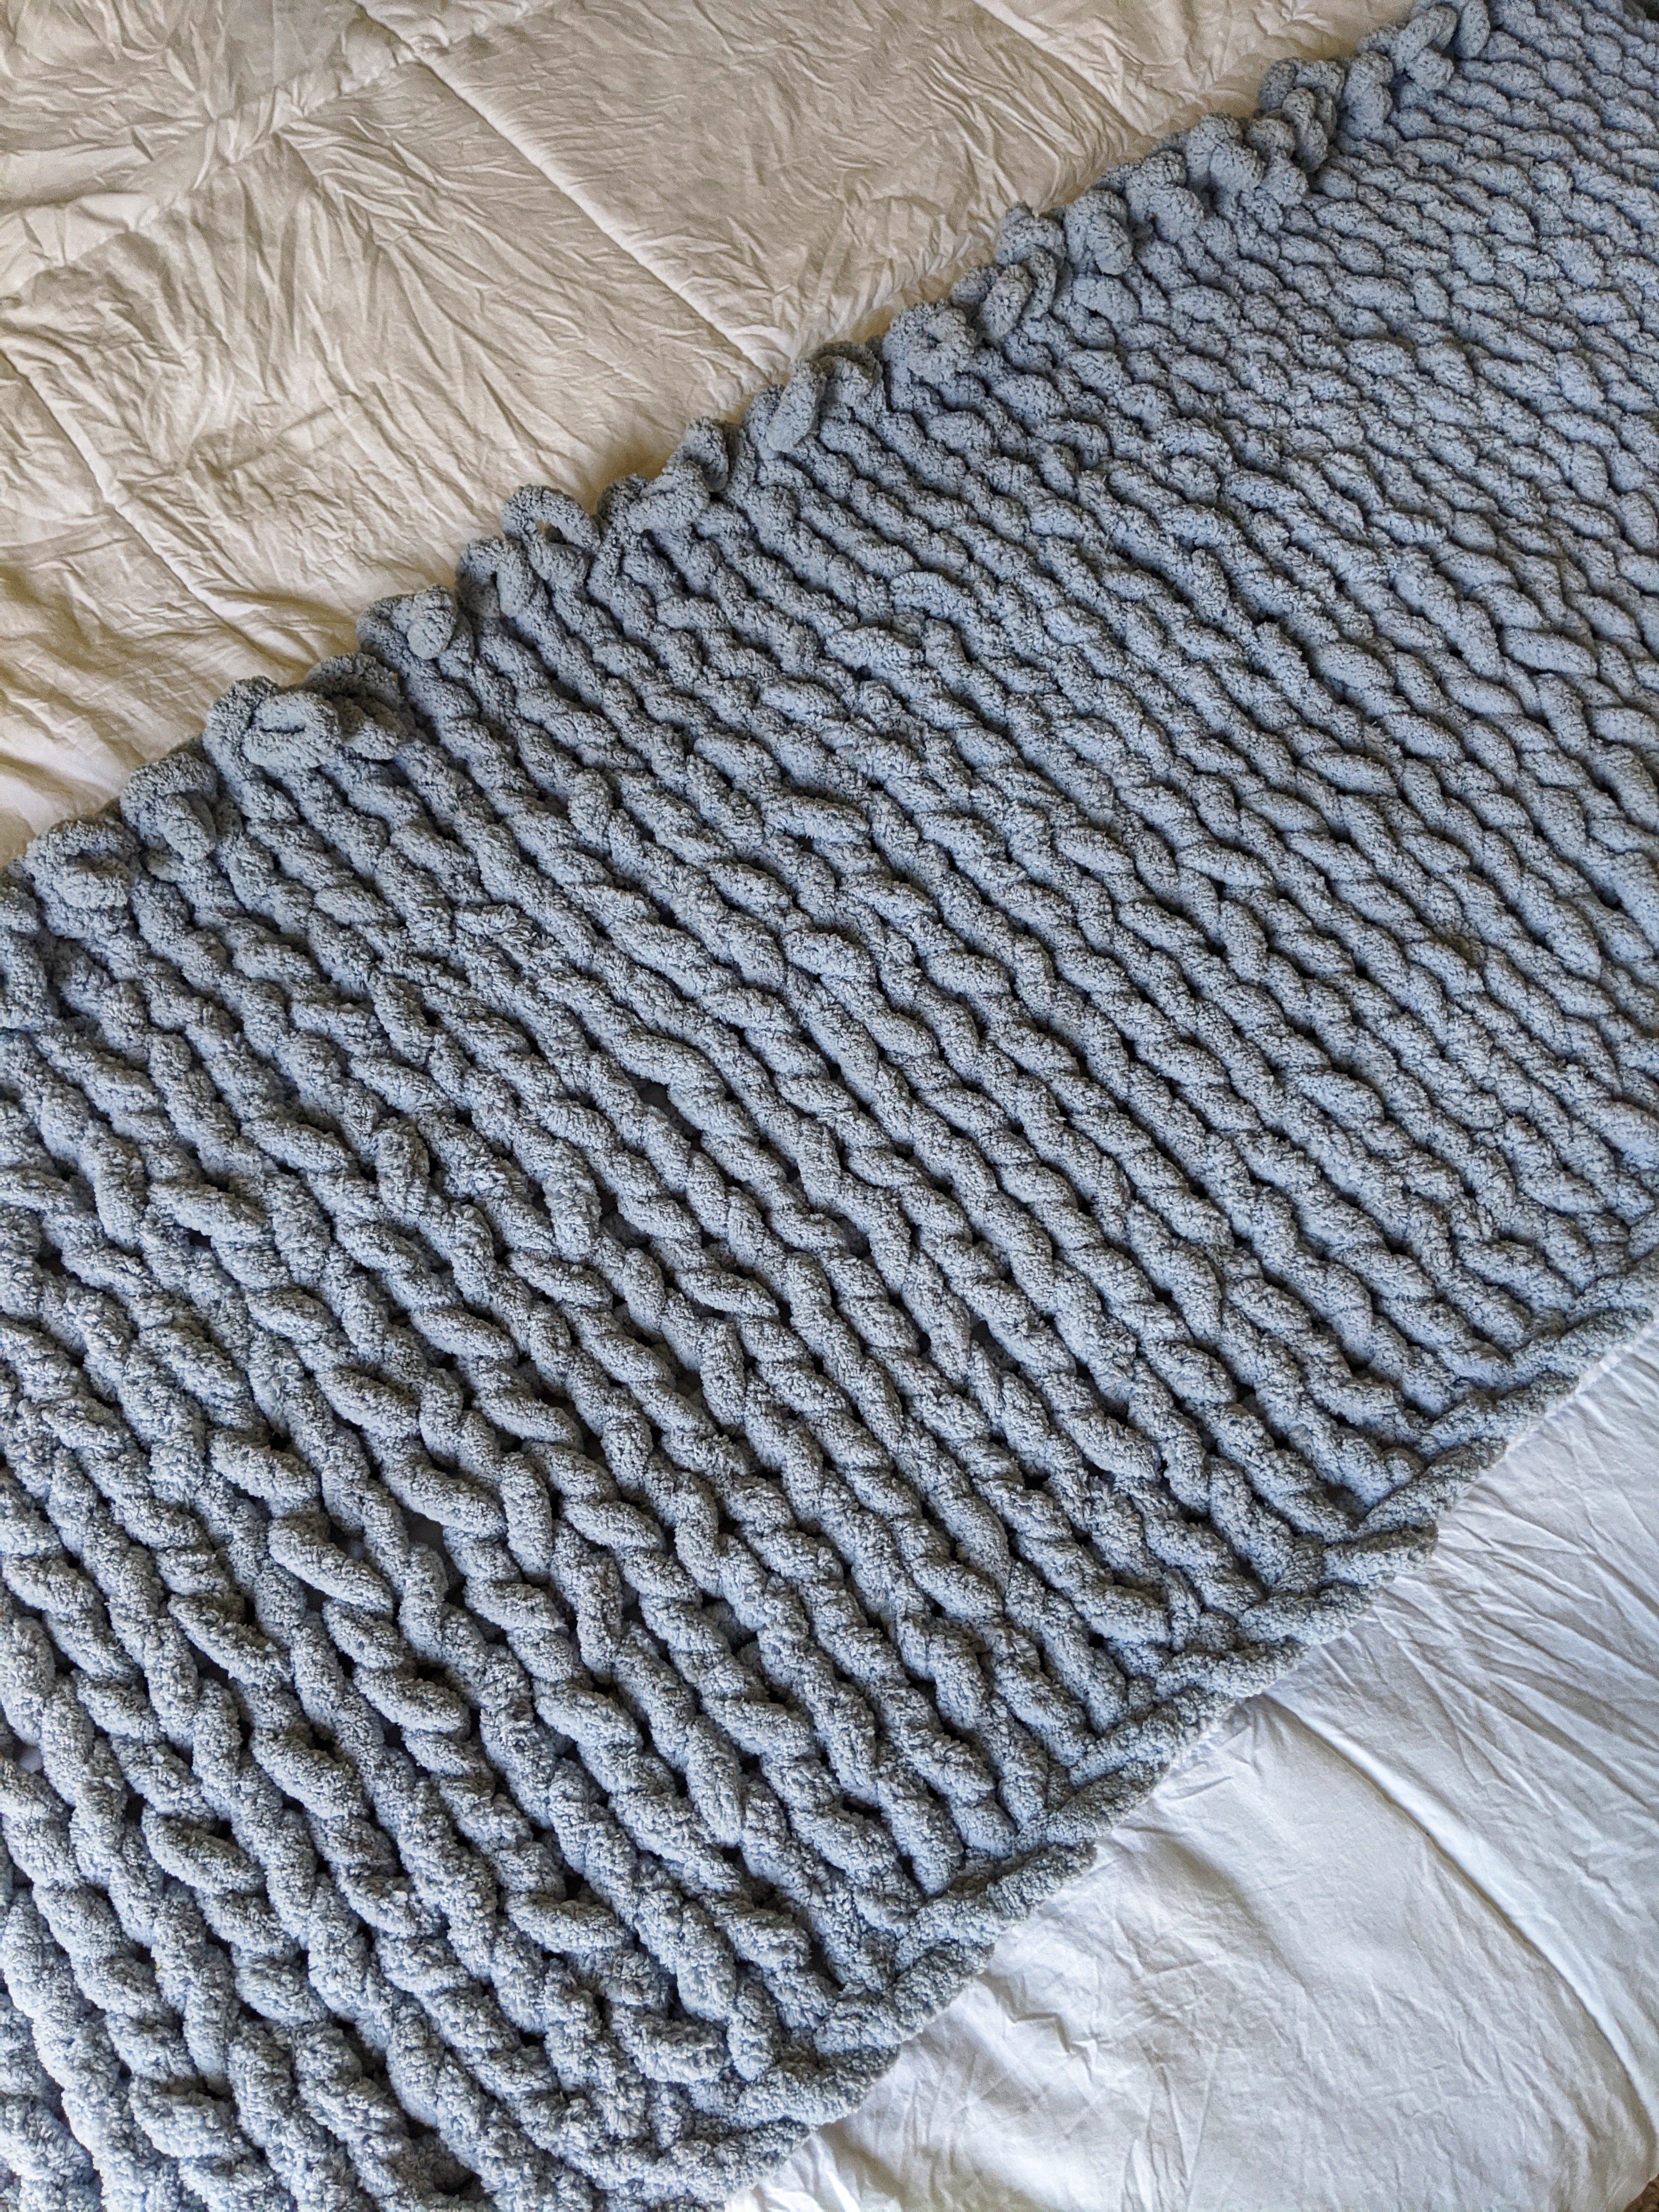
This technique is incredibly useful for making super soft projects super quickly. You could make pillows, poofs, rugs, and blankets with hand knitting. I chose to make a blanket for a friend who will use it to decorate their nursery for their new baby!
For demonstration purposes, I will use a mixture of photos and videos from both the blanket project and a smaller swatch. I will also use the verb, “knit,” to refer to working each stitch (pulling a new loop through an existing loop).
In these photos, I am using Bernat’s Blanket Big yarn. This jumbo yarn is 100% polyester and machine washable and dryable. Each ball is 32 yards. If you are interested in using needles or a crochet hook with this yarn, the recommended size is 25 mm/US 50 knitting needles and 25 mm/US 50/U crochet hook.
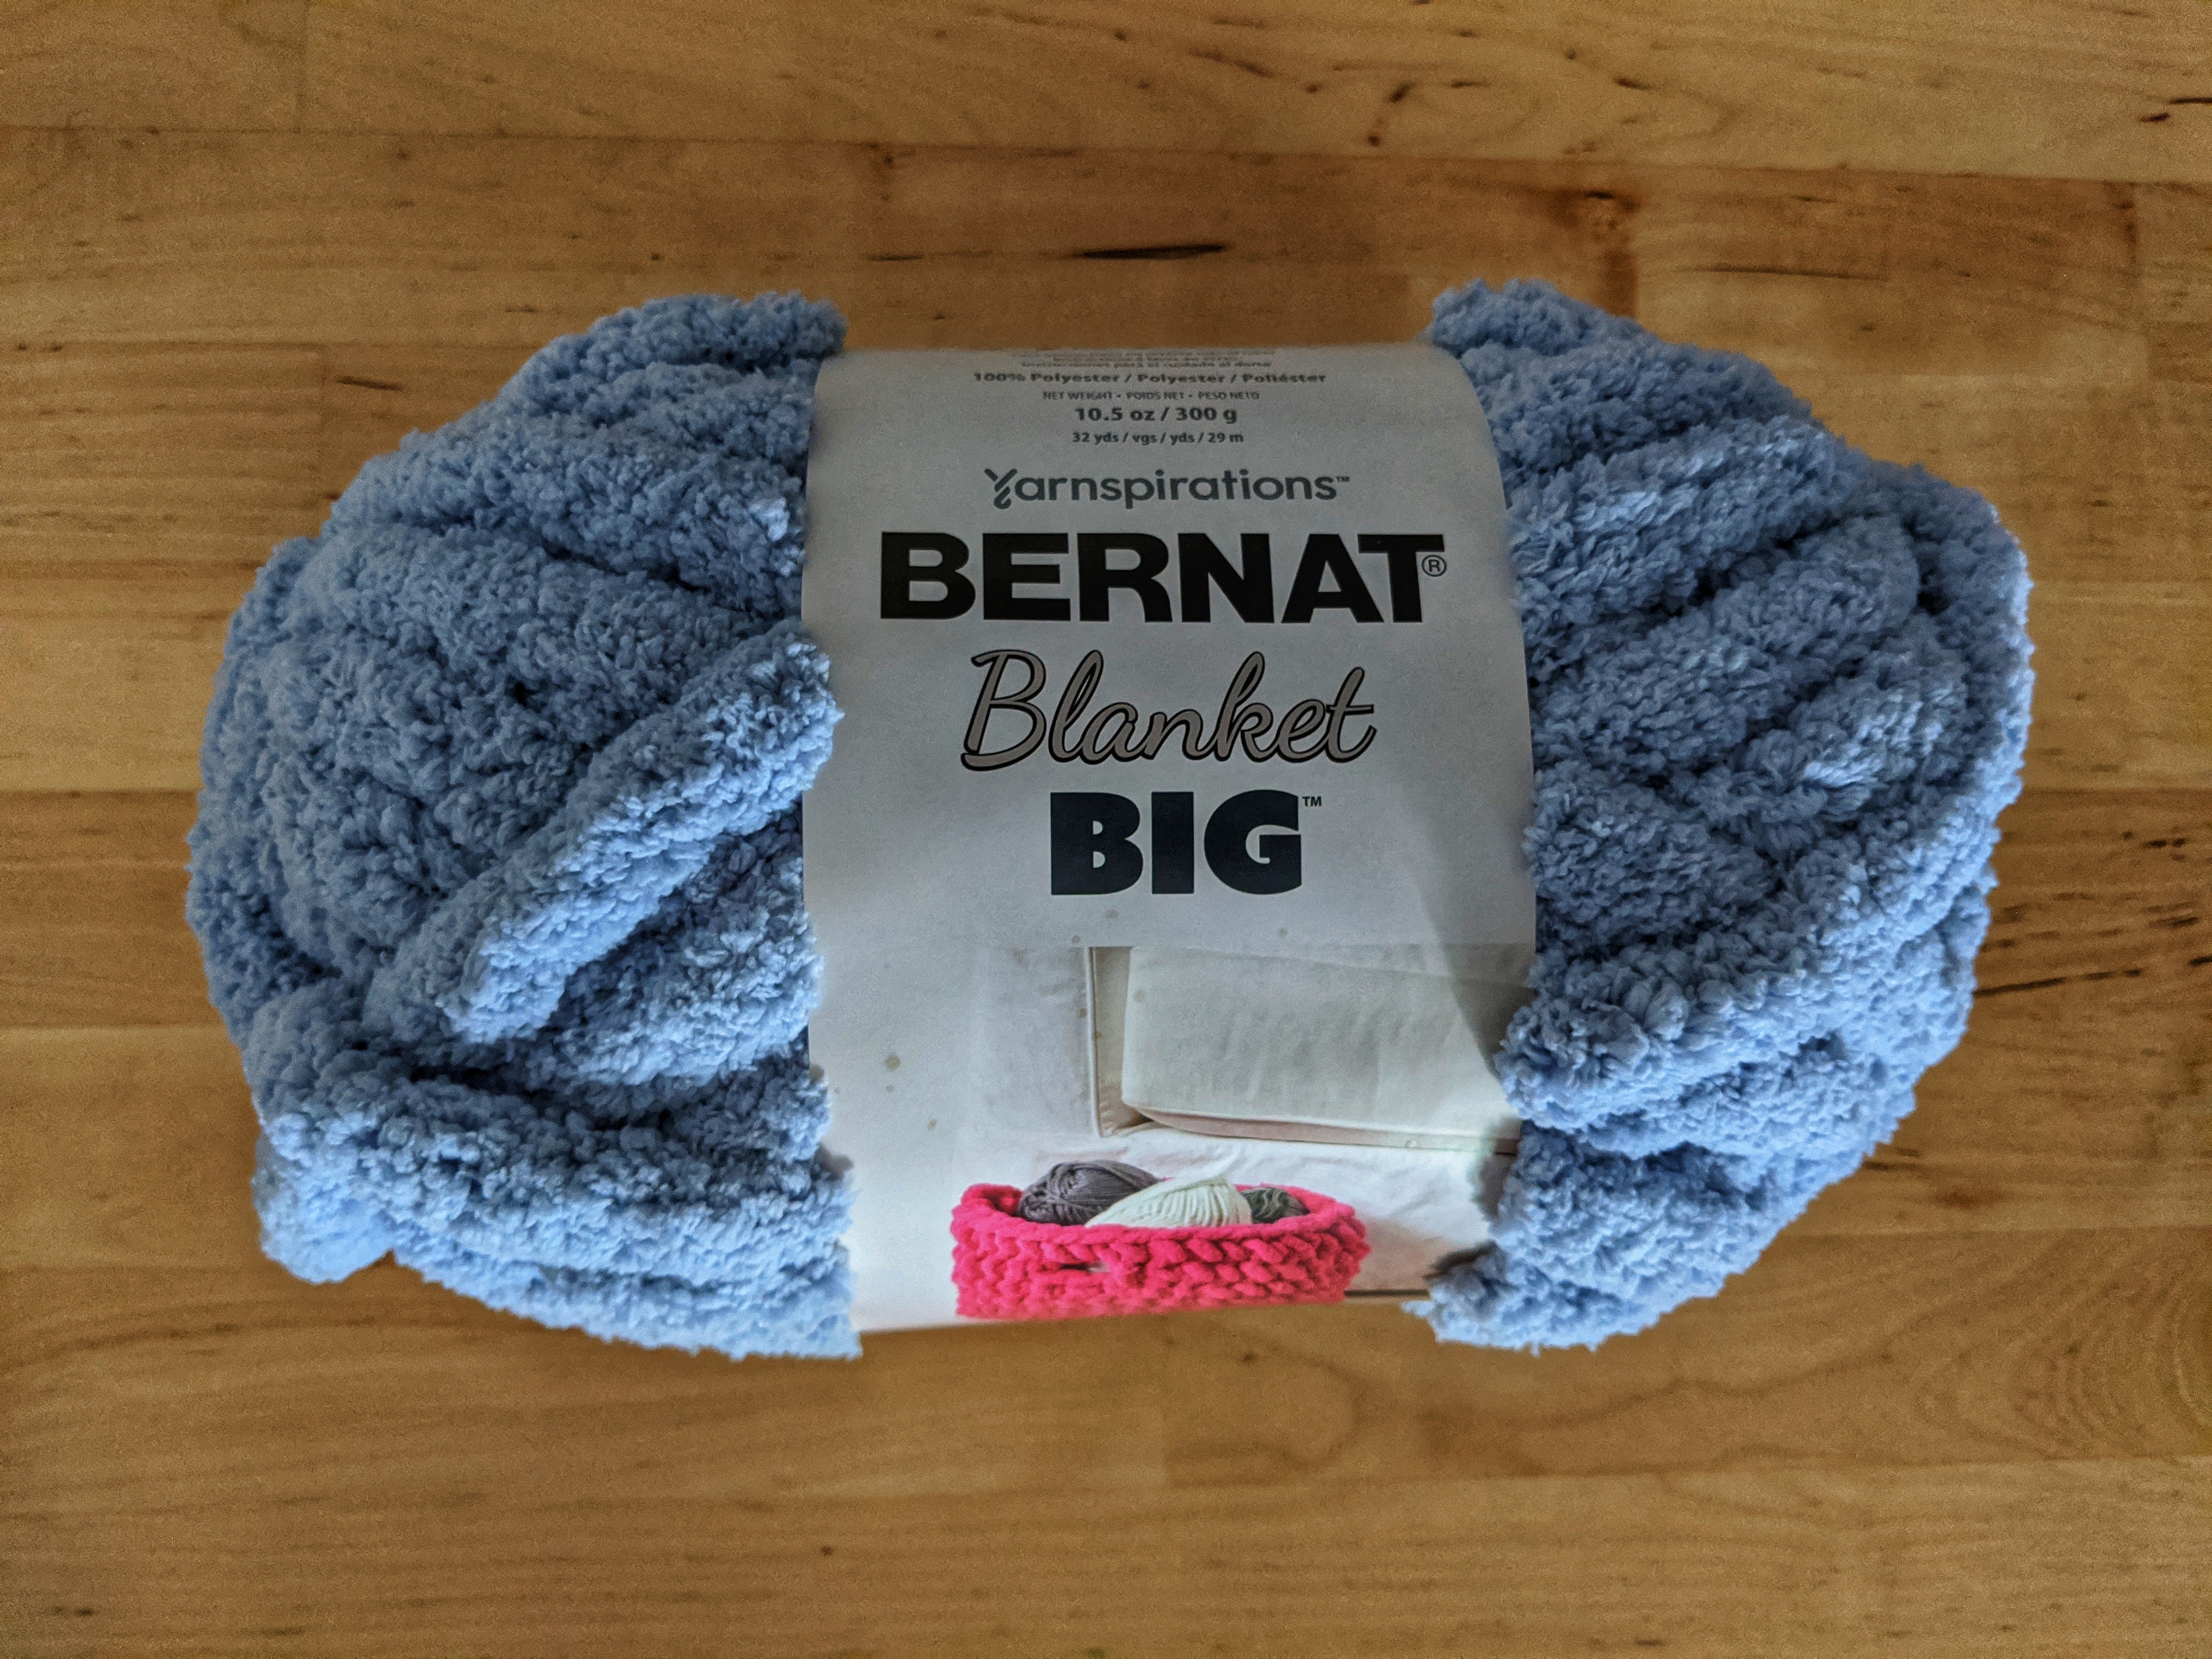
For a blanket, I used 8 balls of yarn. Because of the size of this yarn, it took me only four hours to make a whole blanket, and I completed this in one sitting. If you plan to make a blanket with this technique, I would highly recommend completing this in one sitting, as it is very easy to drop stitches when moving this blanket mid-way through knitting.
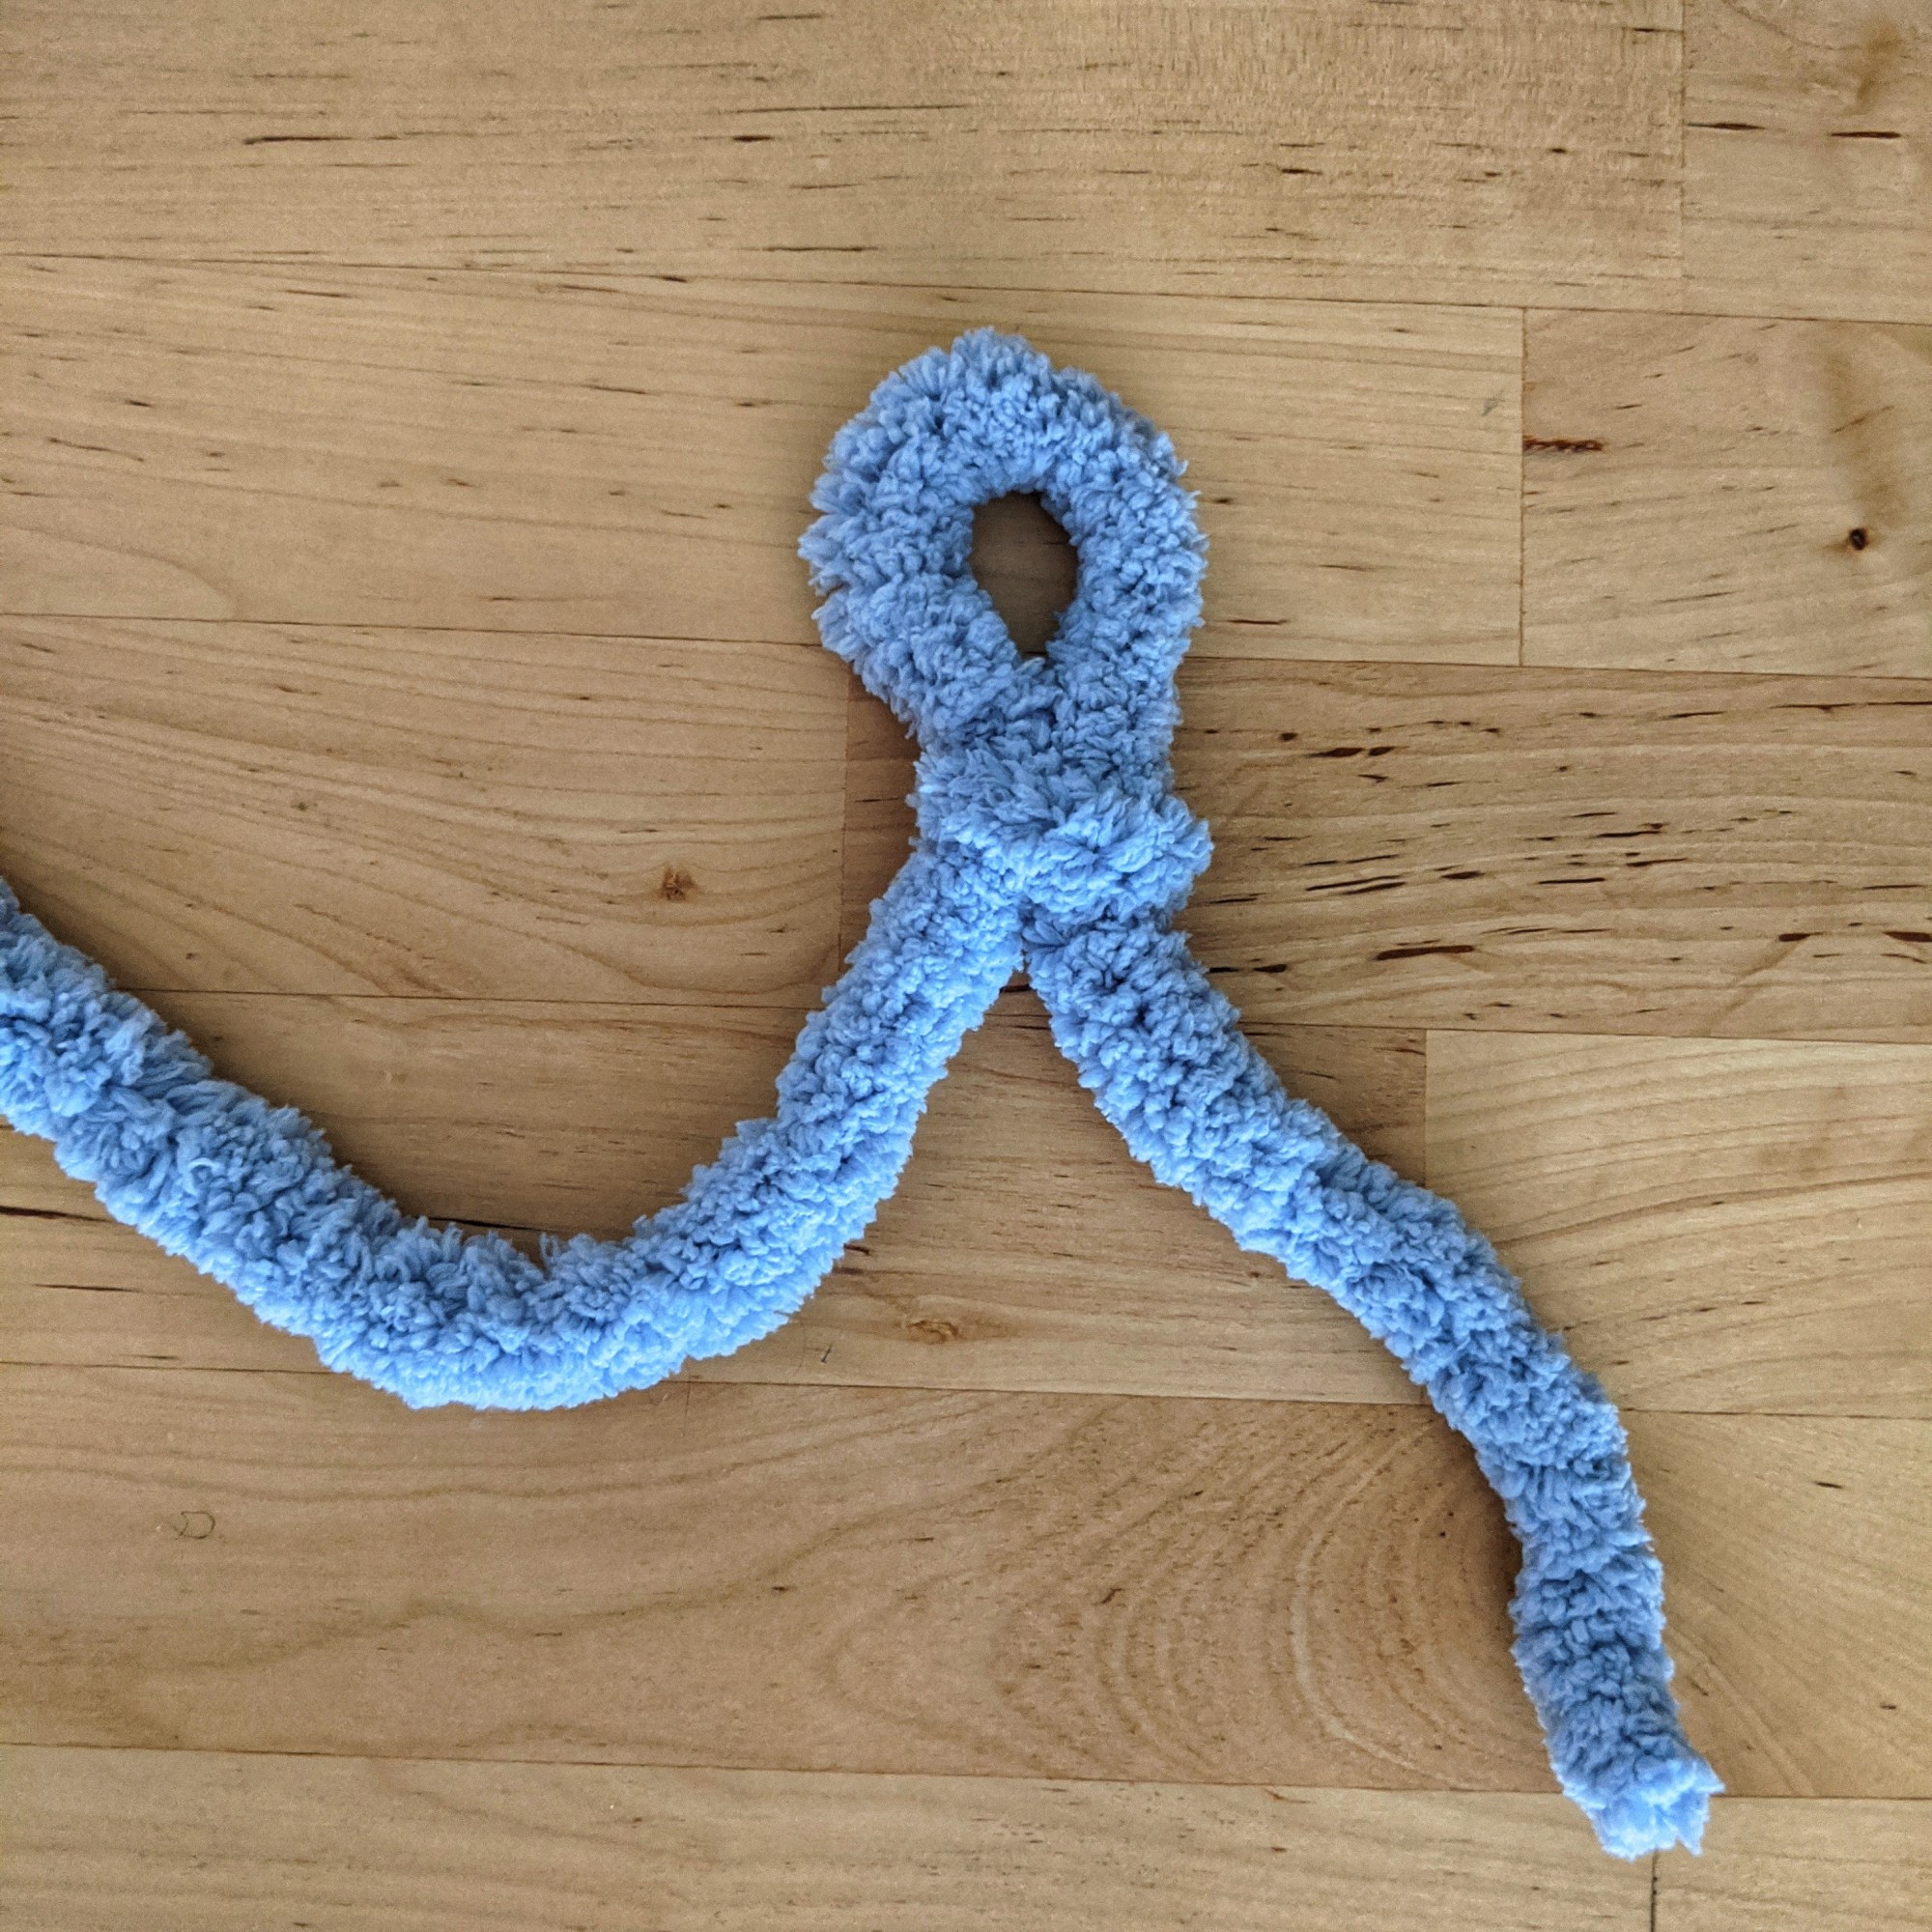
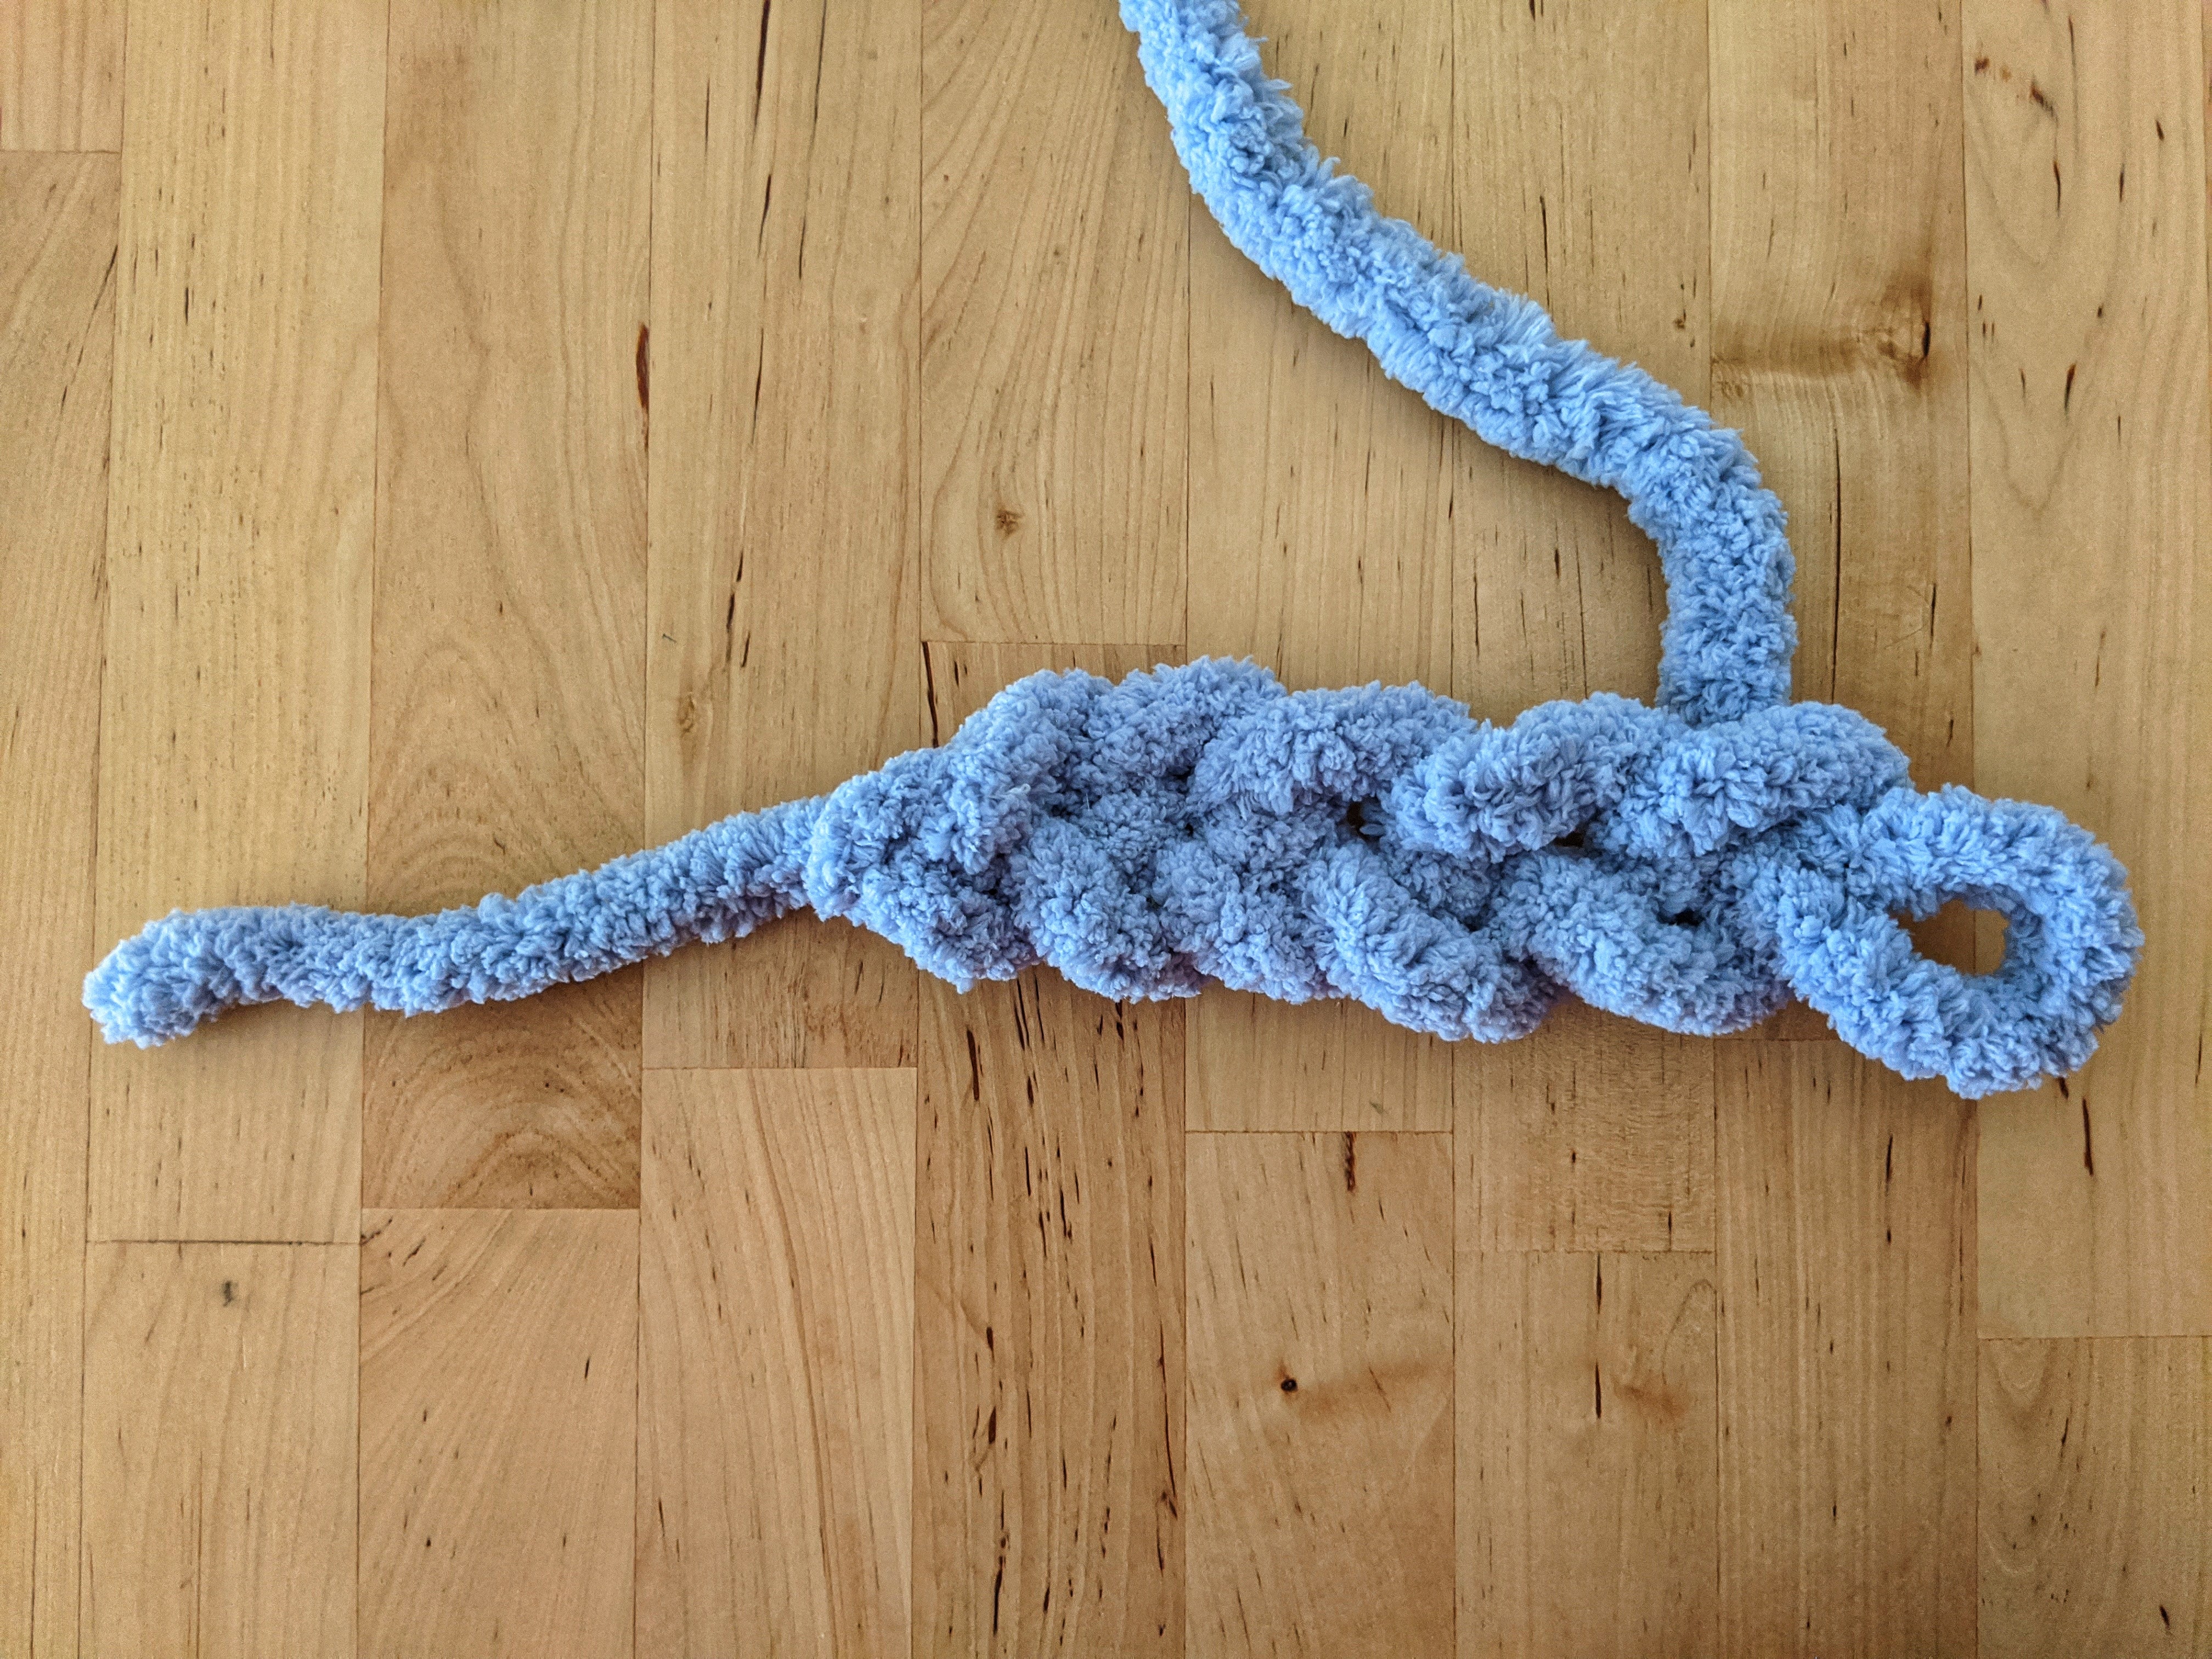
To begin, make a slip knot. (If you’re in need of a tutorial, please check out the first few steps of my How To Crochet post.)
Then, to create the foundation row, “chain” as you would when starting a crochet project by pulling a new loop through the existing loop.


These three photos show the process of making one stitch.
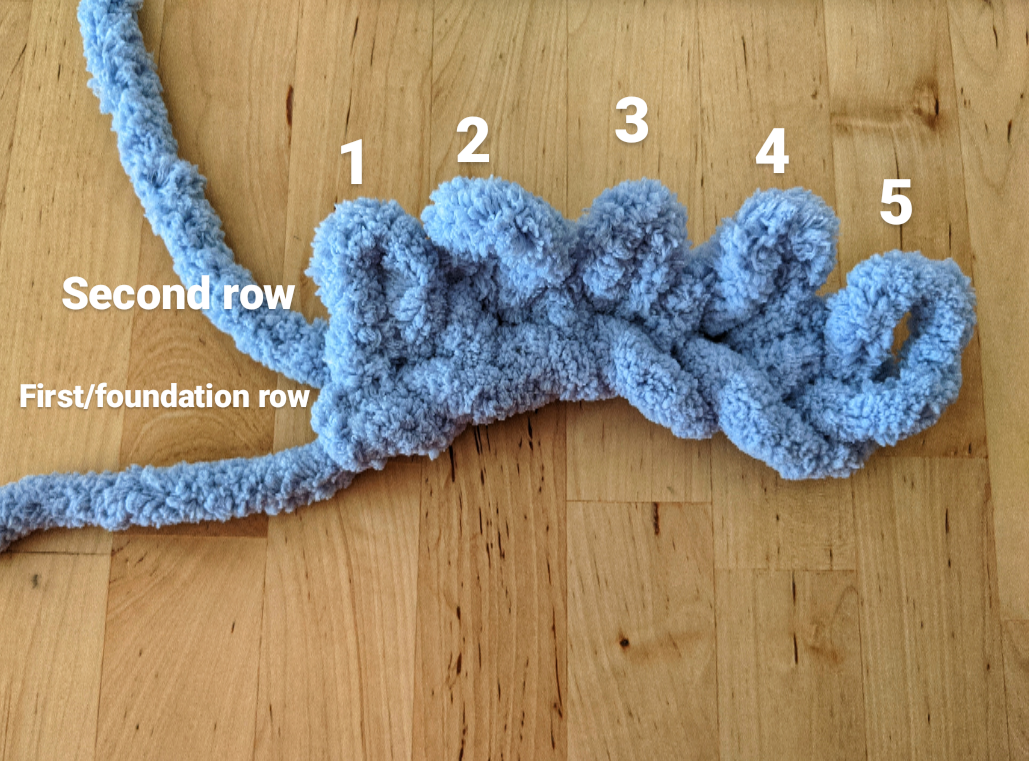
Once you have made your desired number of stitches, its time to turn and begin the second row. For reference, the blanket I made was about 38 stitches wide. If I were to make a blanket again, I would cut that number down to about 30.
The second row is unique because it is transitioning the chained foundation stitches into knit stitches for the rest of the project. In the video below, I made sure to point out the stitch in which to knit your first loop of the row.
Loop 5 in the photo below, which is also the last loop of the initial chain row, counts as the first stitch in the second row.

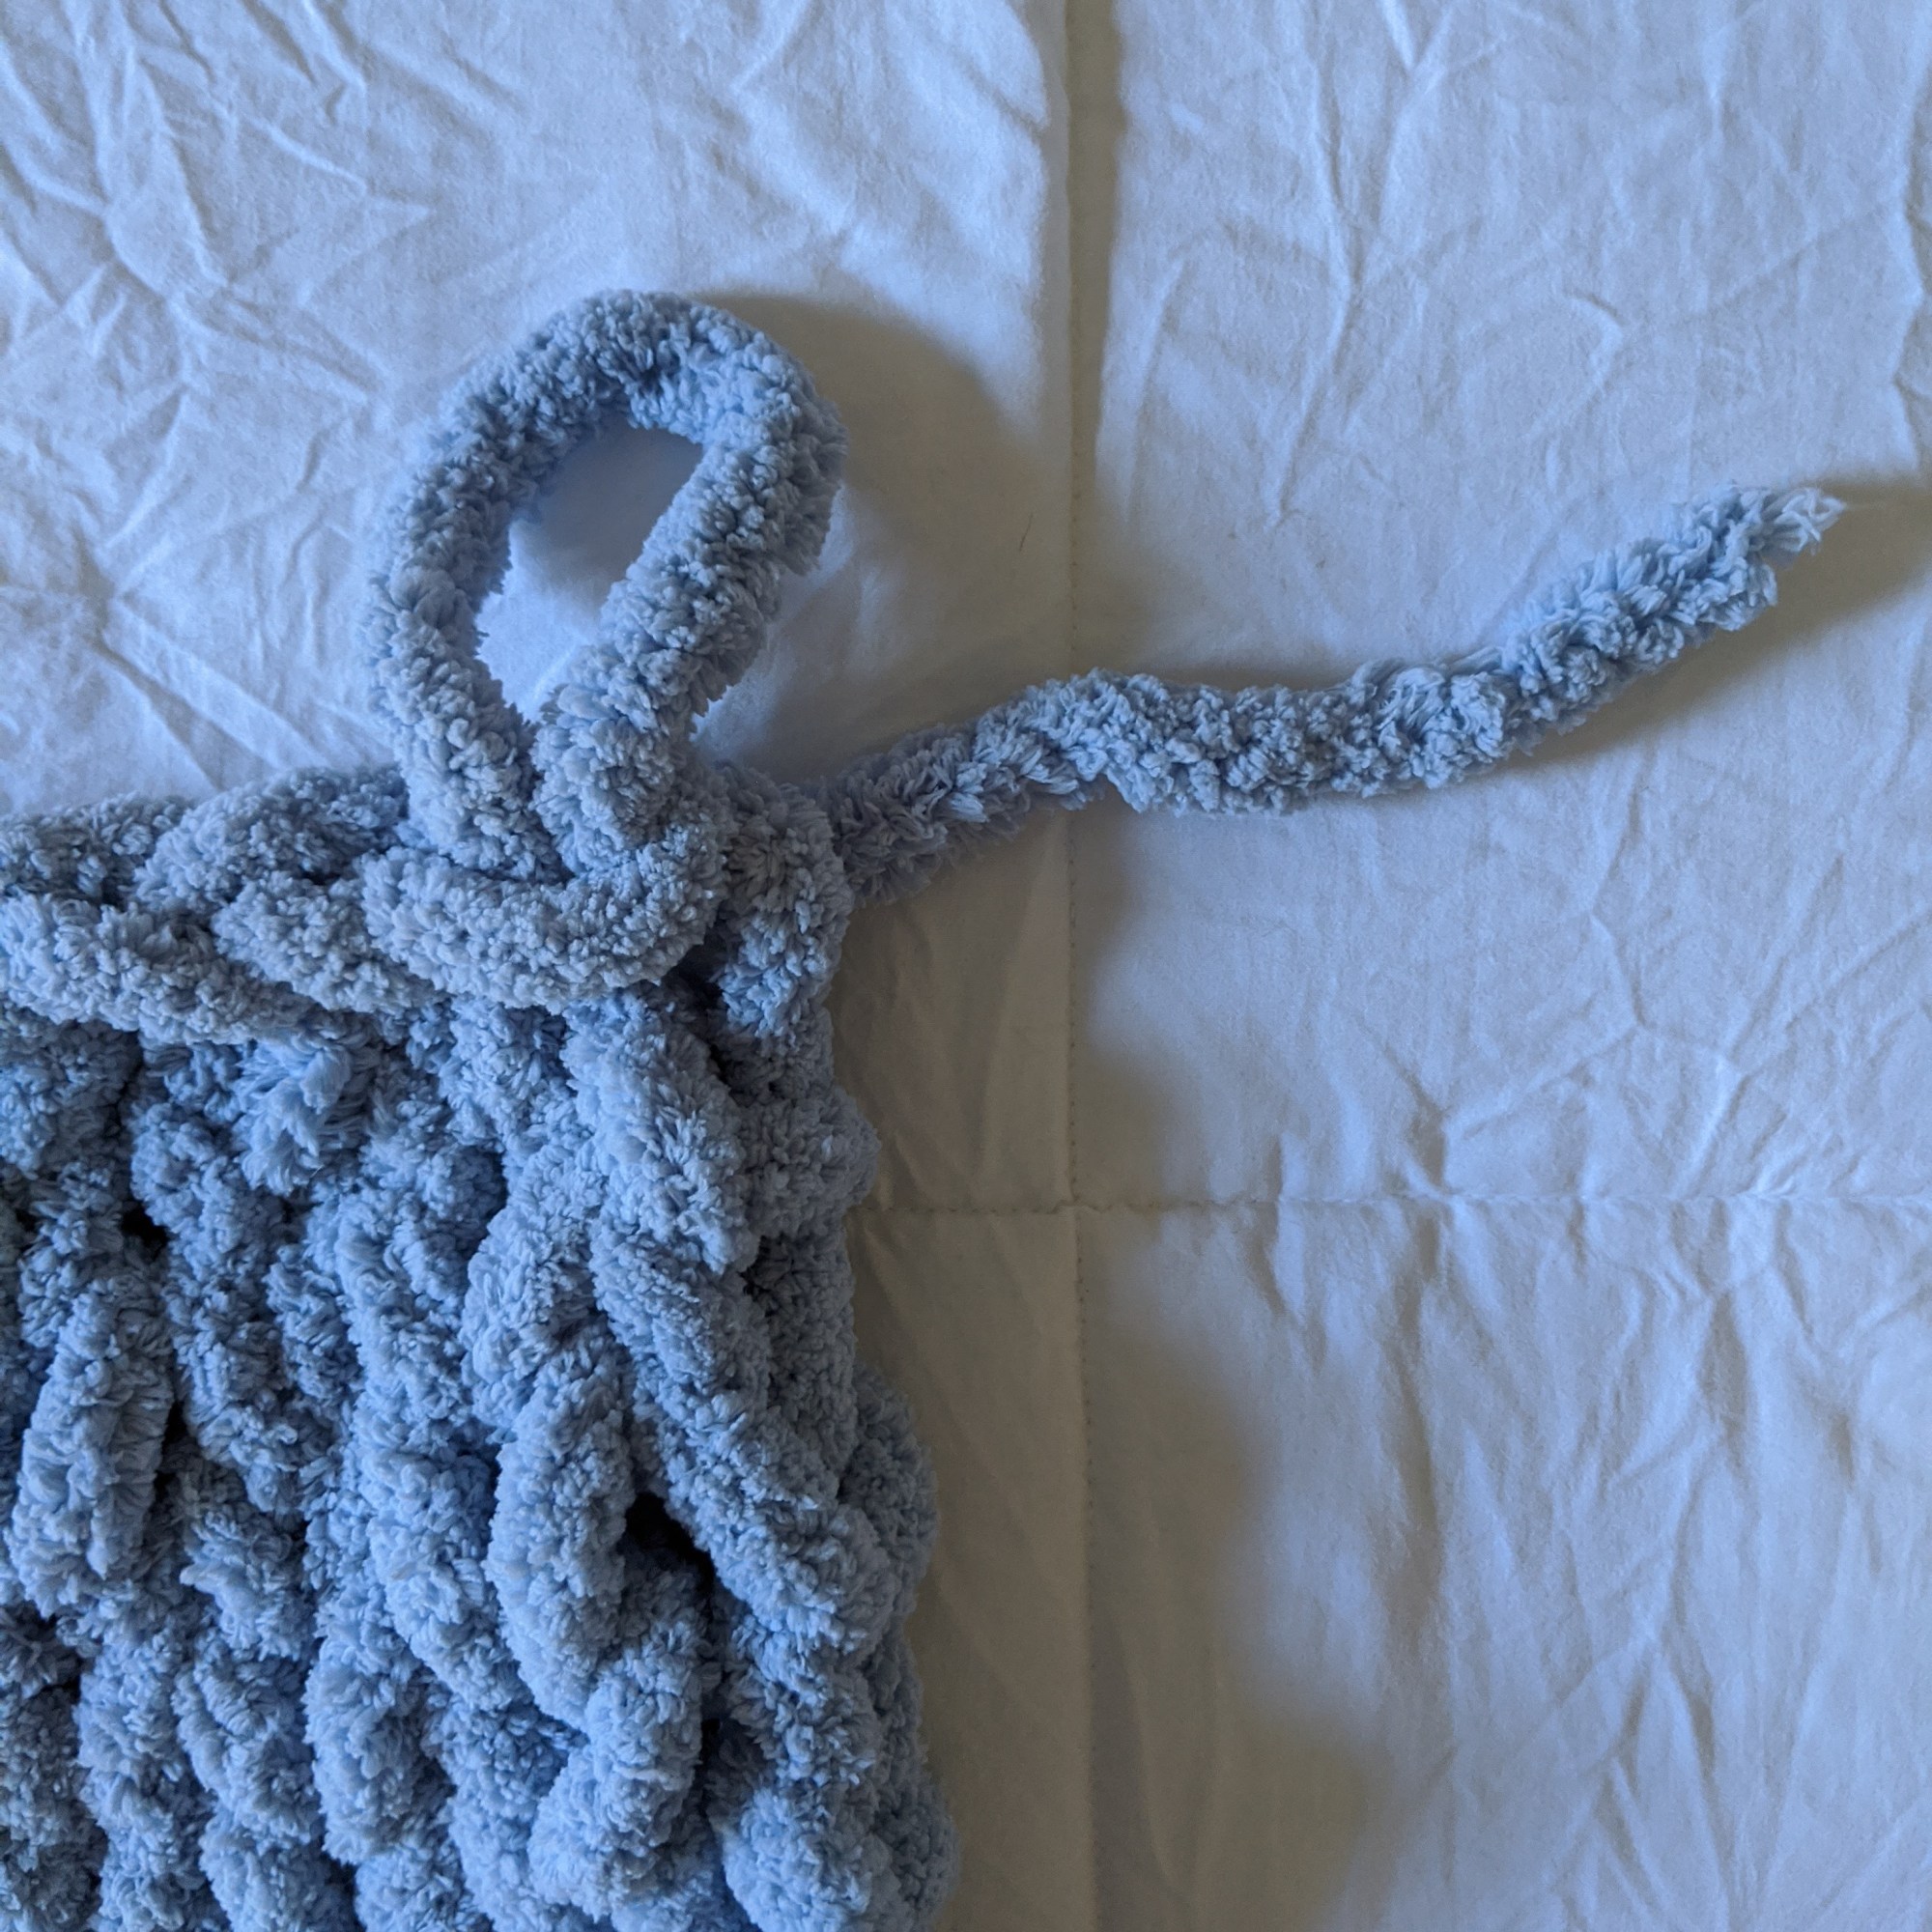
Now it is time to turn, using a process that will apply to the rest of the turn transitions in the blanket, with the exception of the final row. To turn, it is important to work the last stitch in the row TWICE! Knitting it once completes the row, and knitting it the second time marks the first stitch in the next row.
In the video above, after I work the last stitch of the row twice, I flip the loop. This is done to reposition the yarn towards the row you’re about to work next.
Then, to work each row, simply pull the working yarn through each loop, one at a time, to create a new row of loops.
Knit each row until your desired length is reached. The video below shows me knitting the rows midway through the blanket. This is where it is important to examine your stitch size for evenness.
To bind off and finish the project, knit the first two loops of the next row, and move the first loop over the second loop. You will be left with one loop. This creates a nice corner.
Then, for the rest of the bind off row, knit one loop, and pull the previous loop over the one you just knit.
Repeat this until the last stitch, cut the yarn, and pull the tail tight through the last loop. Weave in ends…and done! You’ve finished your hand knitted project!

I’d love to see your experiences with hand knitting if you’d like to share. Thanks for tuning in. Until Friday, happy hand knitting!
