
Do you have something hand-knitted/hand-crocheted and need to wash it? Here’s a tutorial!
Hello, everyone! What an exciting past few days I have been having over on my instagram account, @bilingwool. Recently, I started knitting the Nightshift Shawl by Andrea Mowry. I posted a photo of my progress and it has received more likes than any photo I have posted yet at 370 likes! Yahoo!! Here is the photo that I shared:
I am so grateful for all the love and support that is being sent my way. Thank you all!
Today, I wanted to take a break from the hat posts to share a tutorial that many may find useful. I gifted many handmade items this past Christmas that need to be washed in a specific way. It’s fairly easy to do and does not take a lot of materials. I’m hoping this blog post will be used as a resource for you and your knit and crocheted items.
Tutorial
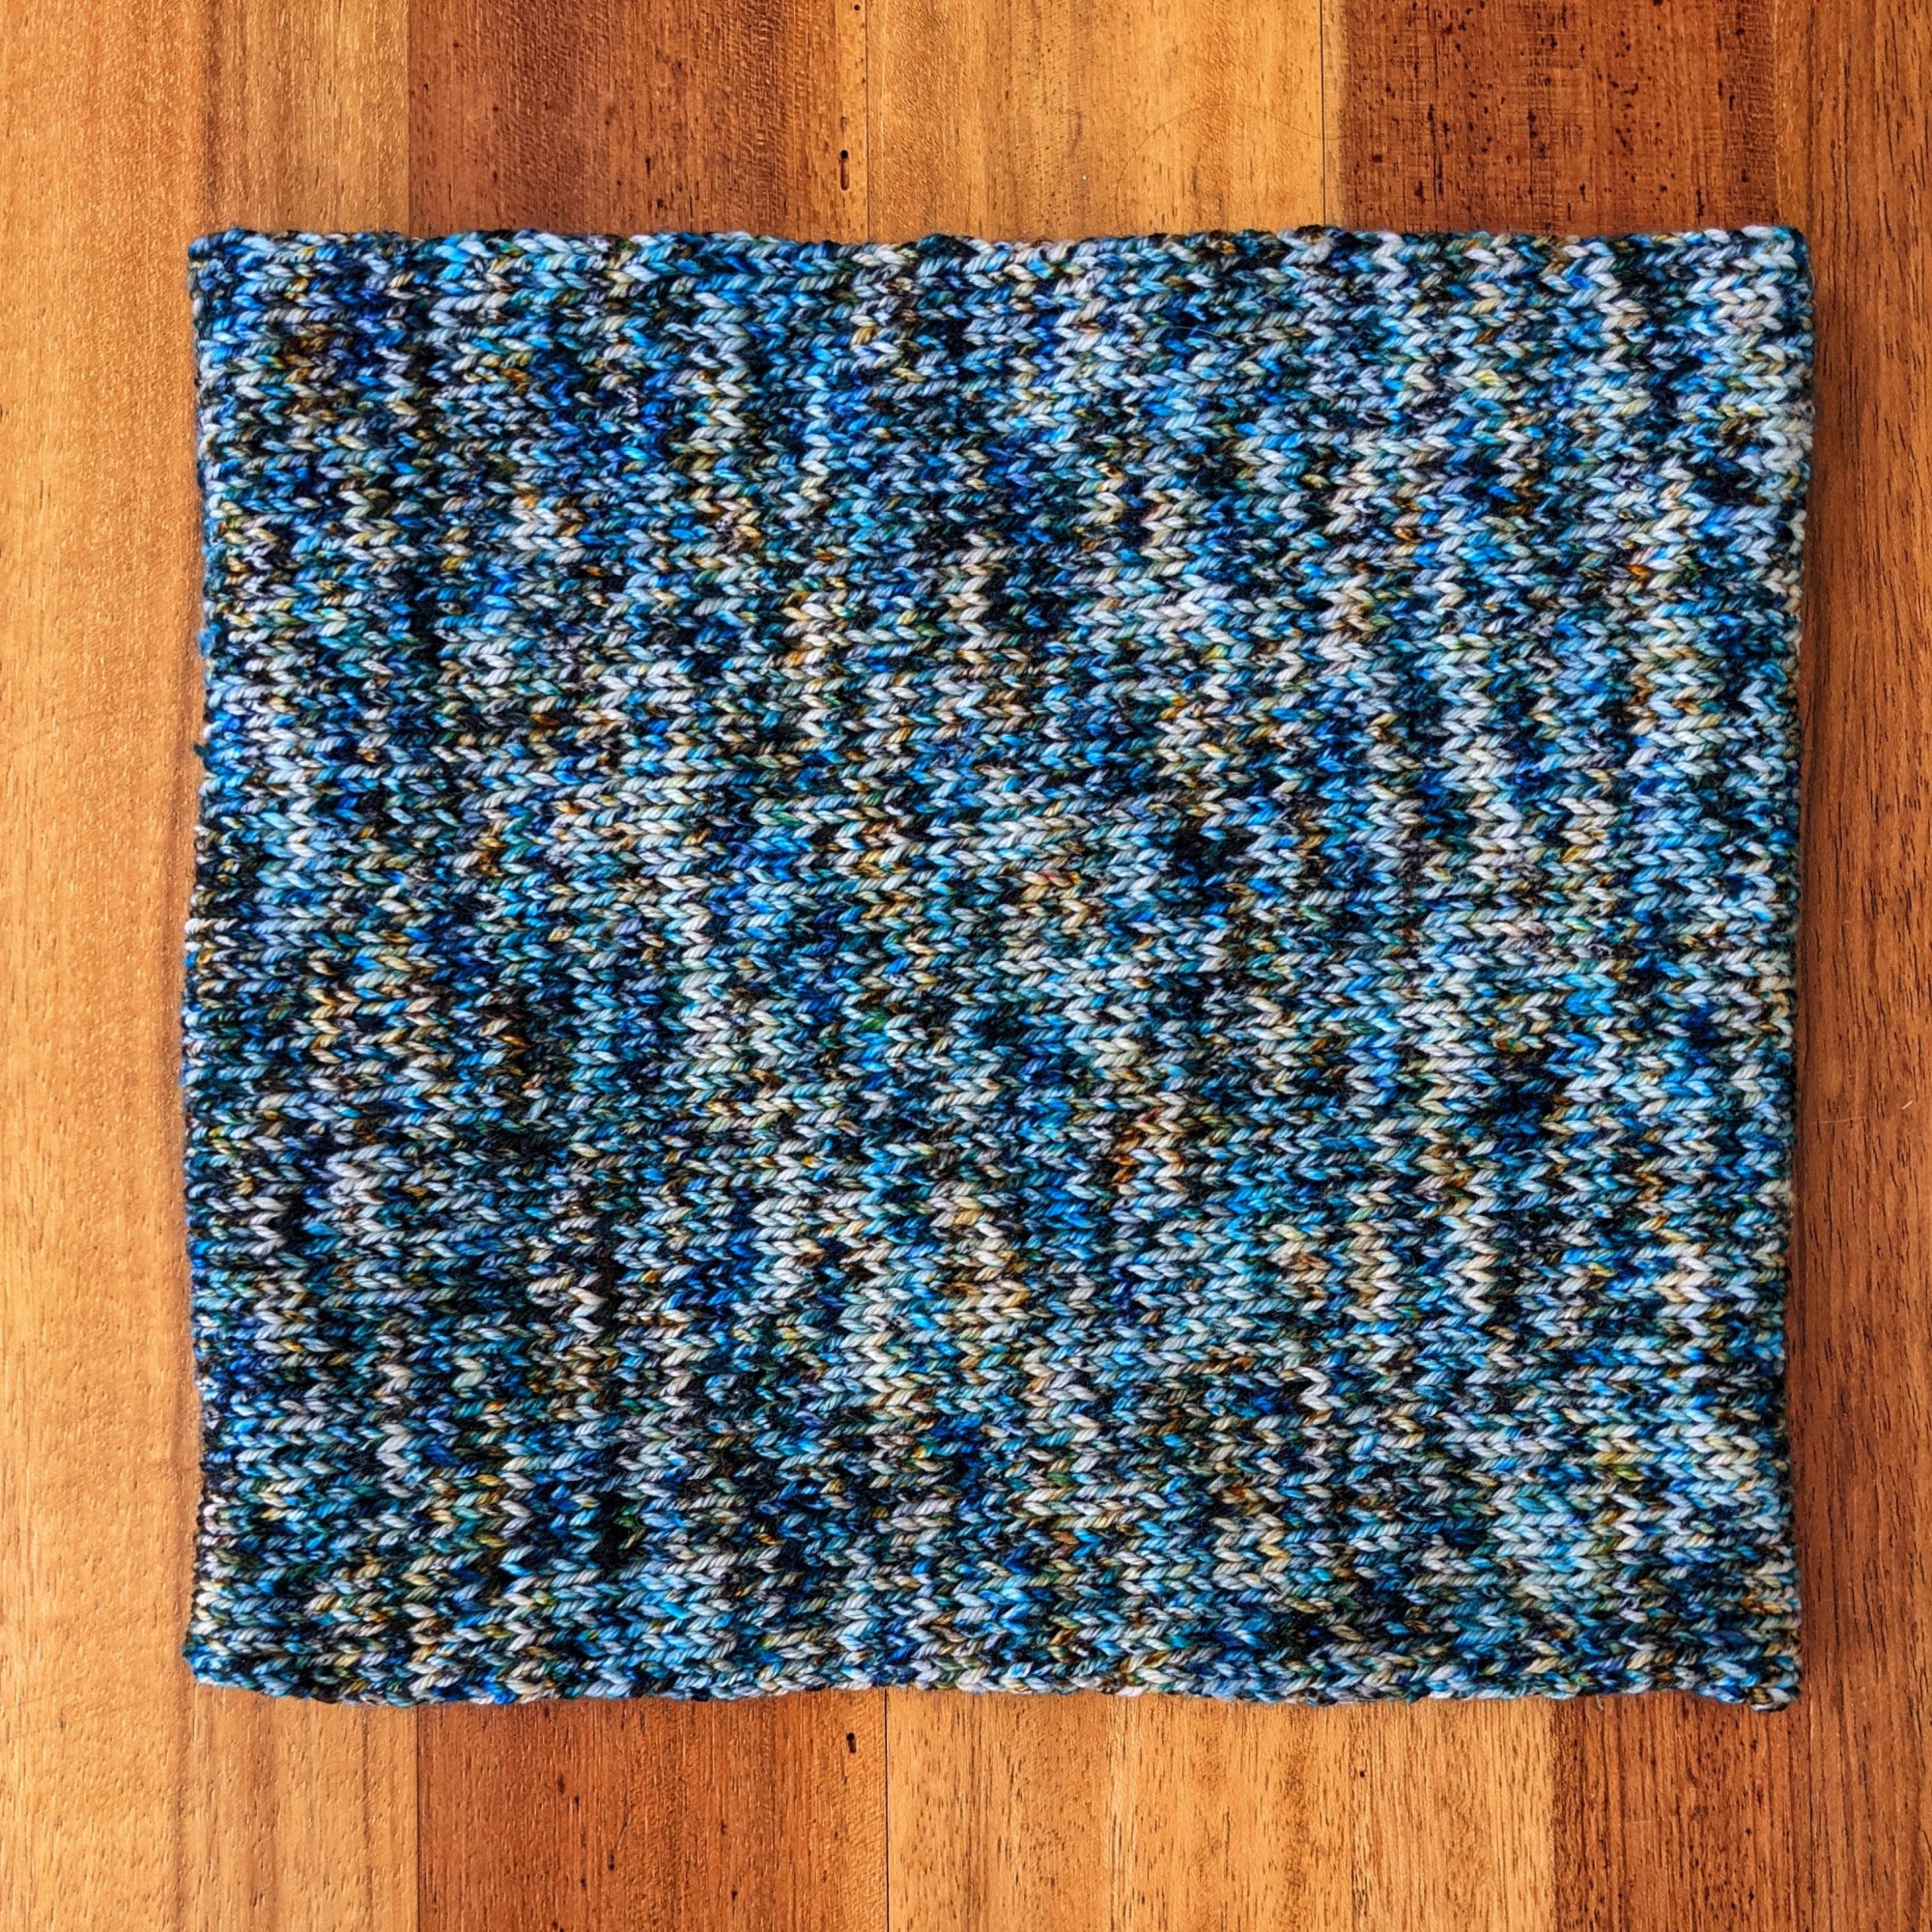
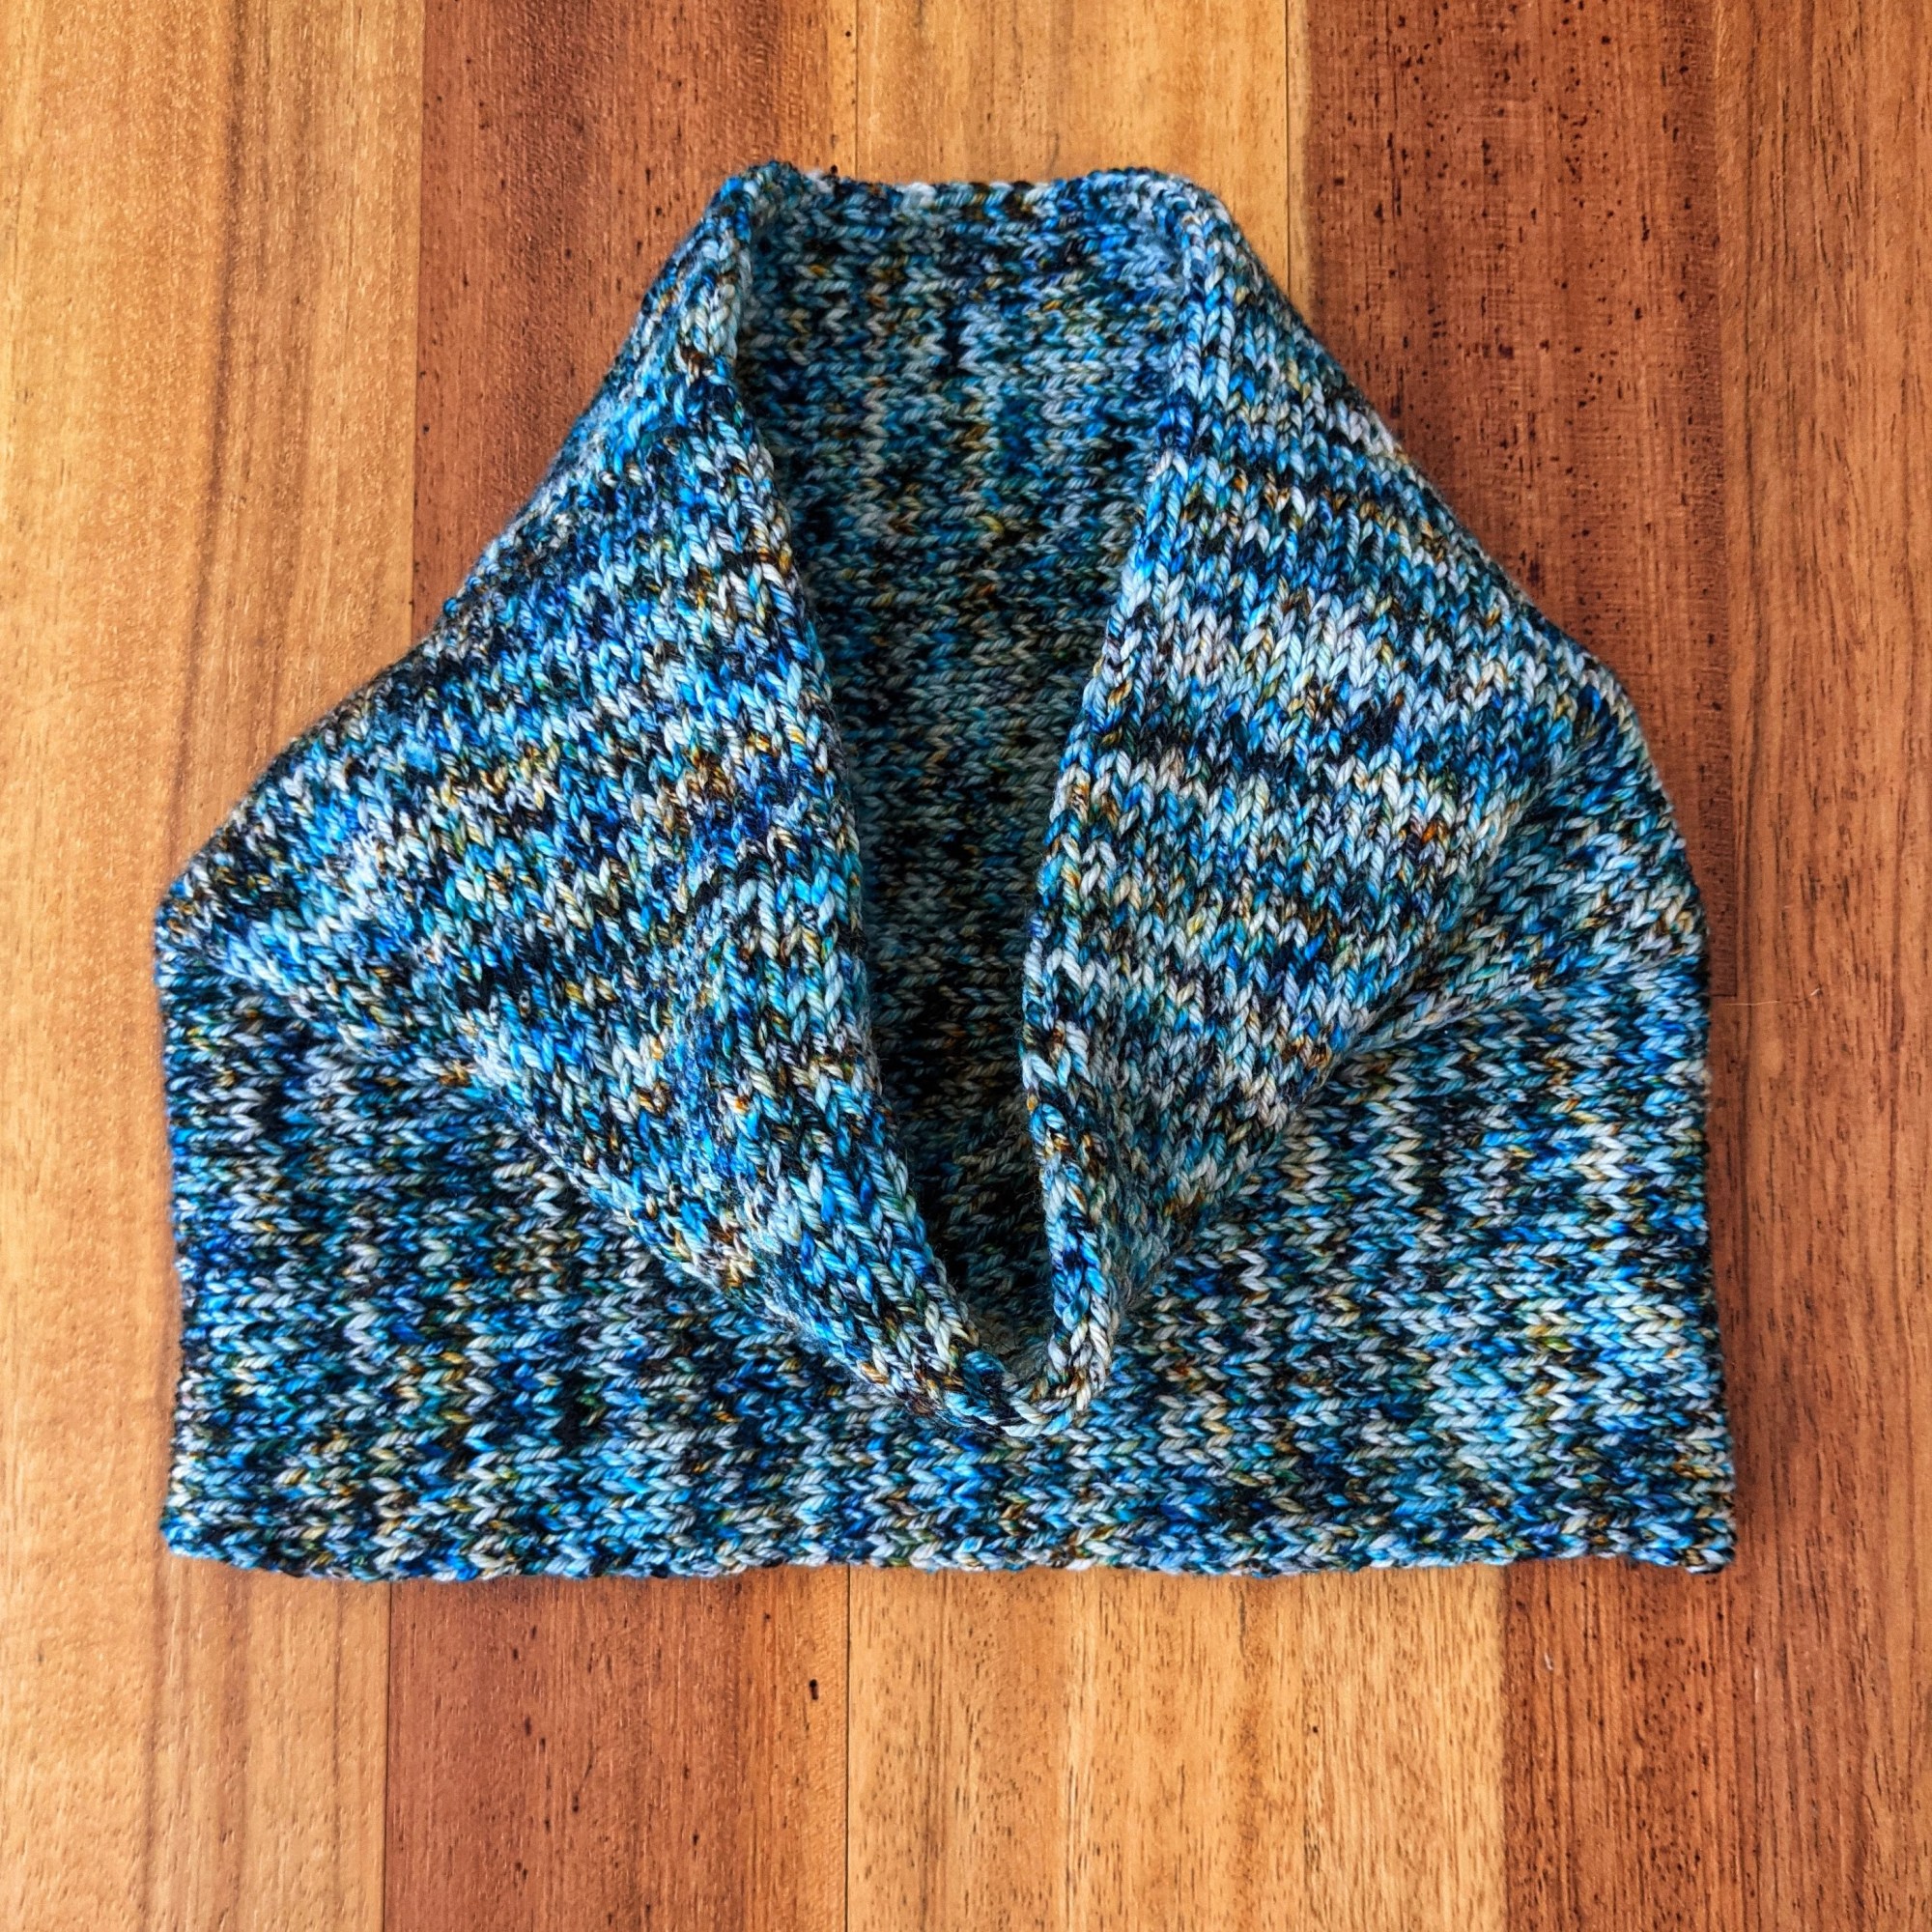
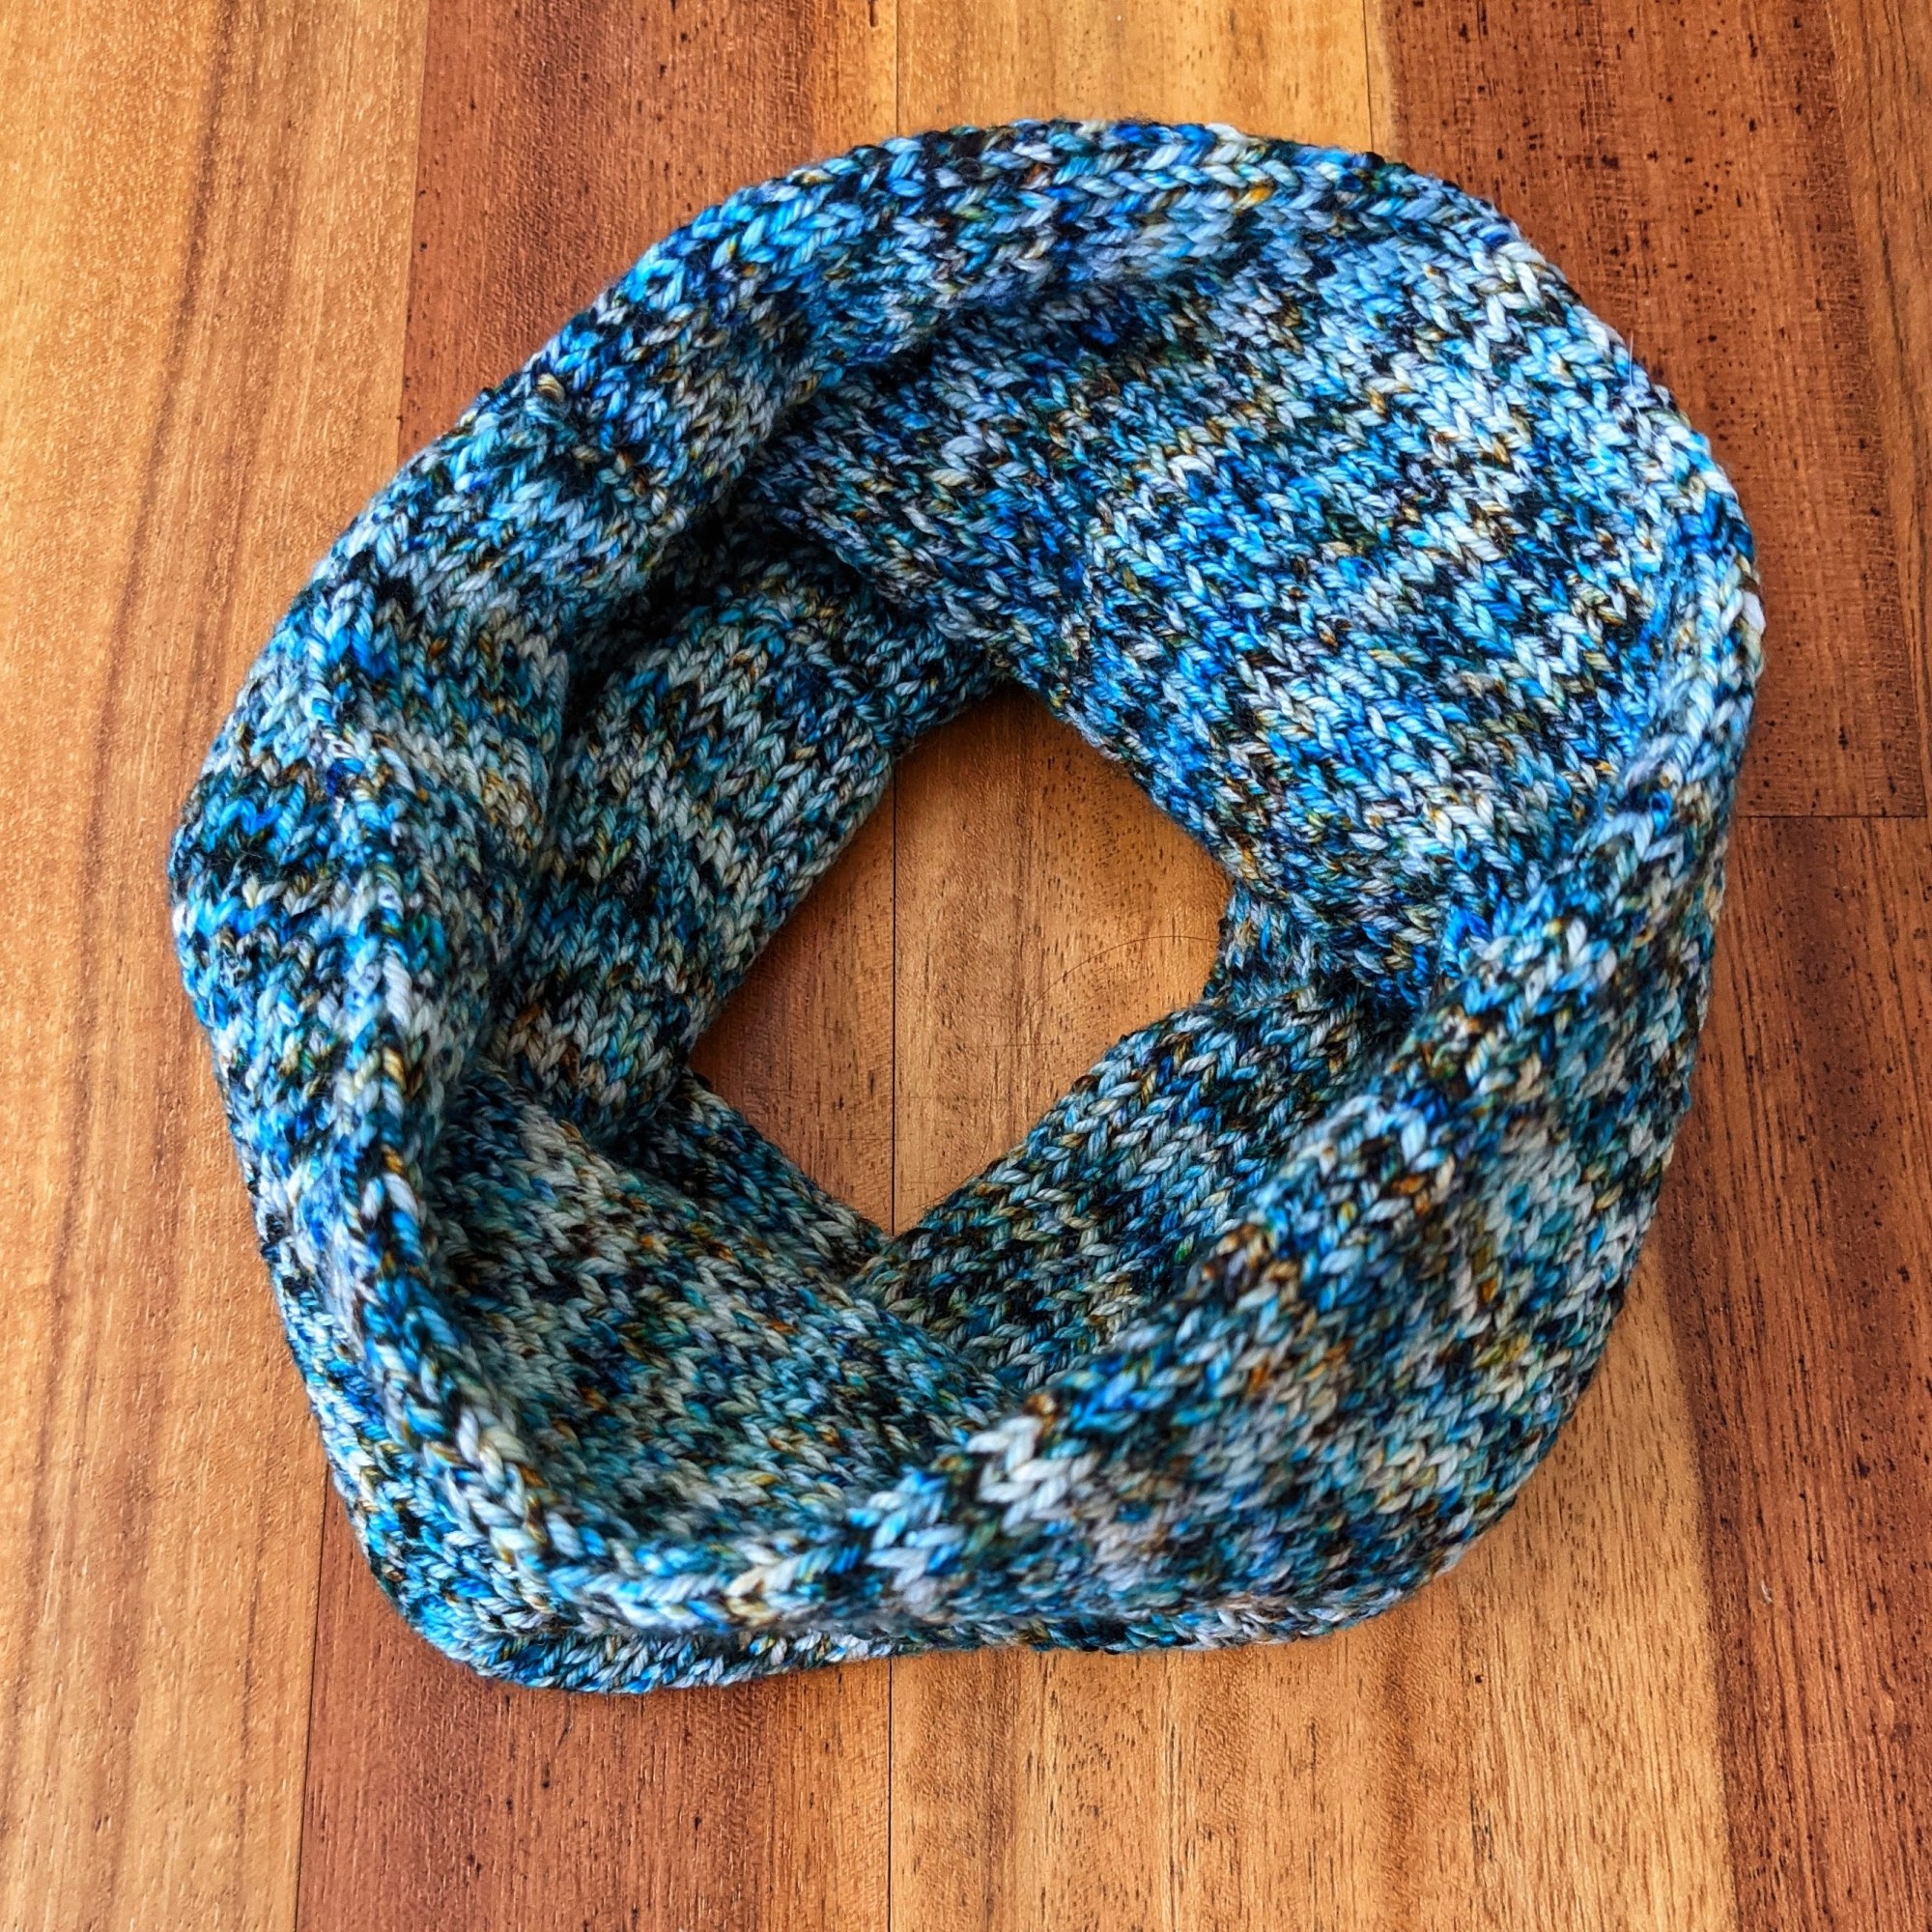
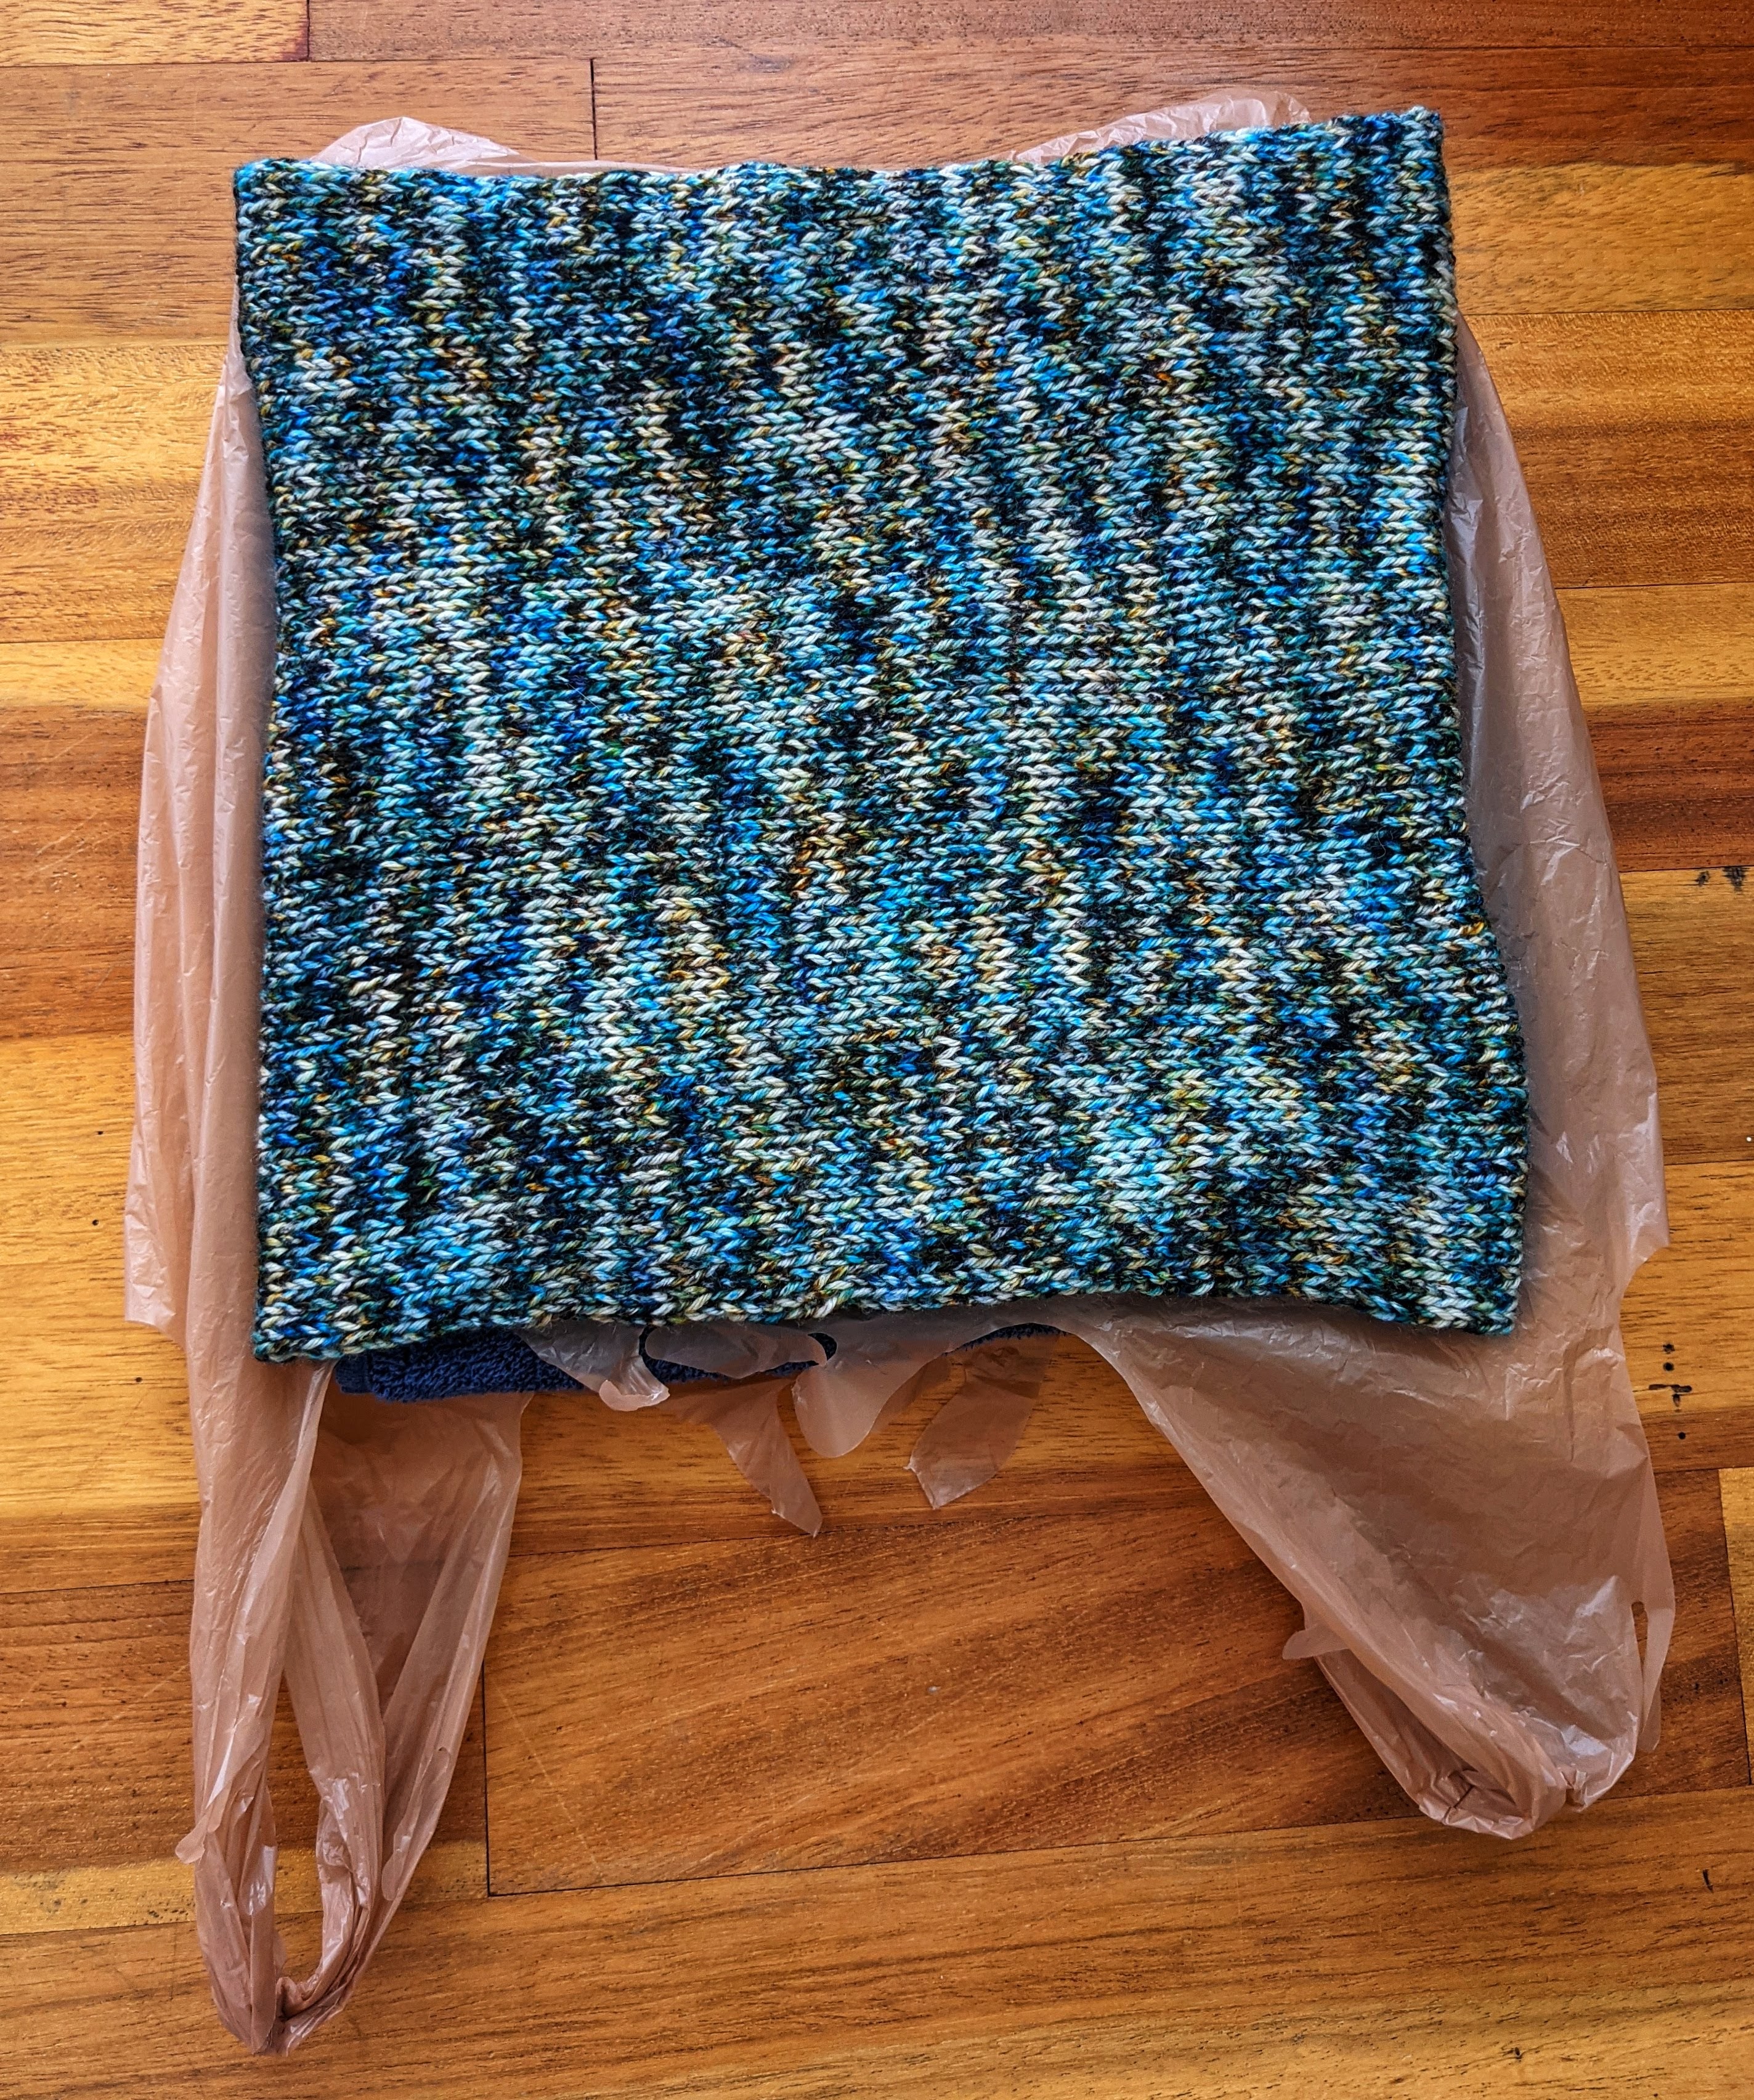
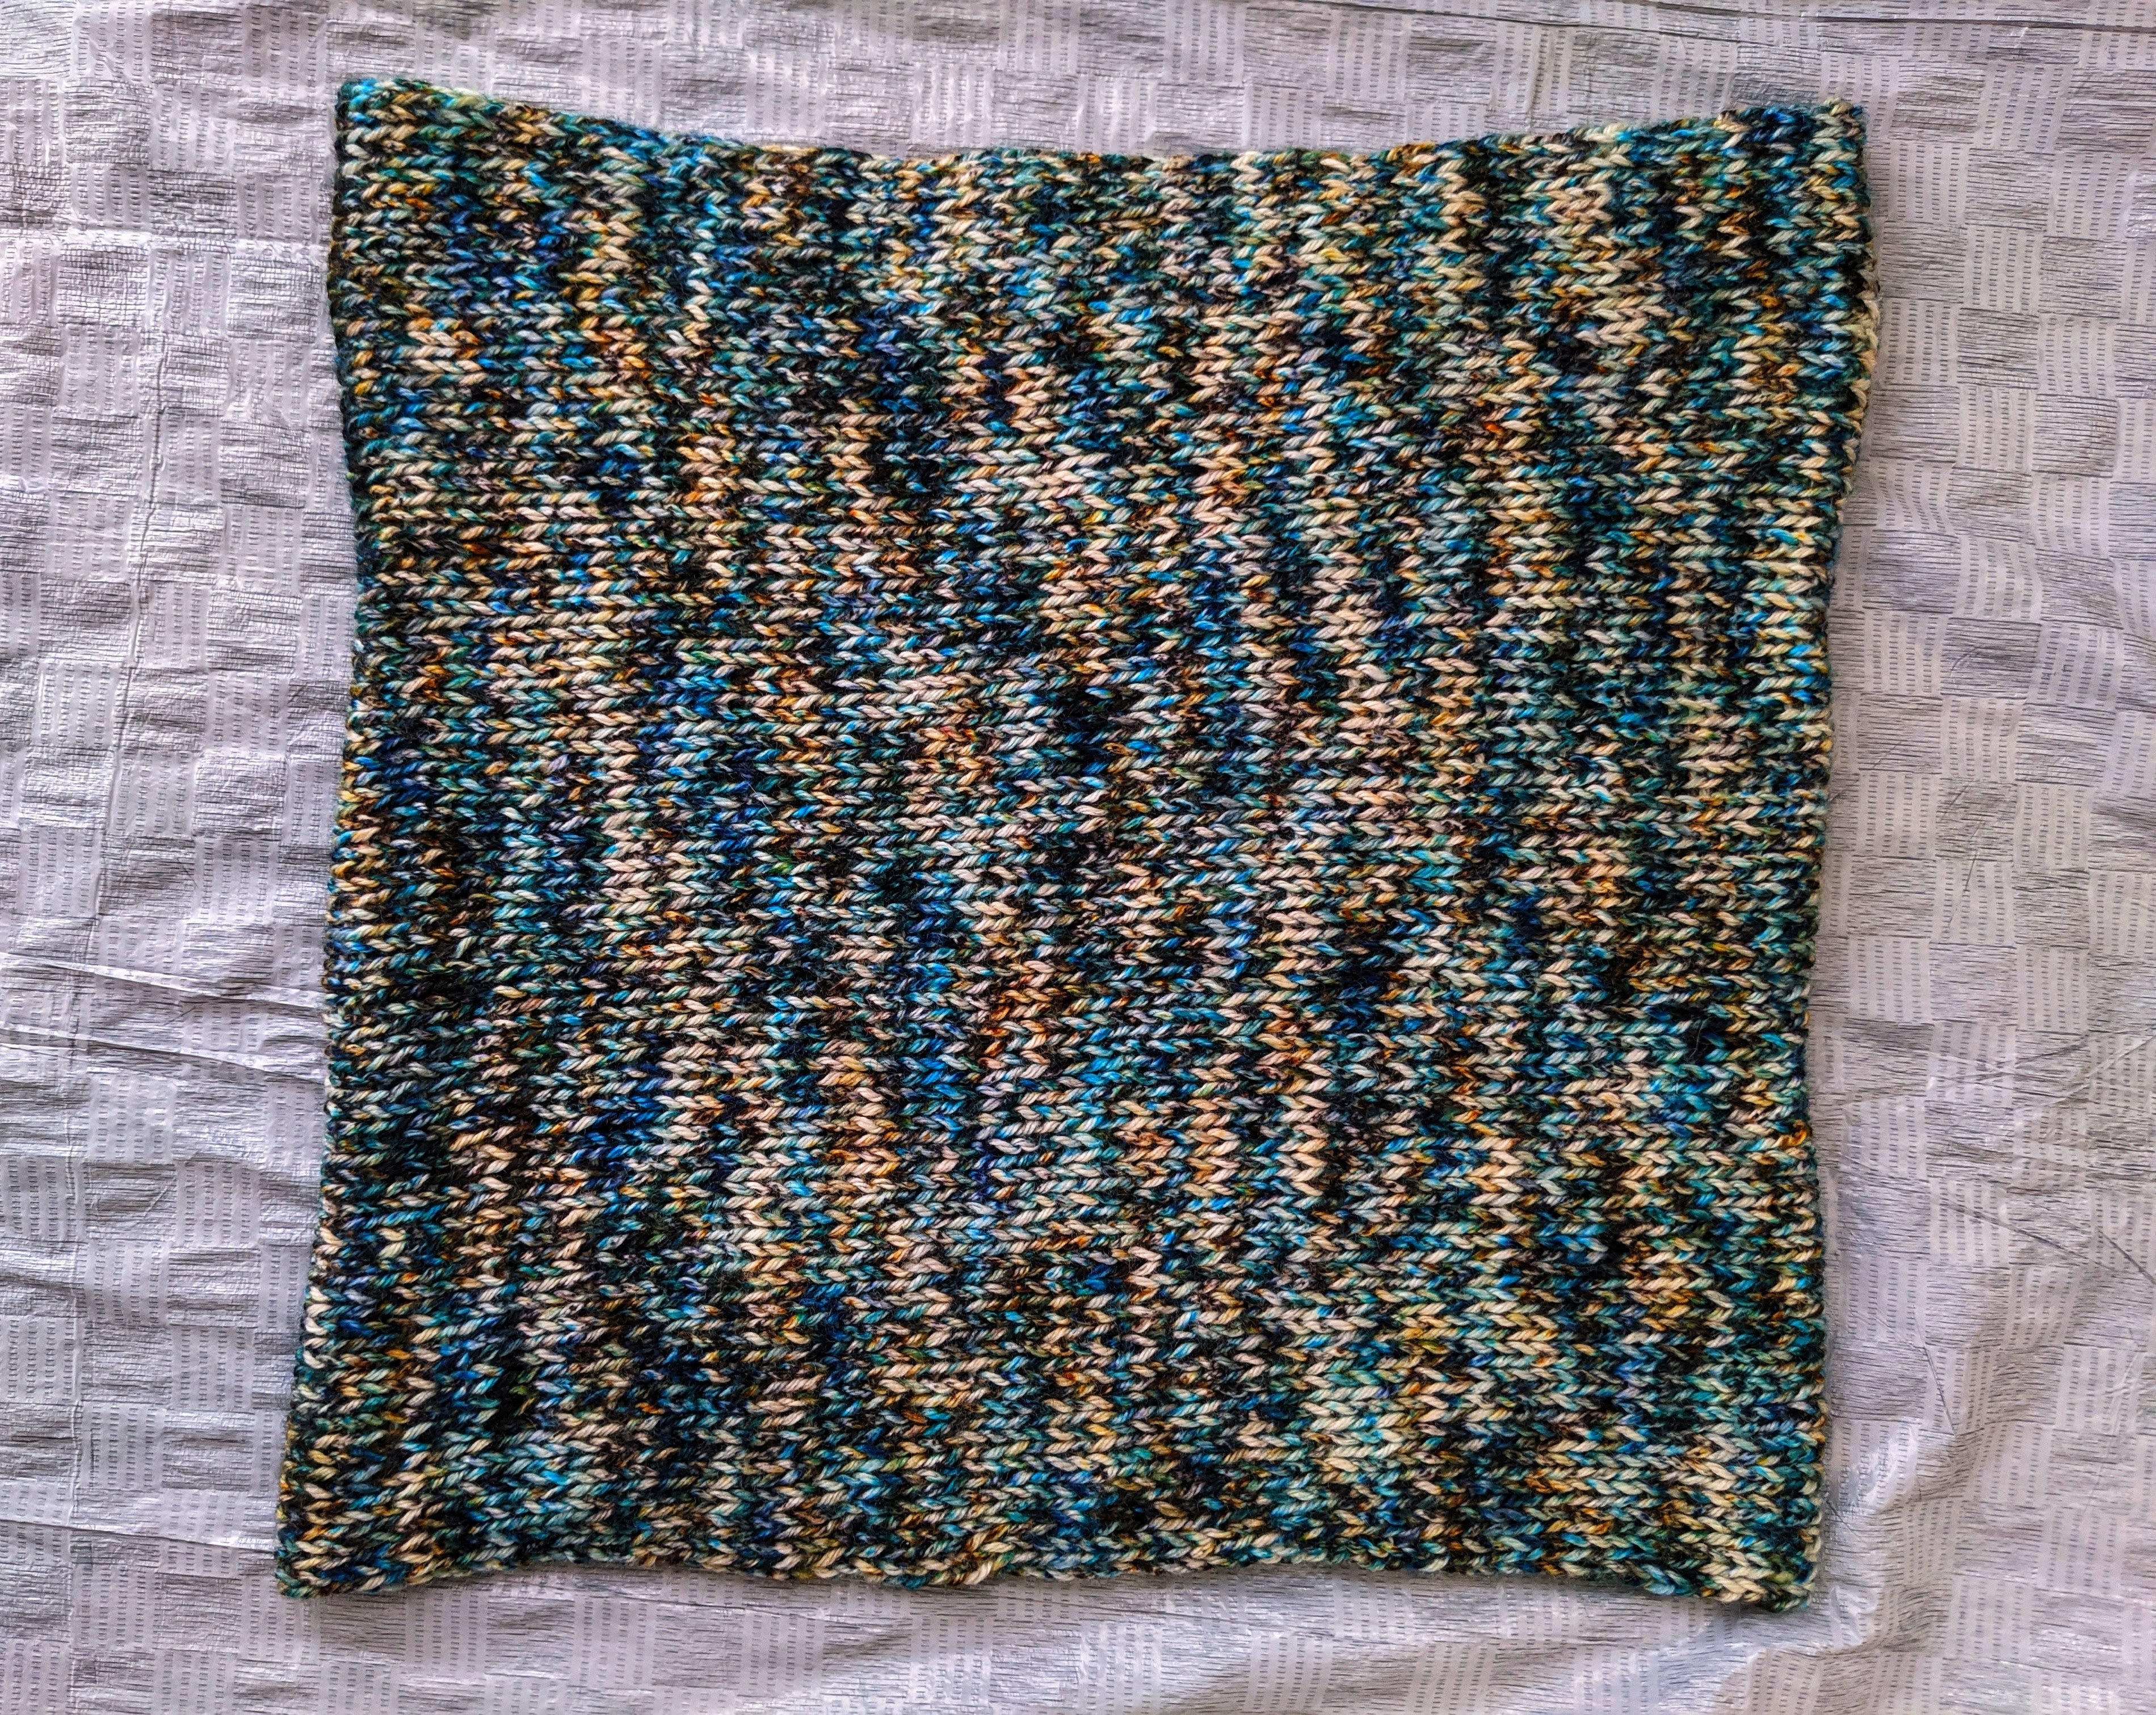
In the photos that follow, I will be demonstrating how to wash a cowl I recently finished. I made this cowl with Malabrigo Arroyo in the shade Brujula. This yarn is made with 100% superwash merino wool. This gentle washing technique is ideal for animal fibers like wool and alpaca, but I use it for most everything I knit/crochet.
Be sure to read your yarn label for more specific washing instructions. If you are washing a gifted handmade item, feel free to ask the creator about the fiber content of your item. This washing method I’m about to show you is gentle and will most likely cover all products you have, but it’s still important to read the label!
Materials
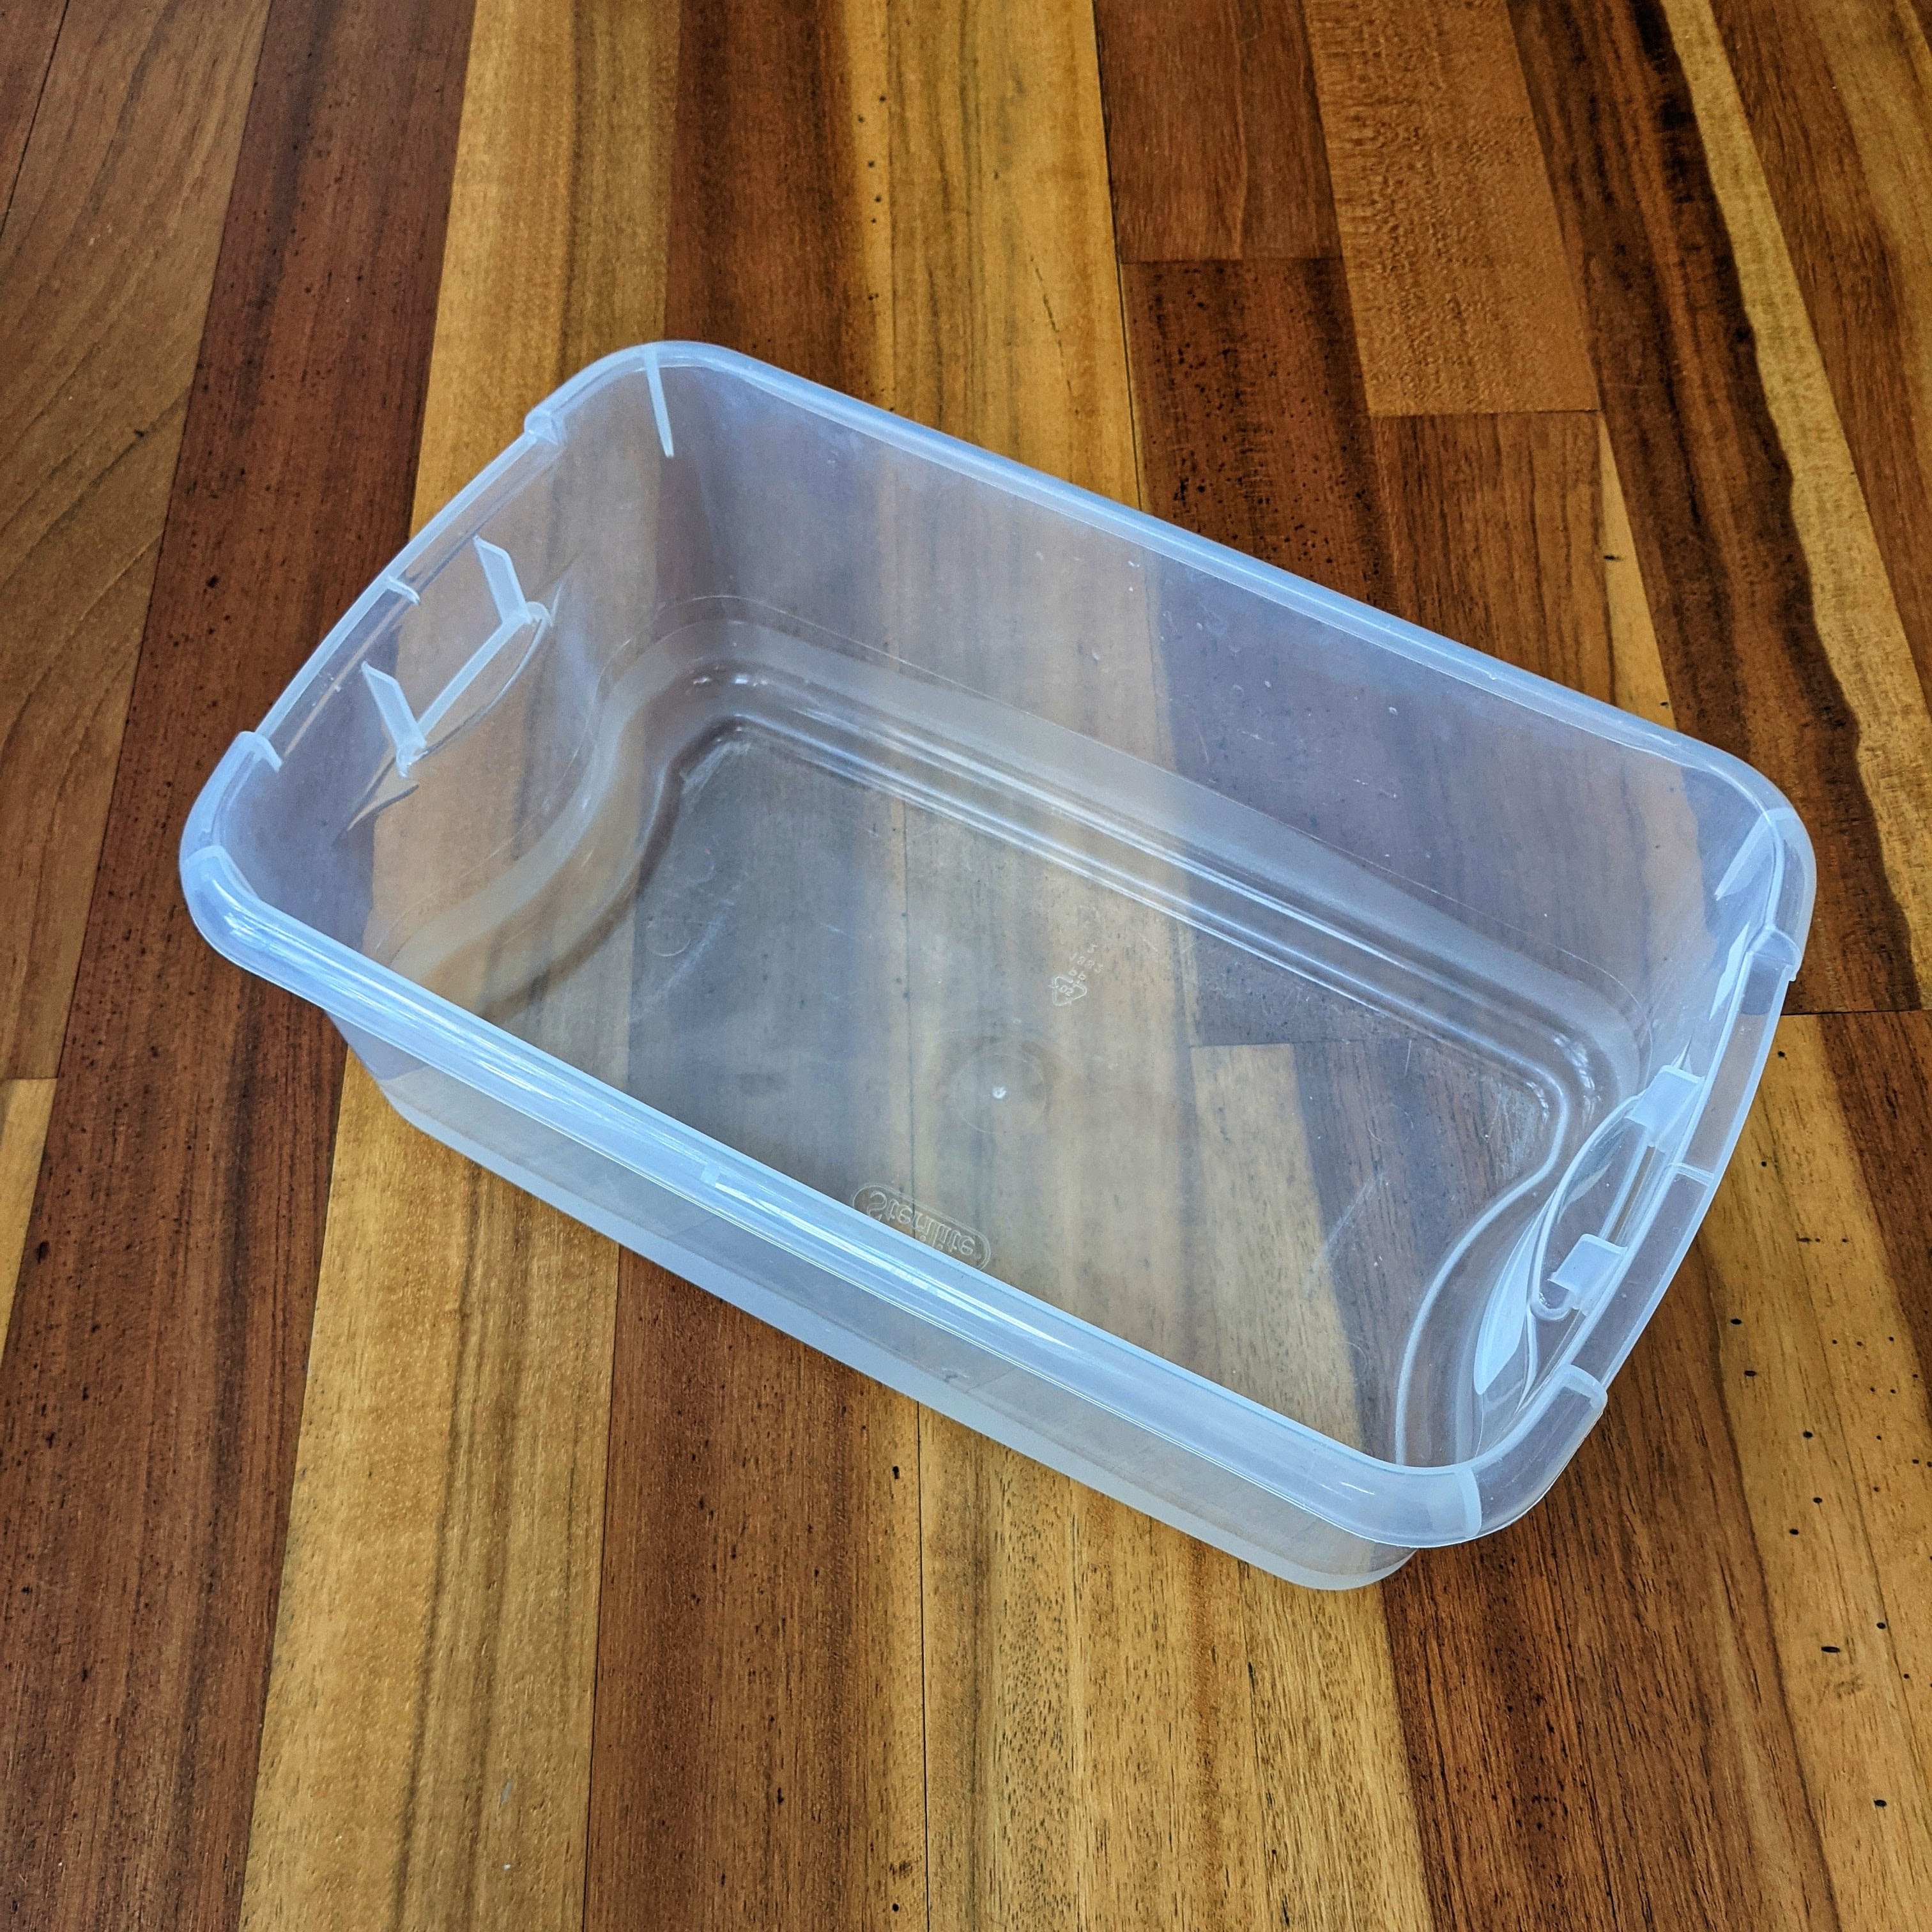
First, you will need a washtub. Any container or bucket will do, just be sure to find something that will fit your item and some extra room for water. Today, I’m using a shoebox-sized plastic tote.
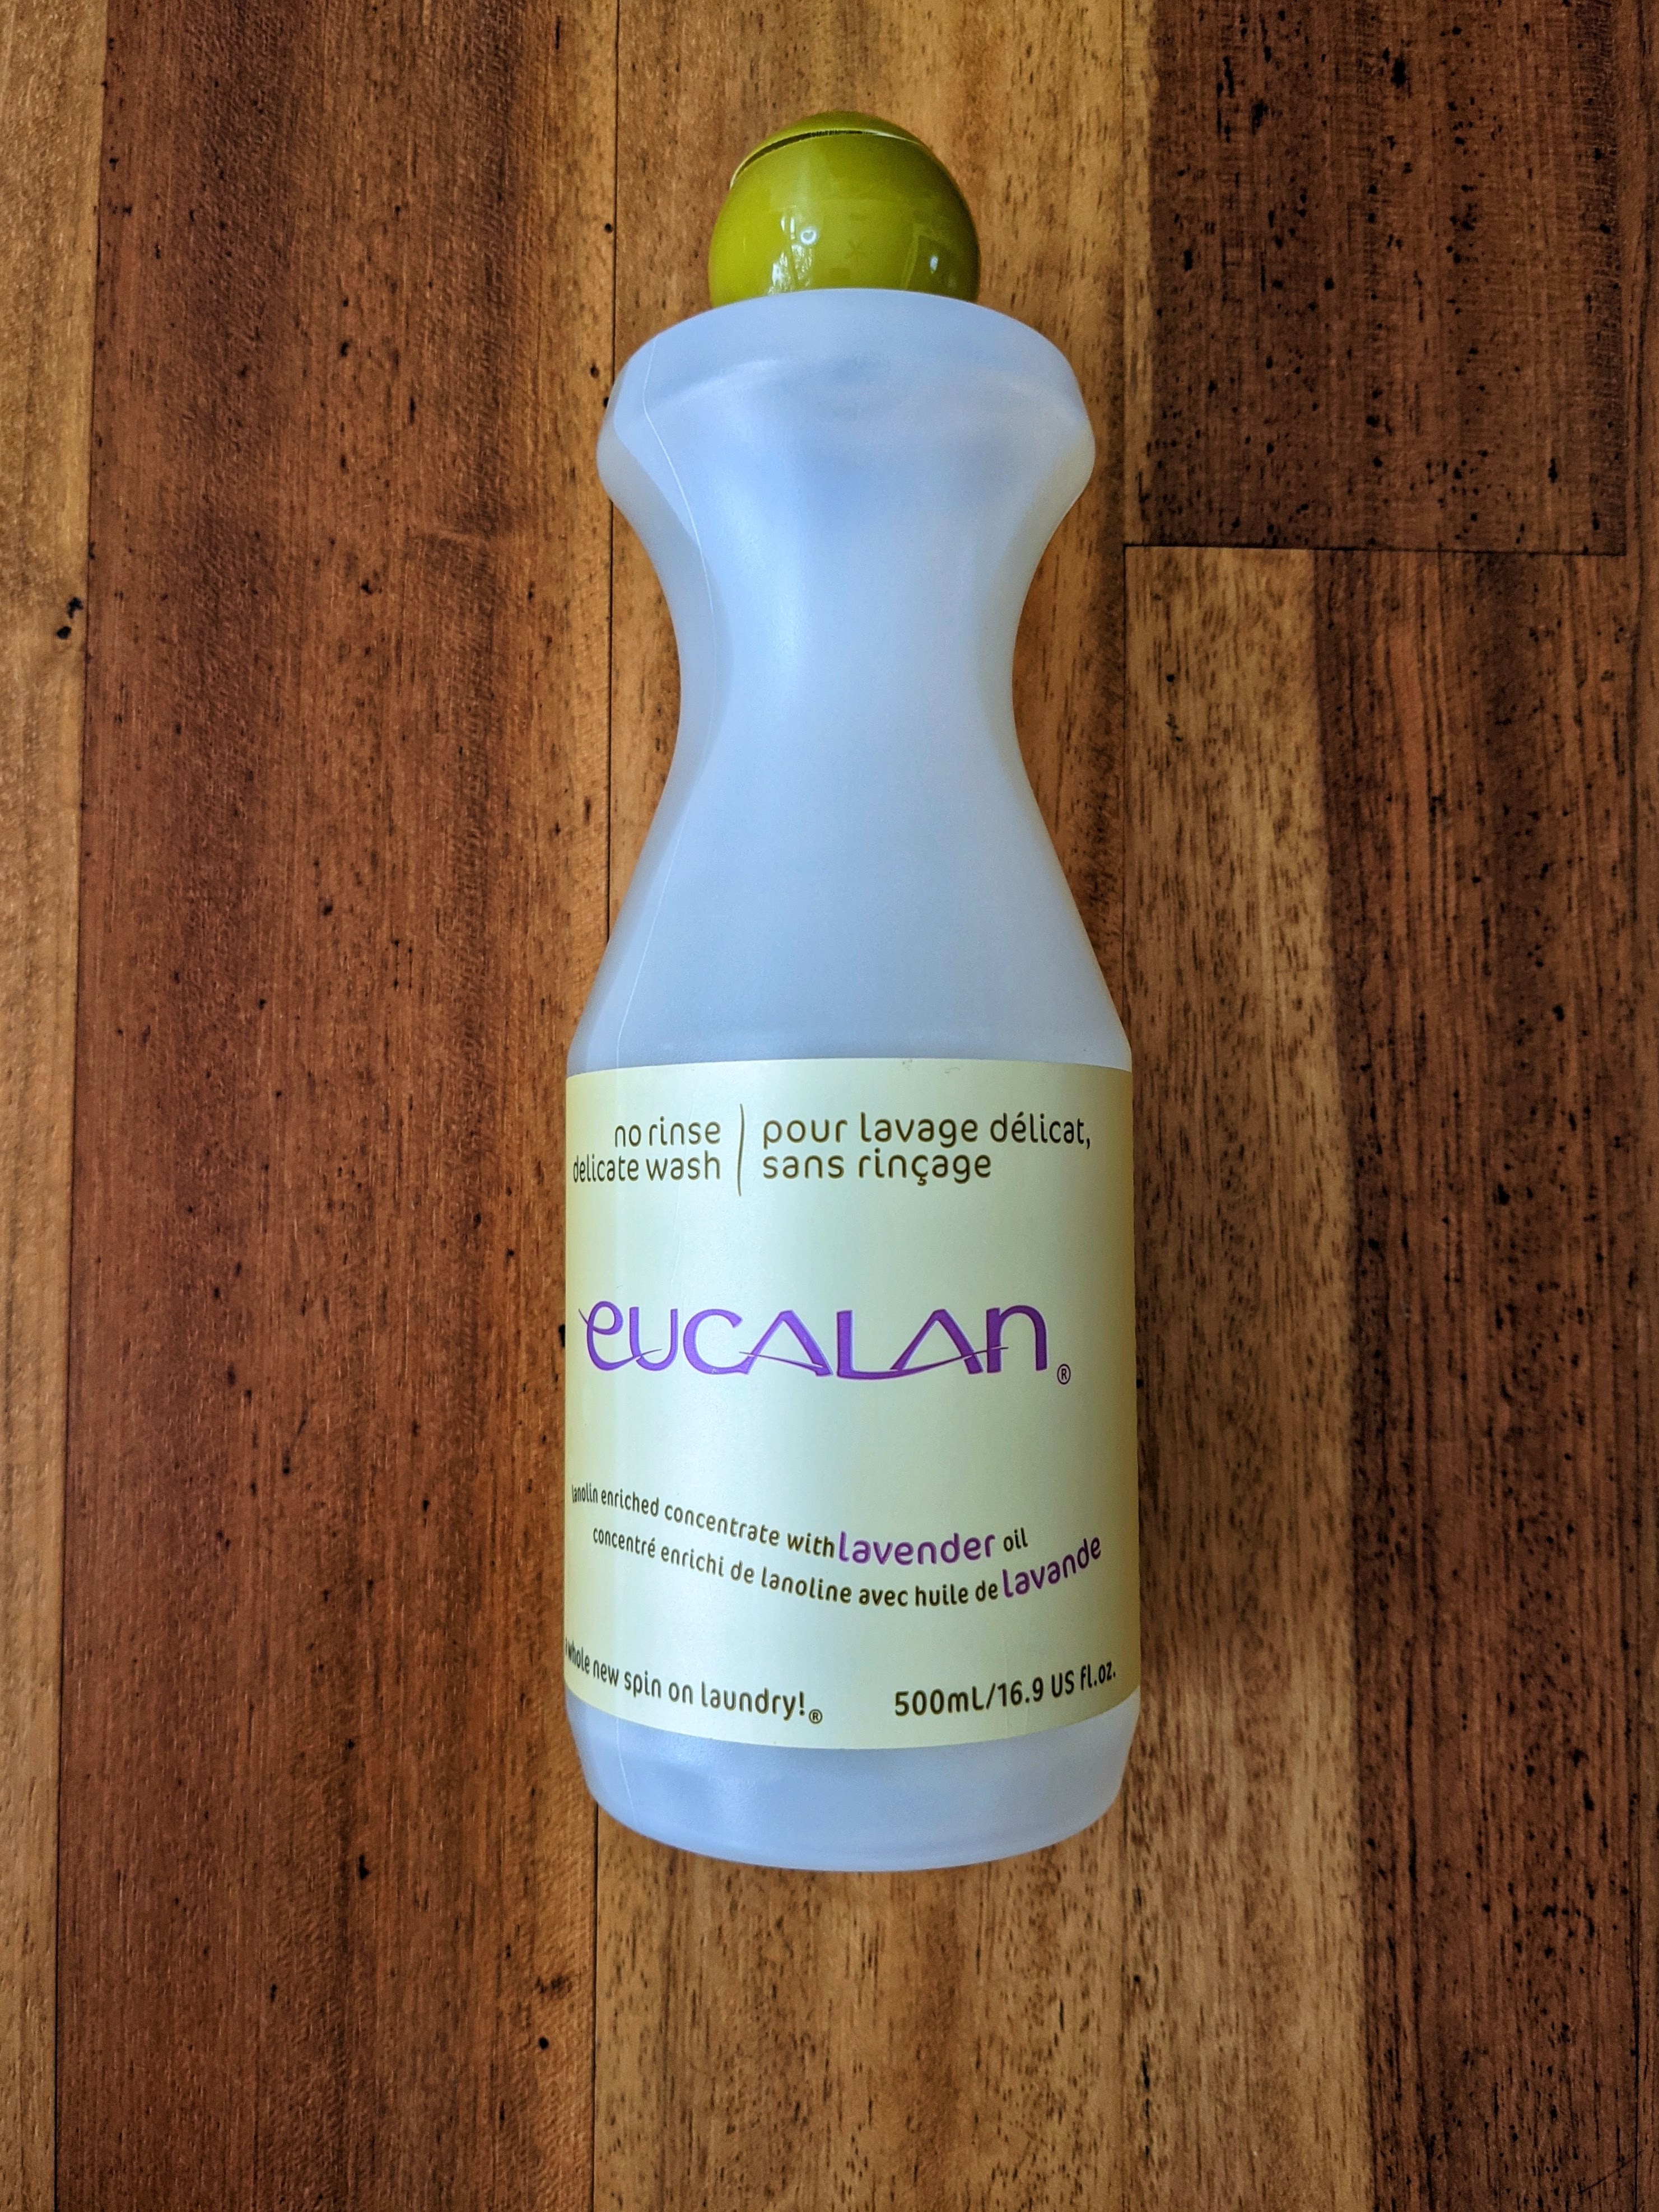
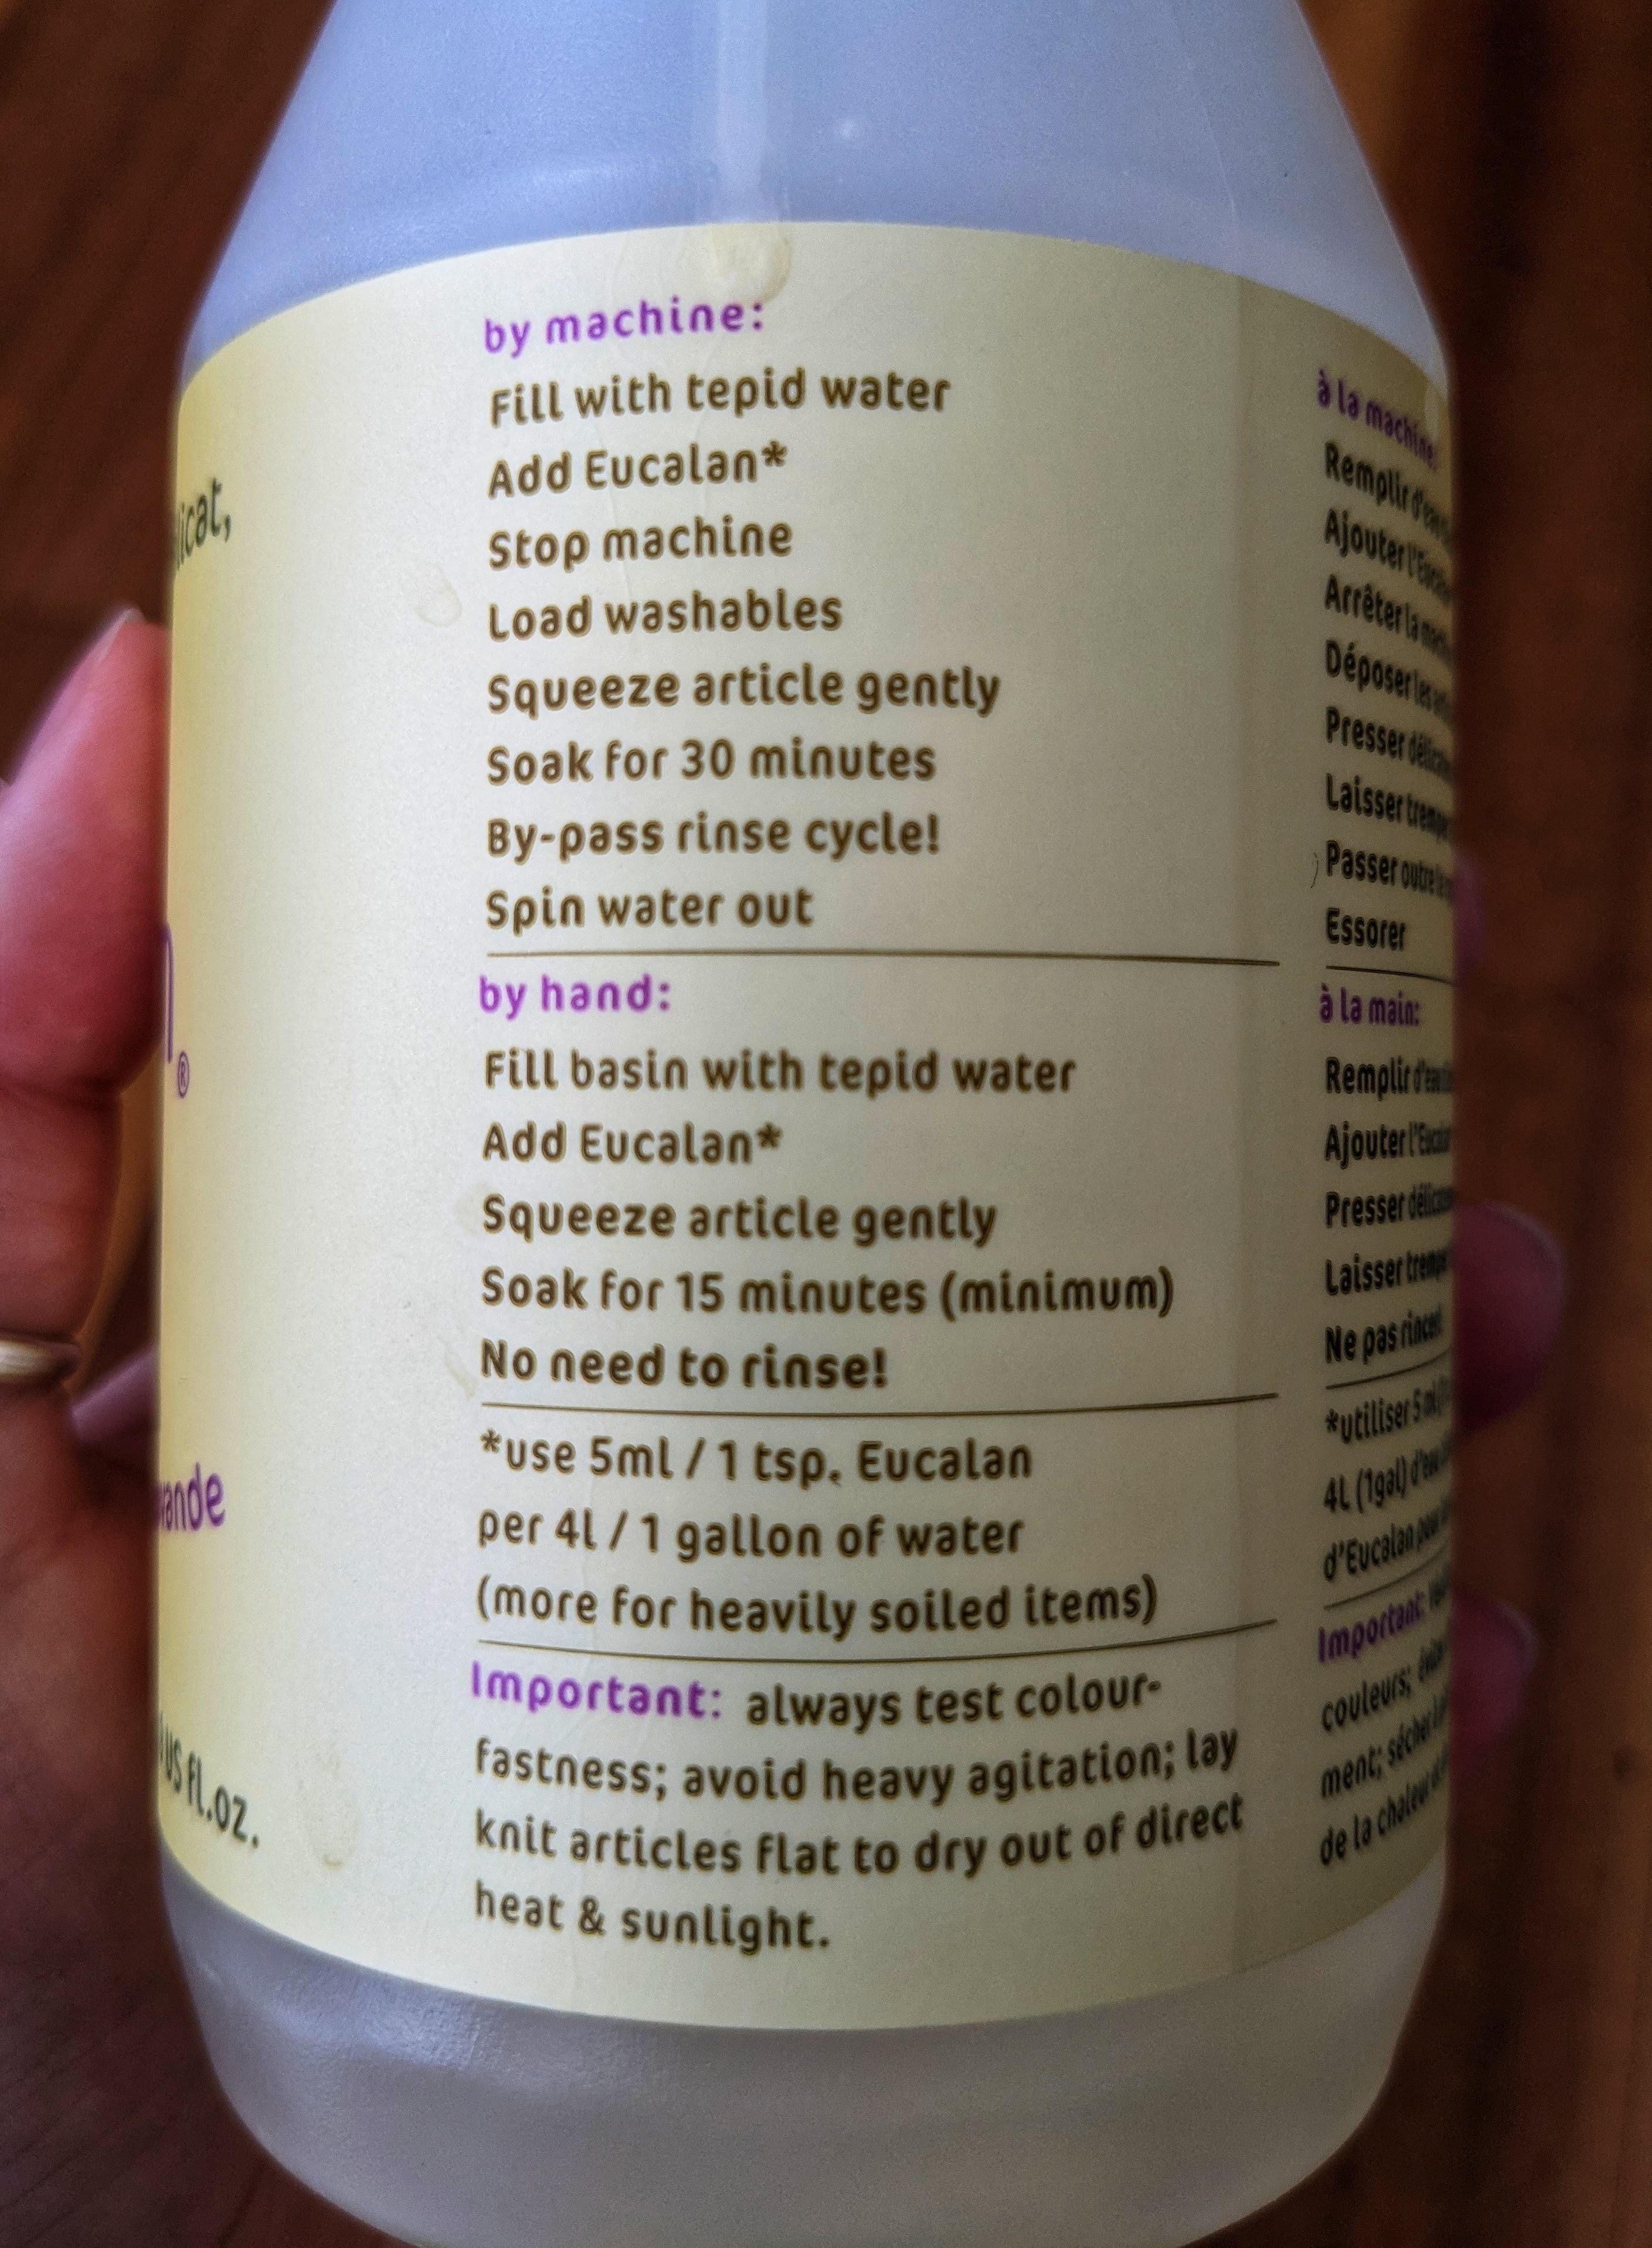
Then, you will need some wool wash. This is laundry detergent that is super gentle, making it safe for fibers like wool and alpaca. I use Eucalan for all my knitted and crocheted items. It comes in natural, eucalyptus, lavender, grapefruit, and jasmine scents. The fragranced versions are not overpowering and they really help offset the smell of wet wool. Eucalan is available on Amazon and at many local yarn stores. They offer full size bottles and mini bottles which might be of interest to those who do not wash knitted garments as frequently as I do!
Other than Eucalan, here are some more delicate detergent options: KnitIQ No Rinse Delicate Wash, and Kookaburra Wash. Be sure to read the bottle for full washing instructions of your detergent.
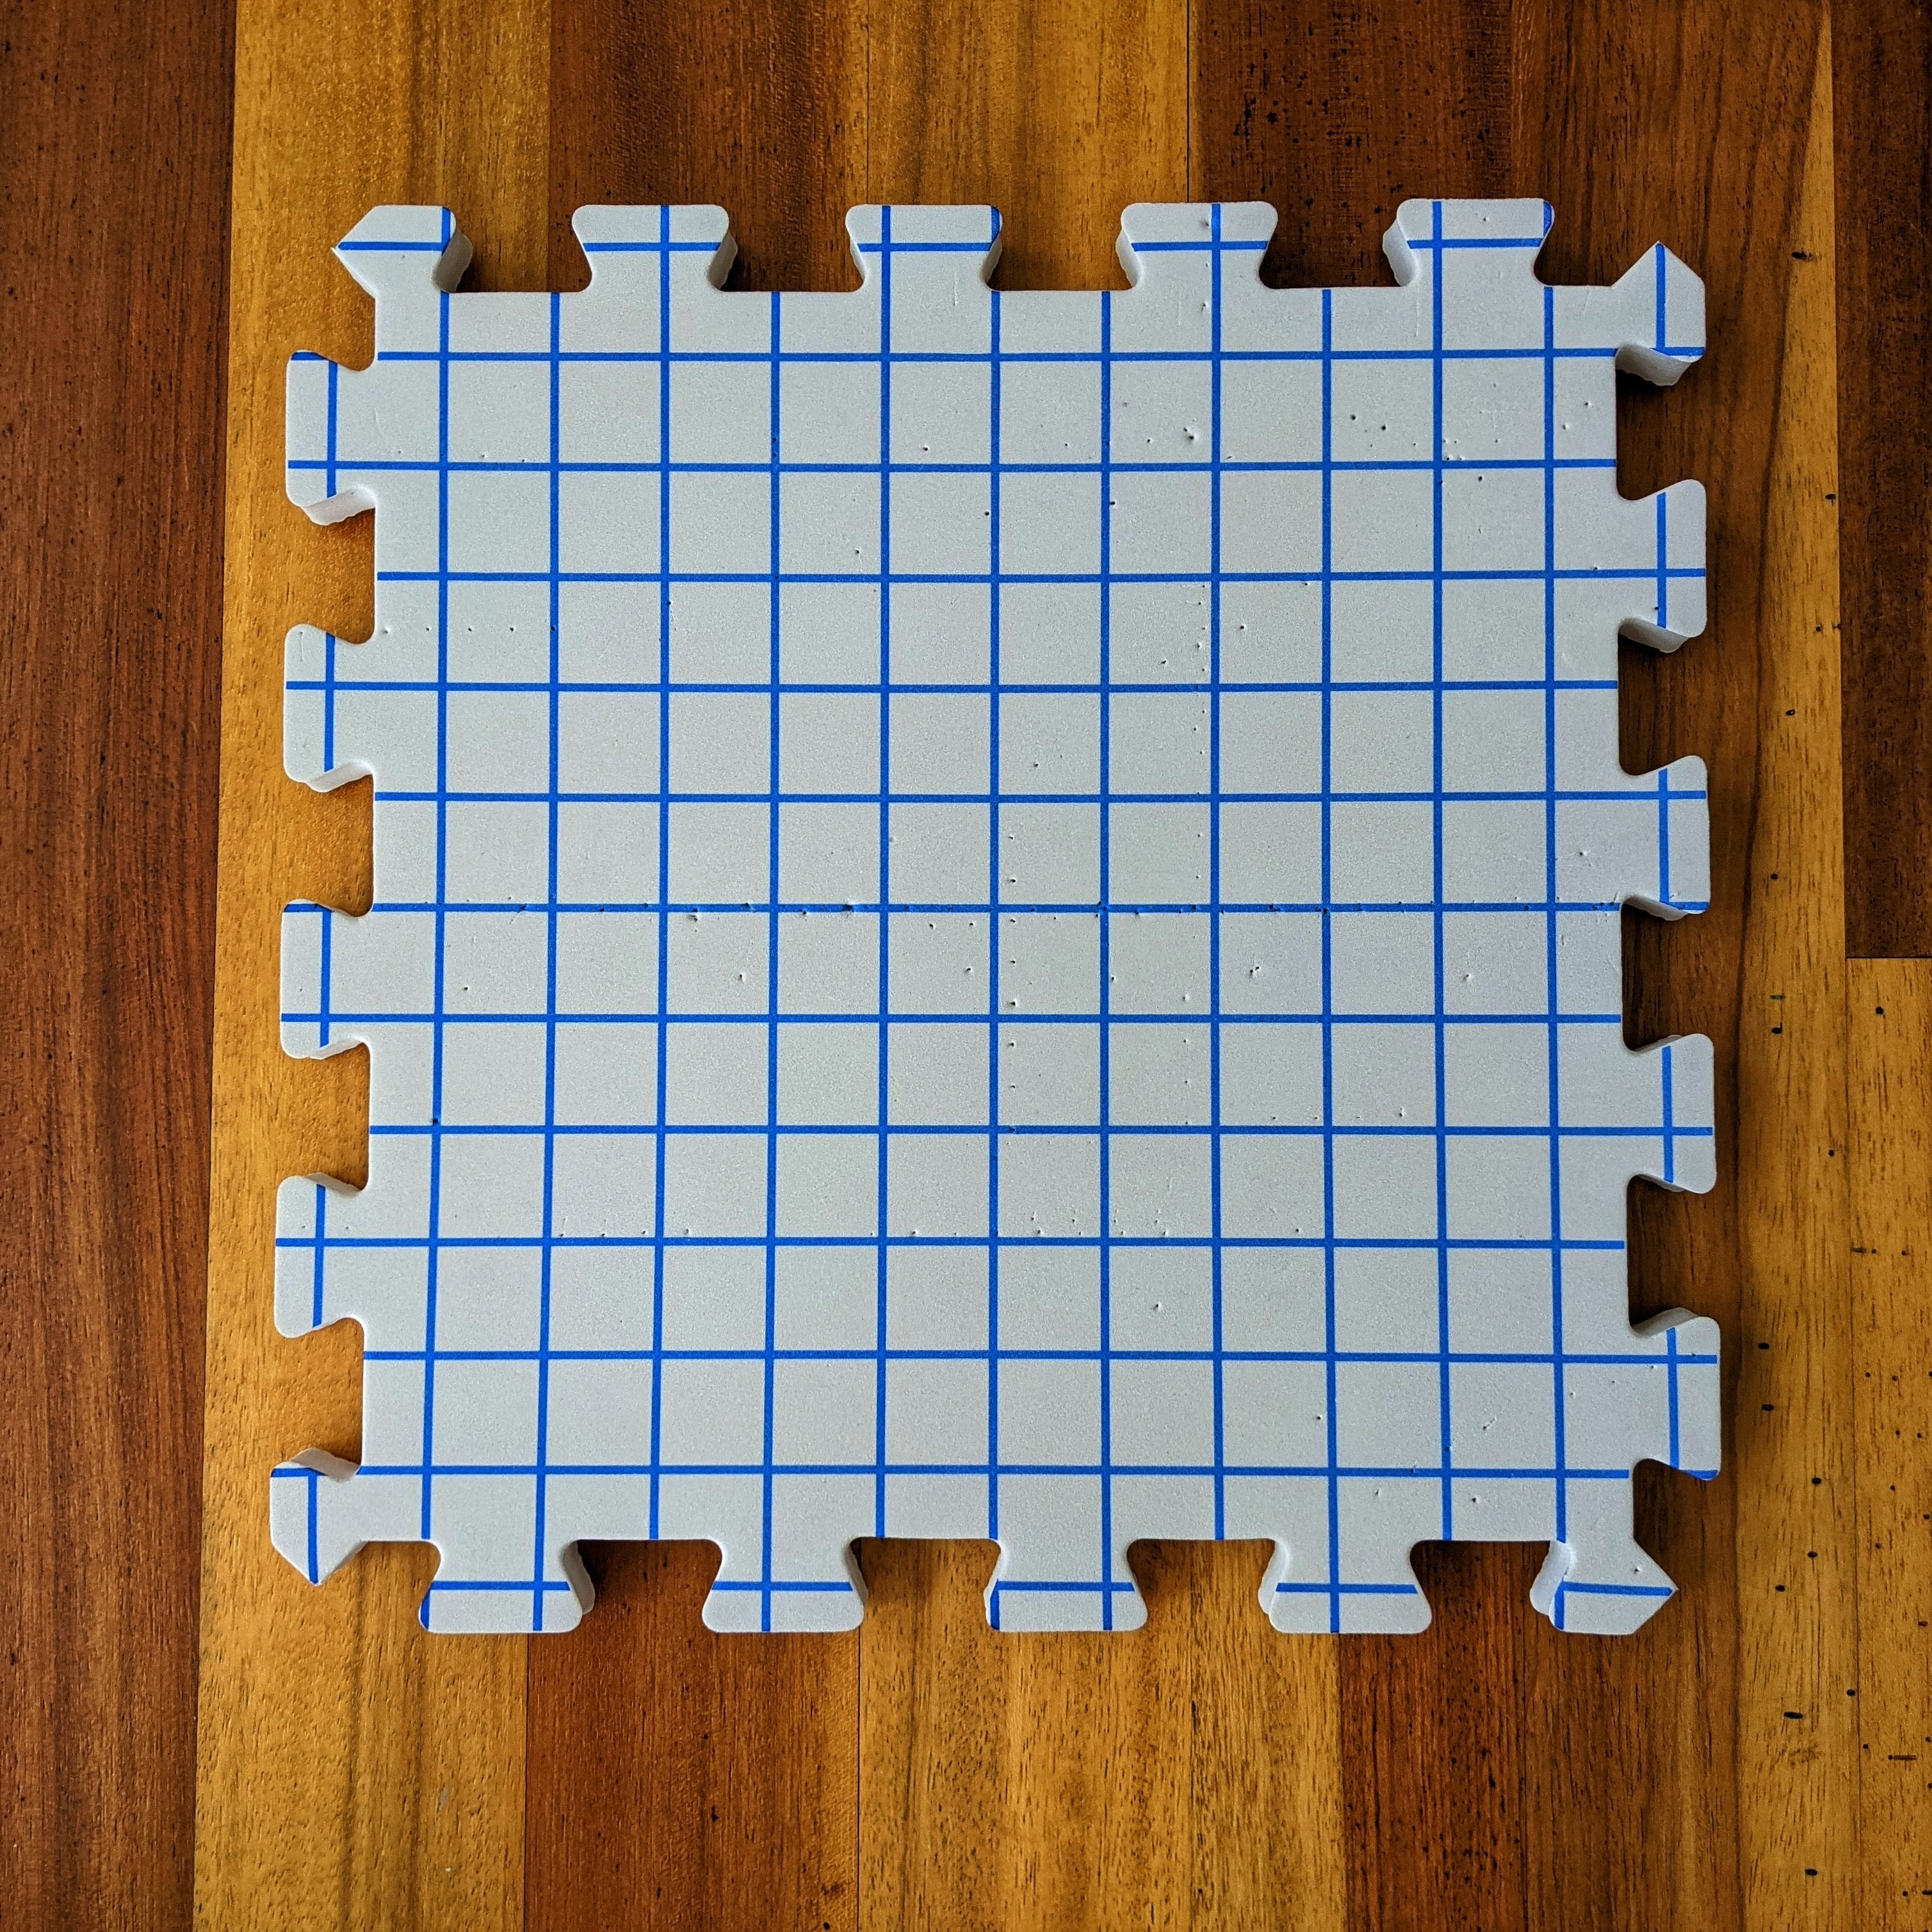
You will be laying your garment out flat to dry, which means we need a surface on which to lay our item. I use foam blocking mats that are great for pinning my items into shape, but these are not necessary. (If you have foam mats from a workshop or child’s play area, those will work! Just be sure to wipe them down first, of course.) In place of foam mats, I recommend using a plastic bag (garbage bag, grocery bag, etc.) and stuffing it with a folded towel. Then, once we have washed our item, we will place it on top of the bag-covered-towel to dry. Using a plastic bag helps to dry the garment faster because, instead of the moisture soaking into the towel, it is wicked away by the plastic and evaporated into the air. Genius, I know!!! Feel free to use this hack for any other lay-flat-to-dry items you may have. Additionally, you can create any size drying surface by combining multiple bag-covered-towels into the shape that you need.
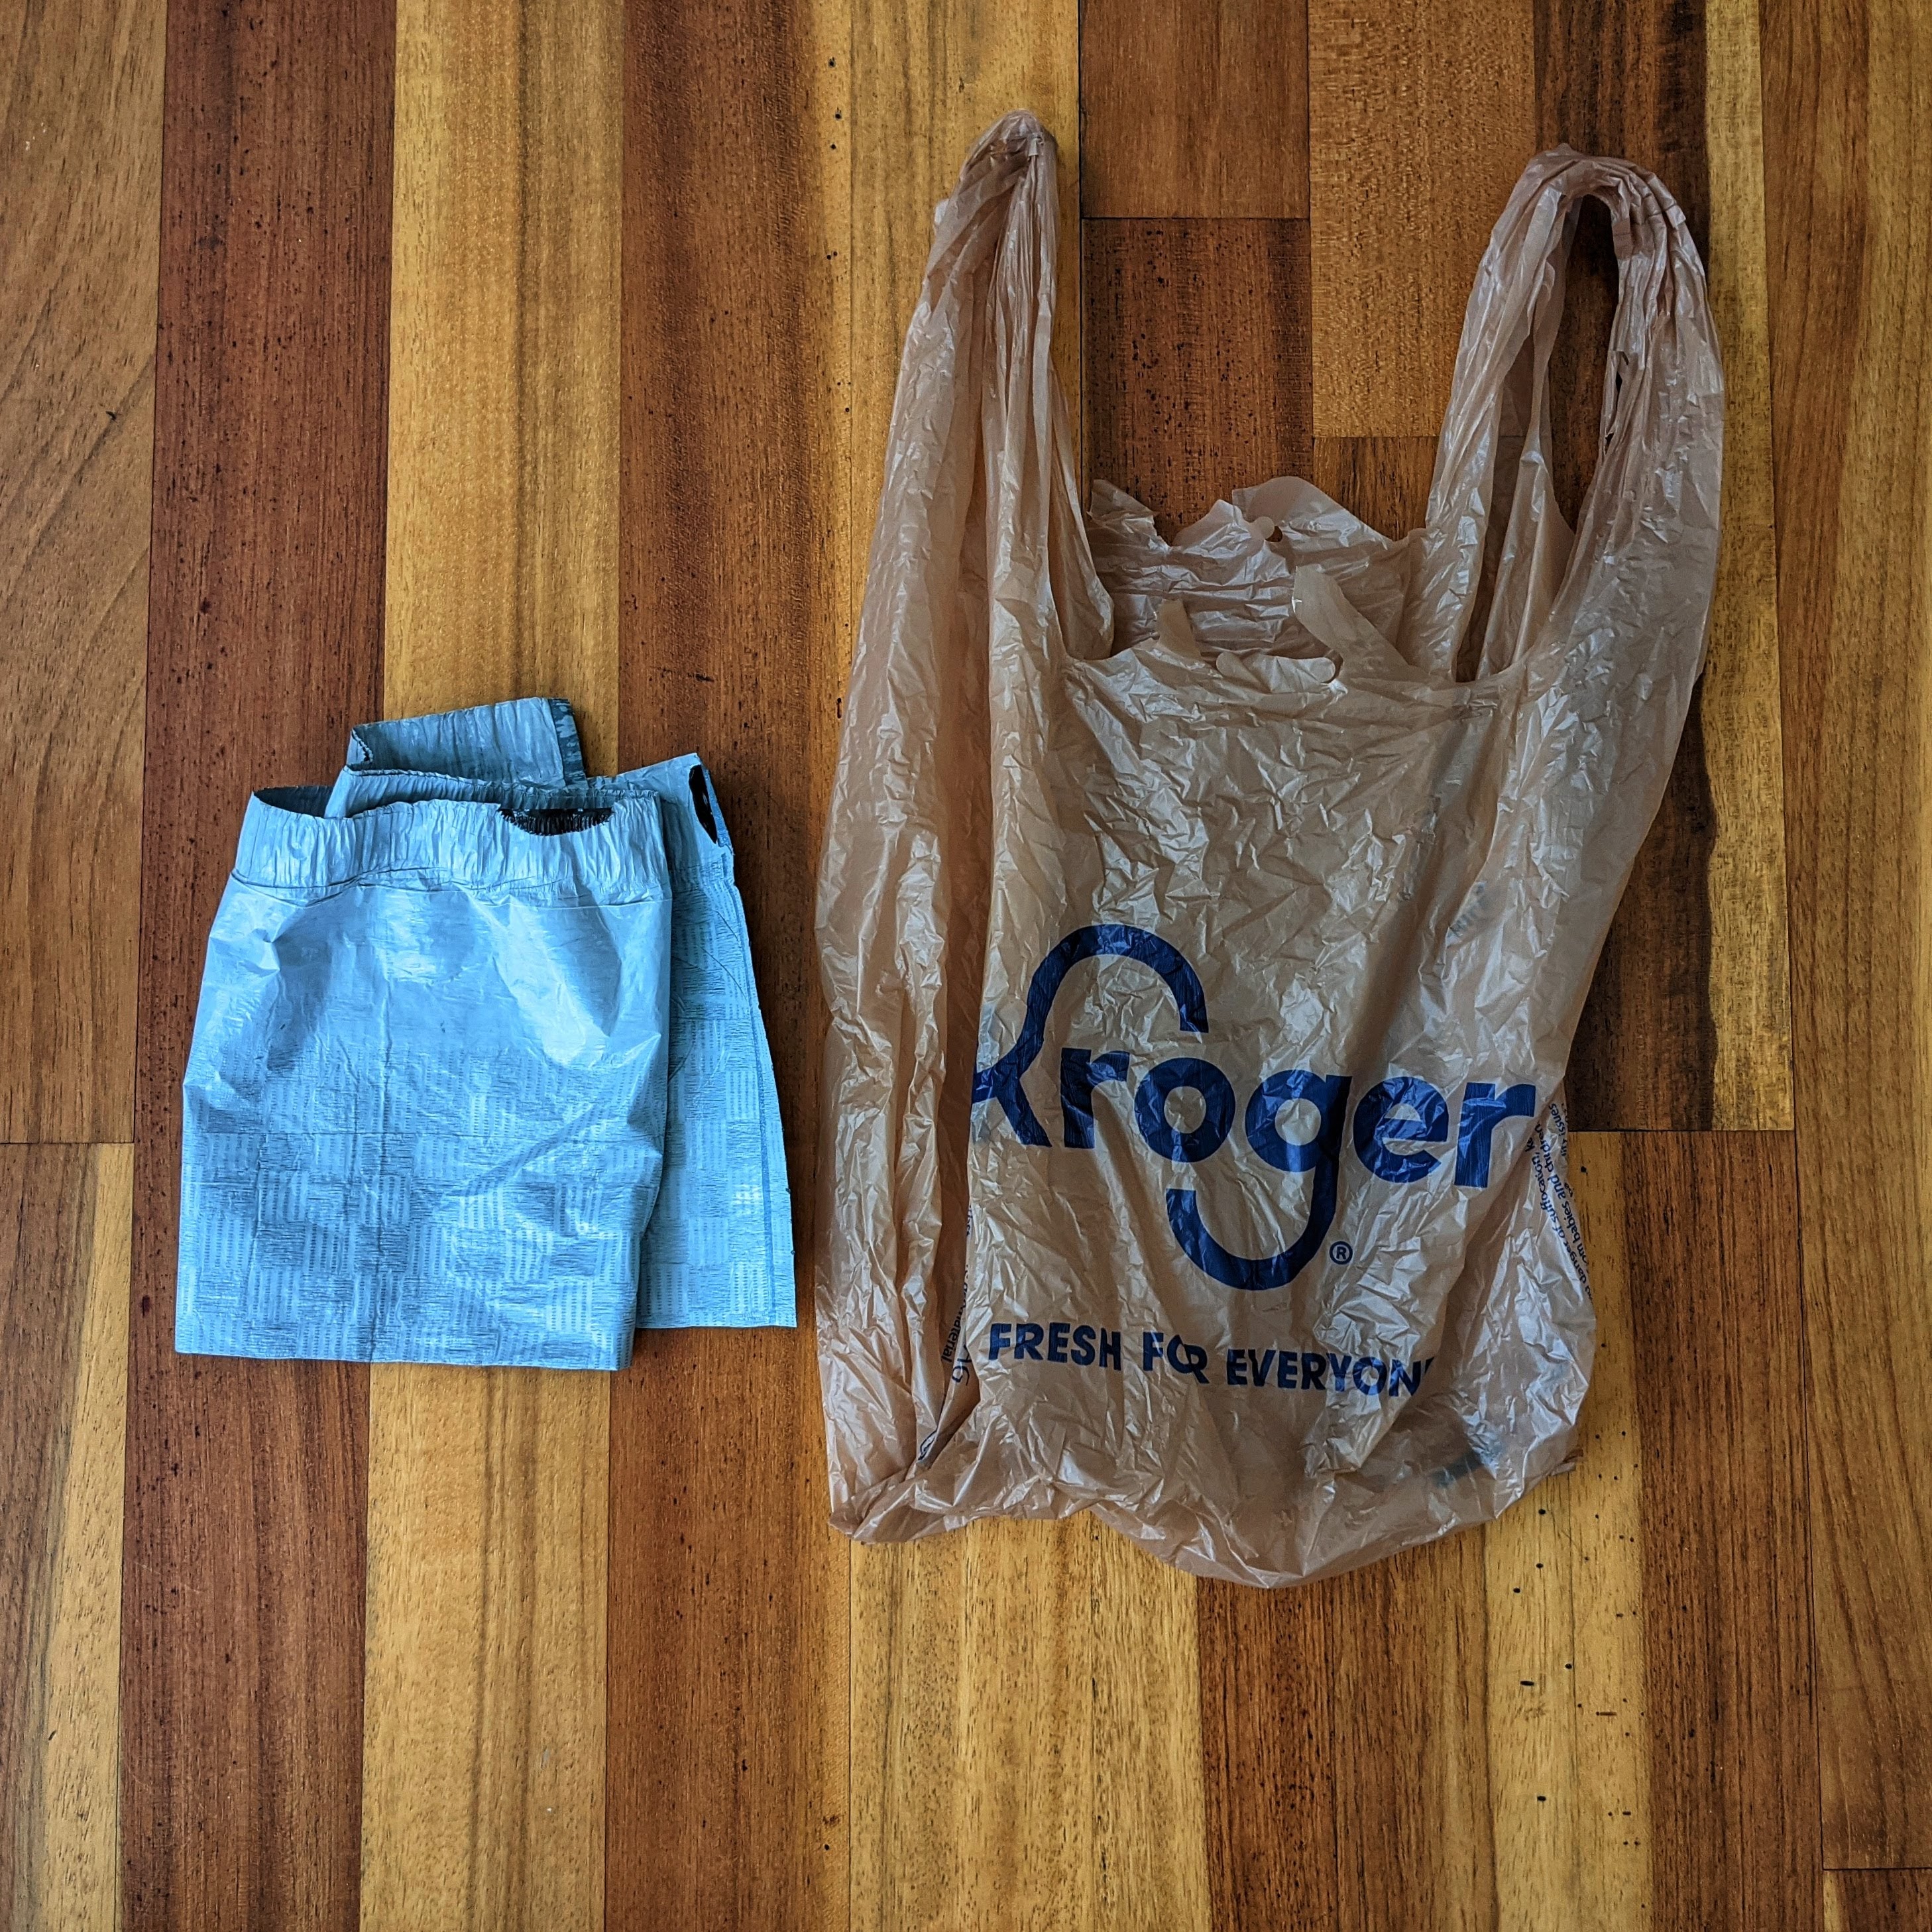
Garbage bag and grocery bag, left, and a foam blocking mat, right.
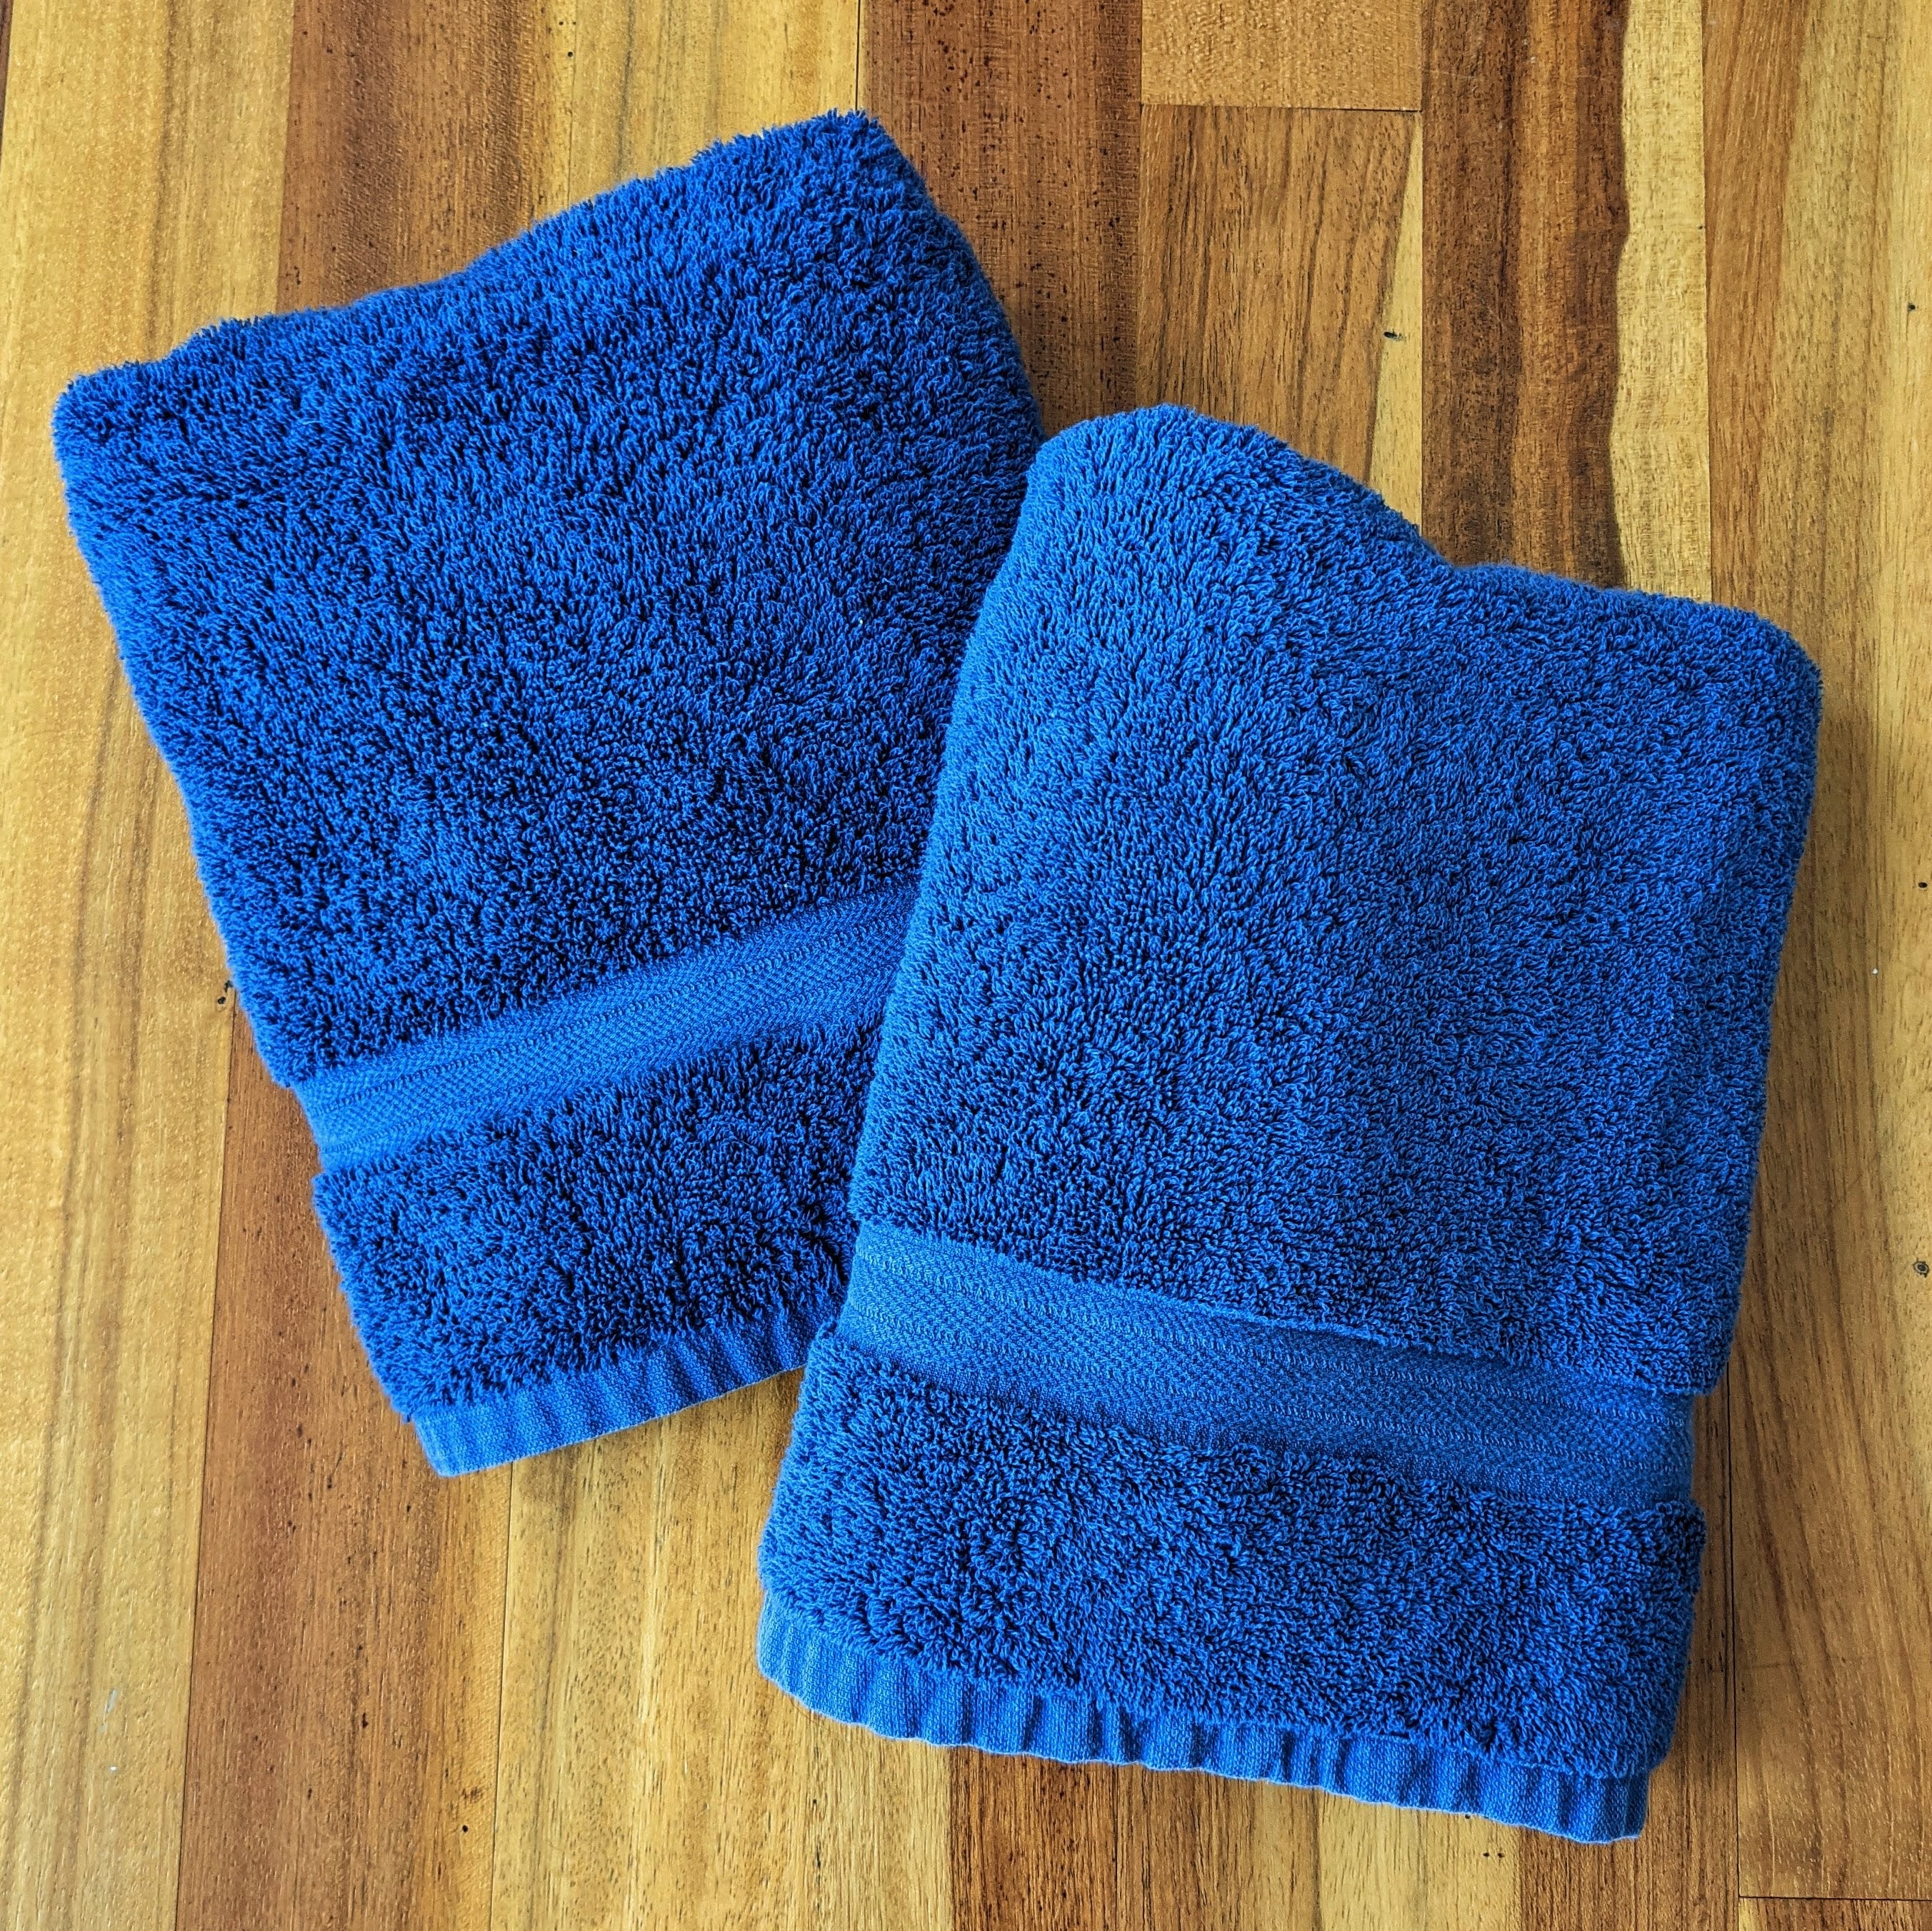
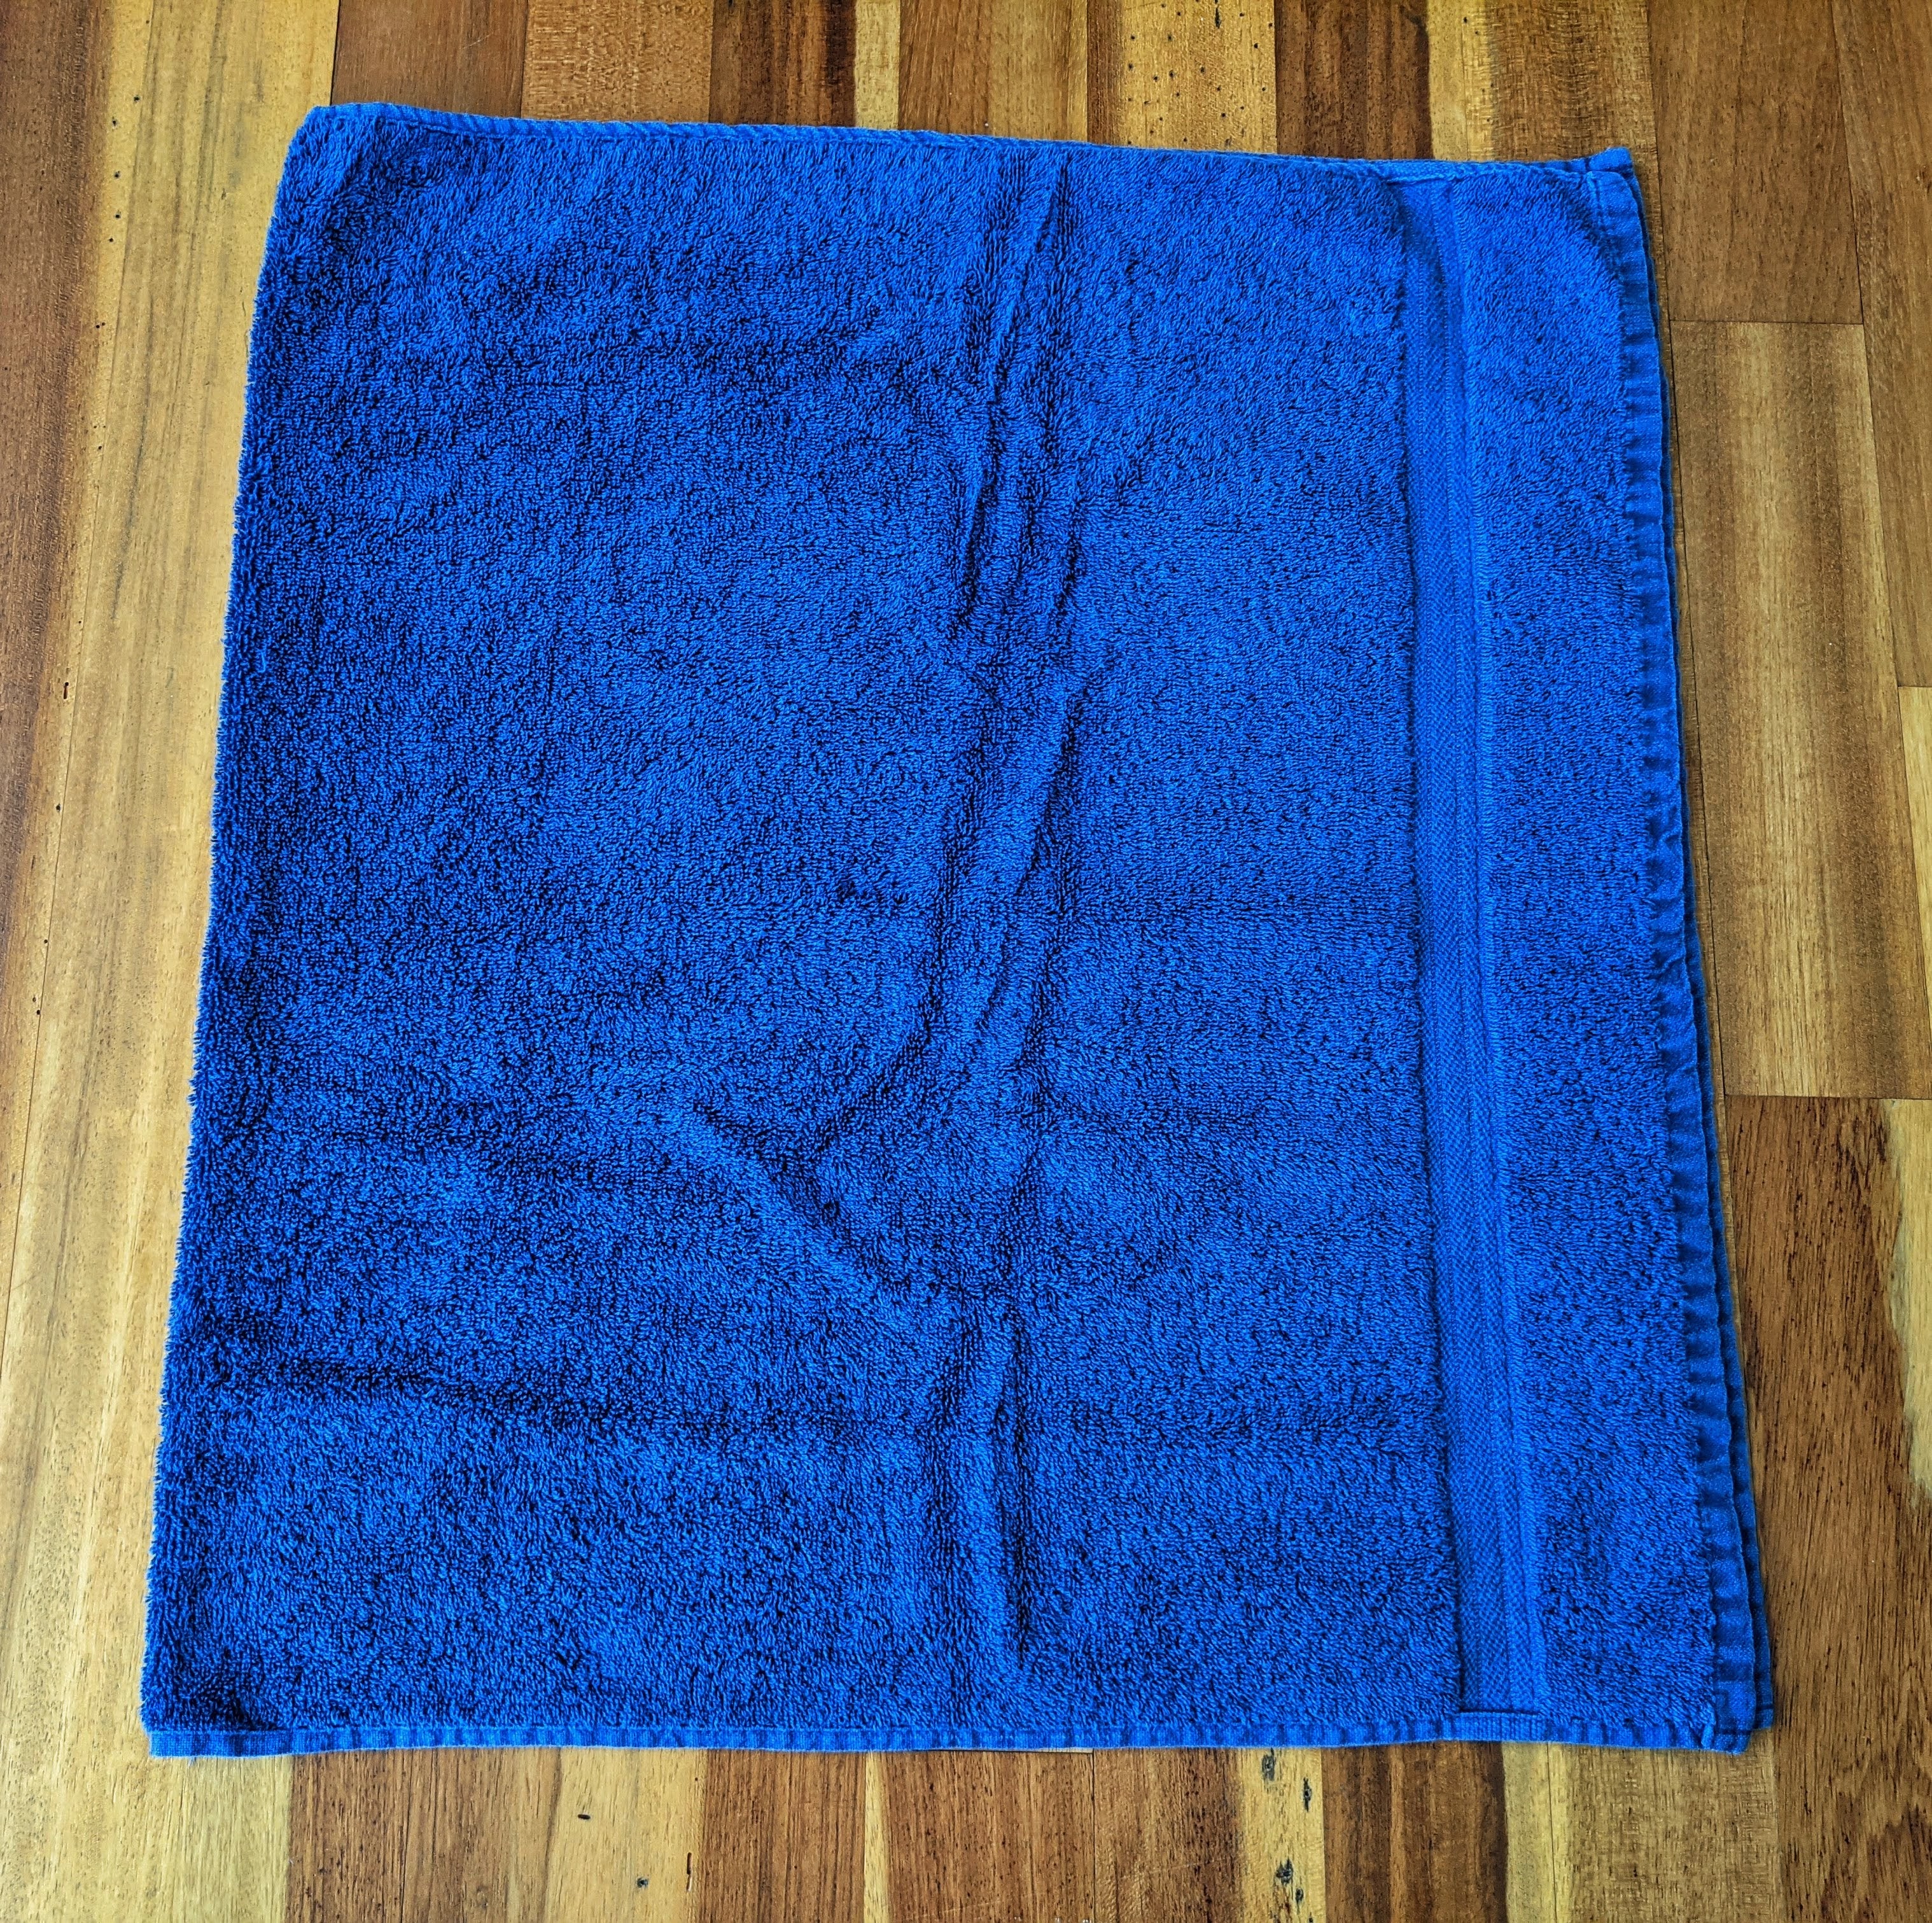
Next, make sure you have some towels ready. You will need at least one towel to dry your garment before laying flat to dry, plus at least one towel to put inside the plastic bag if you do not have foam mats/blocking mats.
When washing smaller garments like hats, cowls, and mittens, I find that one towel is sufficient for the initial towel dry process (more on this in a bit). However, if you are washing a shawl, scarf, wrap, sweater, blanket, or anything large, I like to lay multiple towels out flat on top of one another. I also like to use beach towels for larger projects because they are bigger than the old bath towels I use for my crafts.
For this demonstration, I will be using one towel for the initial towel dry process and one towel inside the plastic bag.
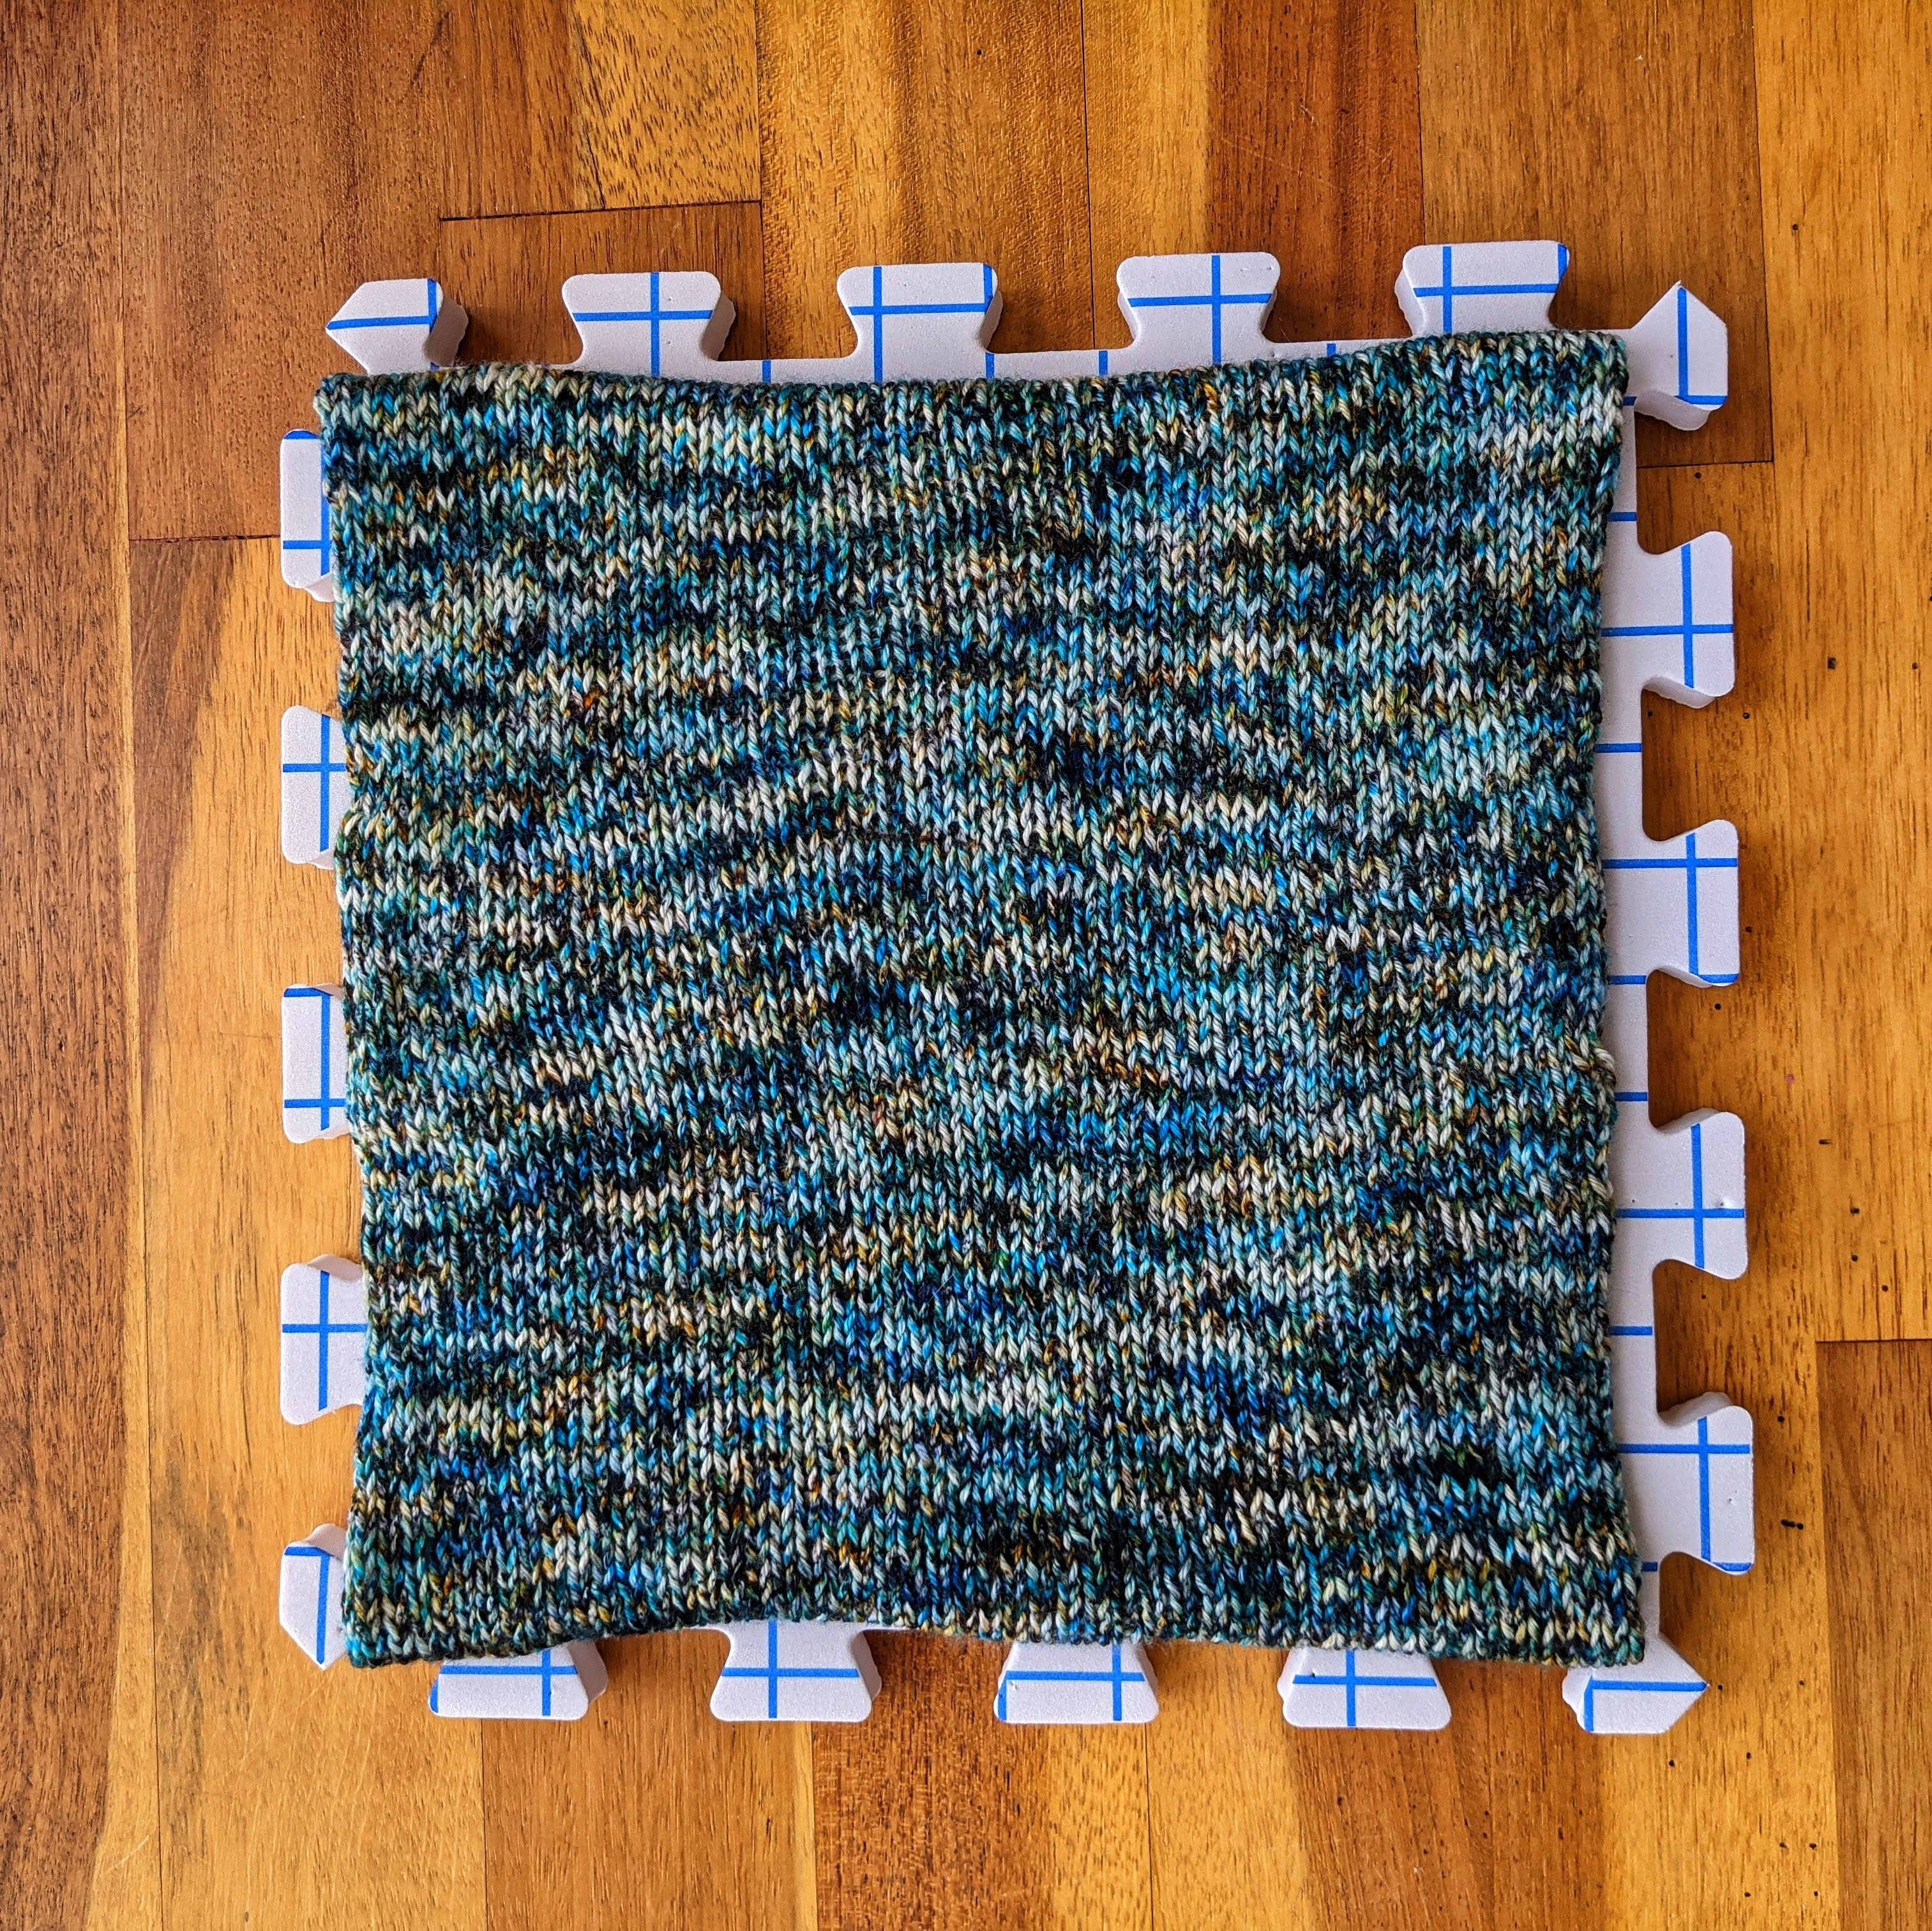
And finally, here is my knitted cowl that I will be washing. (I’ll be sure to share a post on this cowl soon!)
Instructions
Before we get into the instructions, I have to say this: DO NOT WRING, AGITATE, OR TWIST YOUR WET GARMENT!!! (and also, do NOT use hot water!) This is the most important piece of advice I can give today. Here’s why:
Wringing, agitating, or twisting your wet wool garment, especially in hot water, will manipulate the fibers and cause them to change shape. This results in felting, which is when a knitted garment shrinks down over half its size. There are many knitting projects where this is done intentionally, but felting is not our intention when doing a routine washing of a hat, shawl, cowl, etc. PLEASE be sure to use tepid-to-cold temperature water, and do not wring or agitate your garment.
Okay, now that we have that clearly on the table, here is the process:
- Prepare your drying surfaces. This could include wiping down and interlocking your foam blocking mats, or folding towels and covering them in plastic bags. Make sure your drying surface is out of direct sunlight and in an area with good air circulation. A wet and cold room won’t help this process go by faster!
Photos showing options of towels covered by plastic bags
2. Fill your washtub. Read your wool wash label to discern what ratio of detergent to water you will need. For Eucalan, the ratio is 1 tsp Eucalan to 1 gallon of tepid water. In my demonstration, I have cut this ratio down to fit the capacity of my washtub.
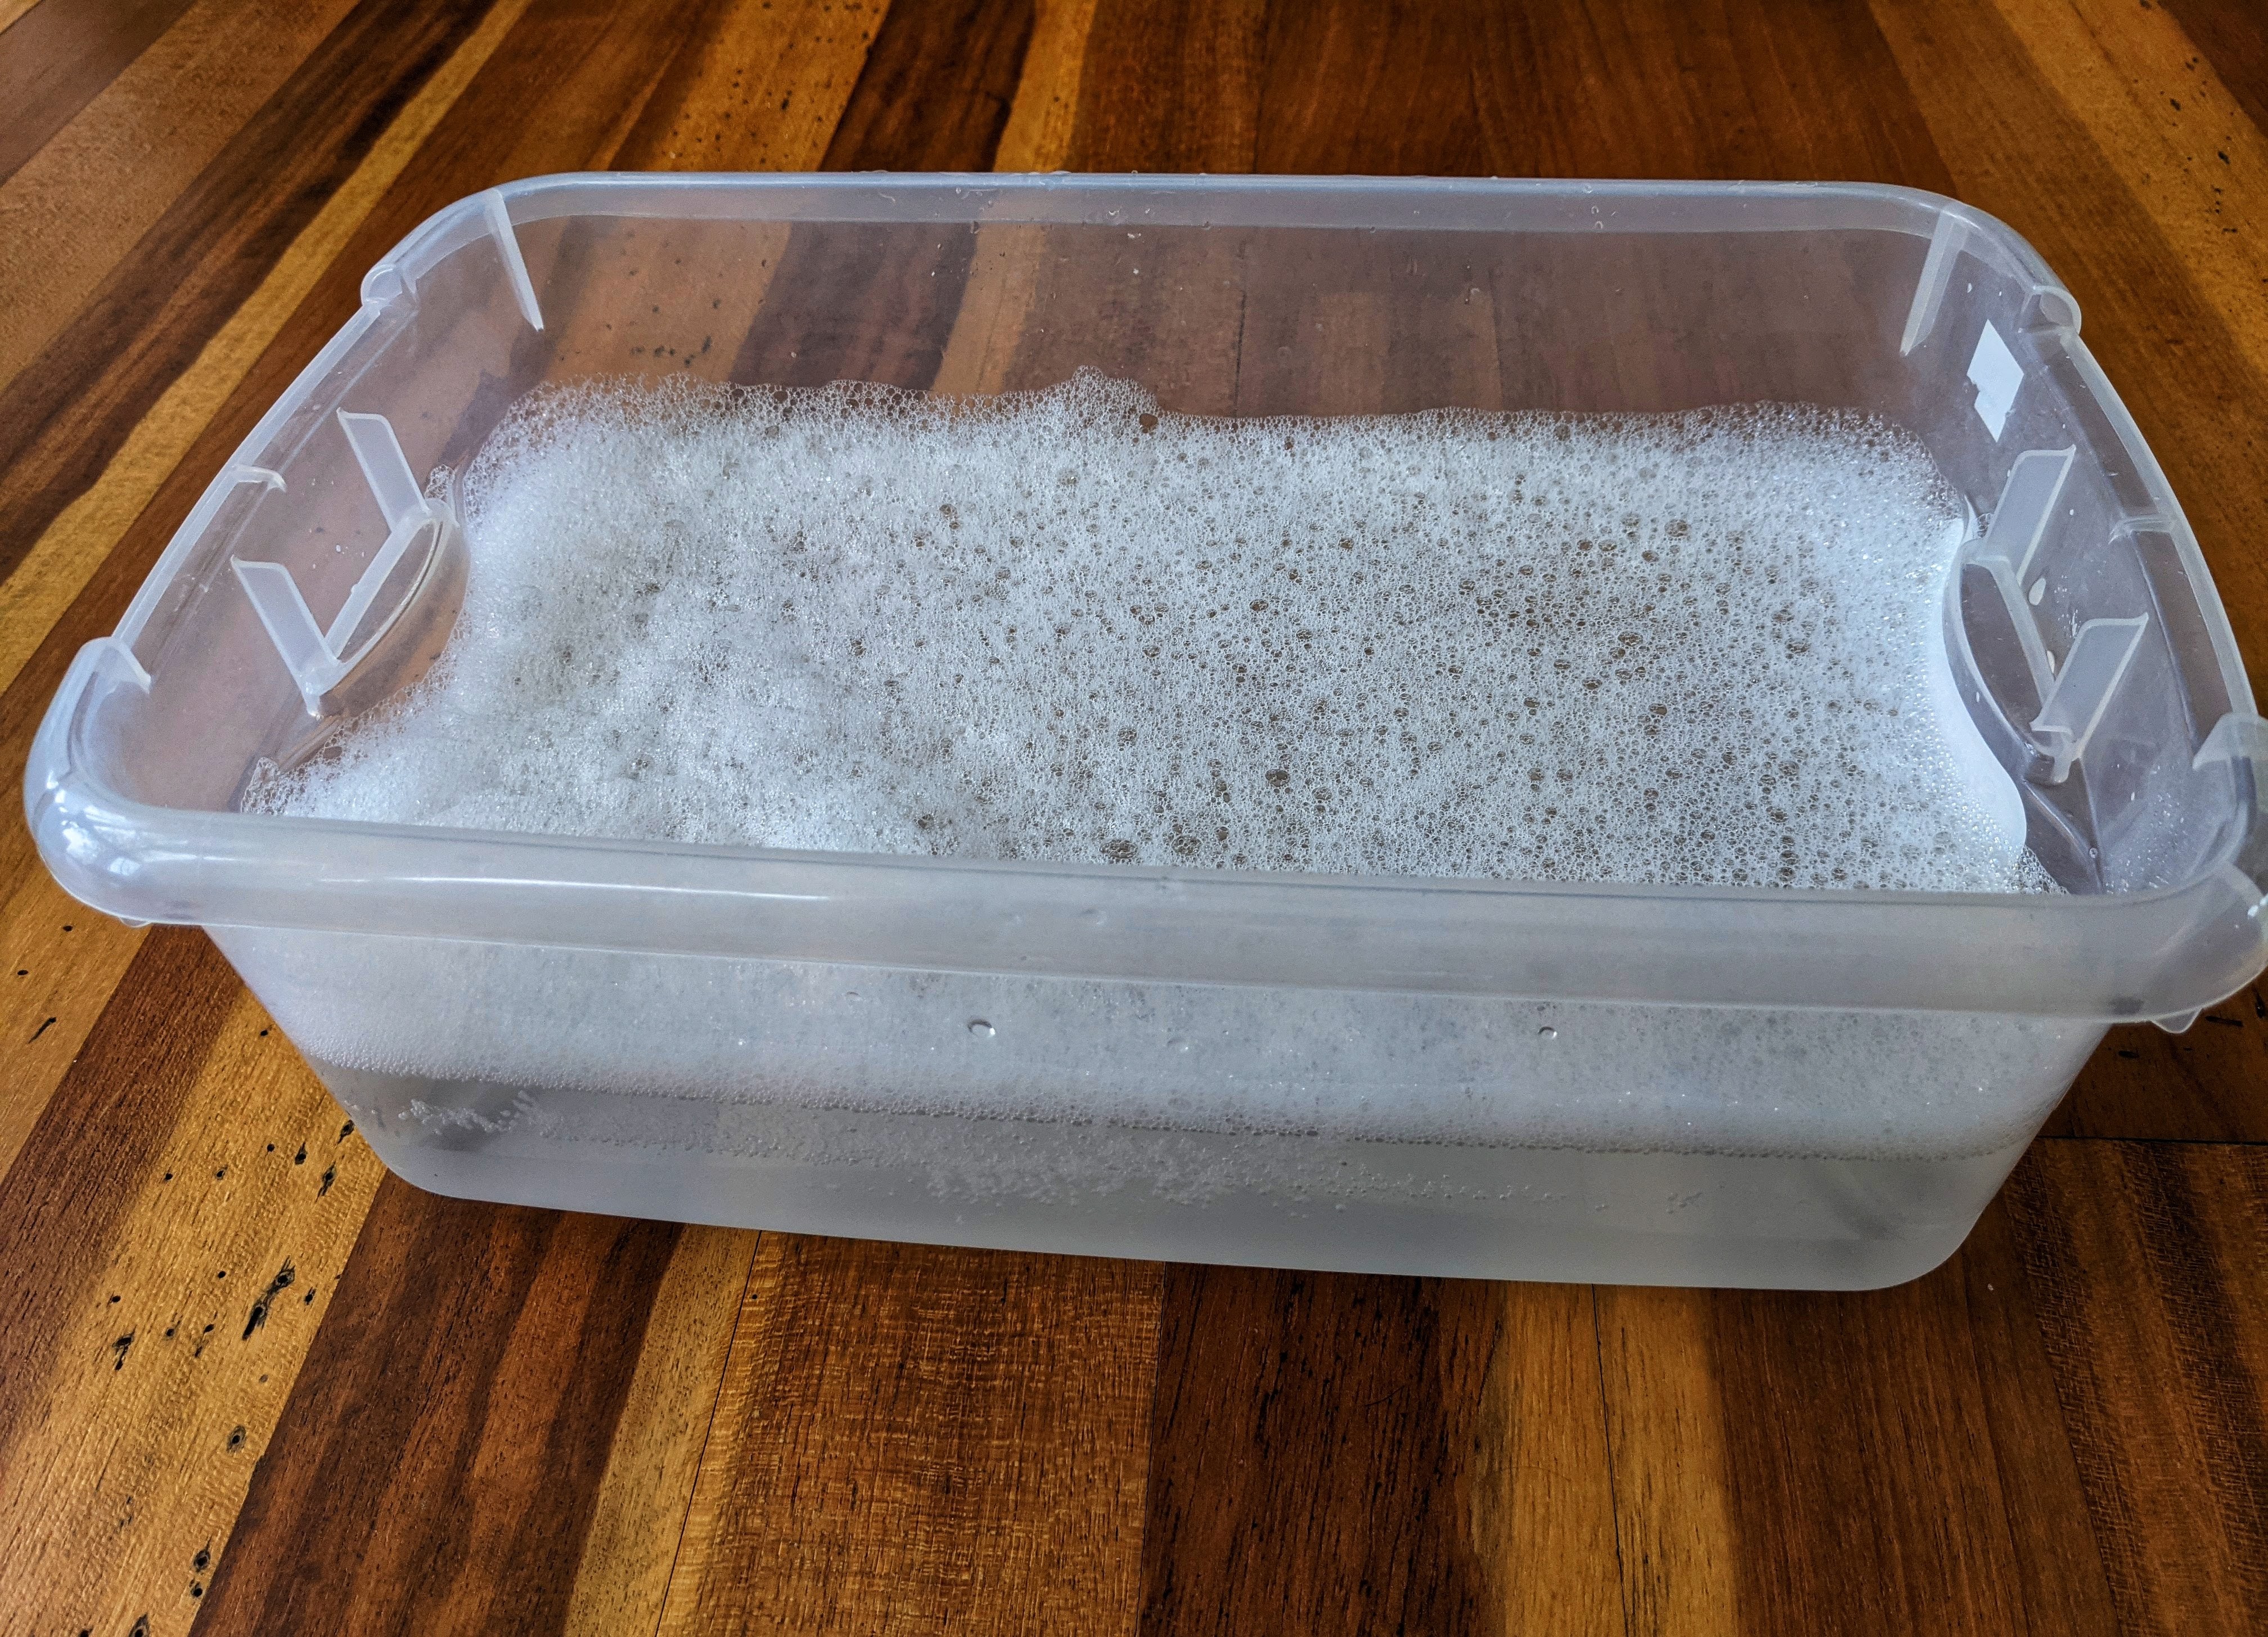
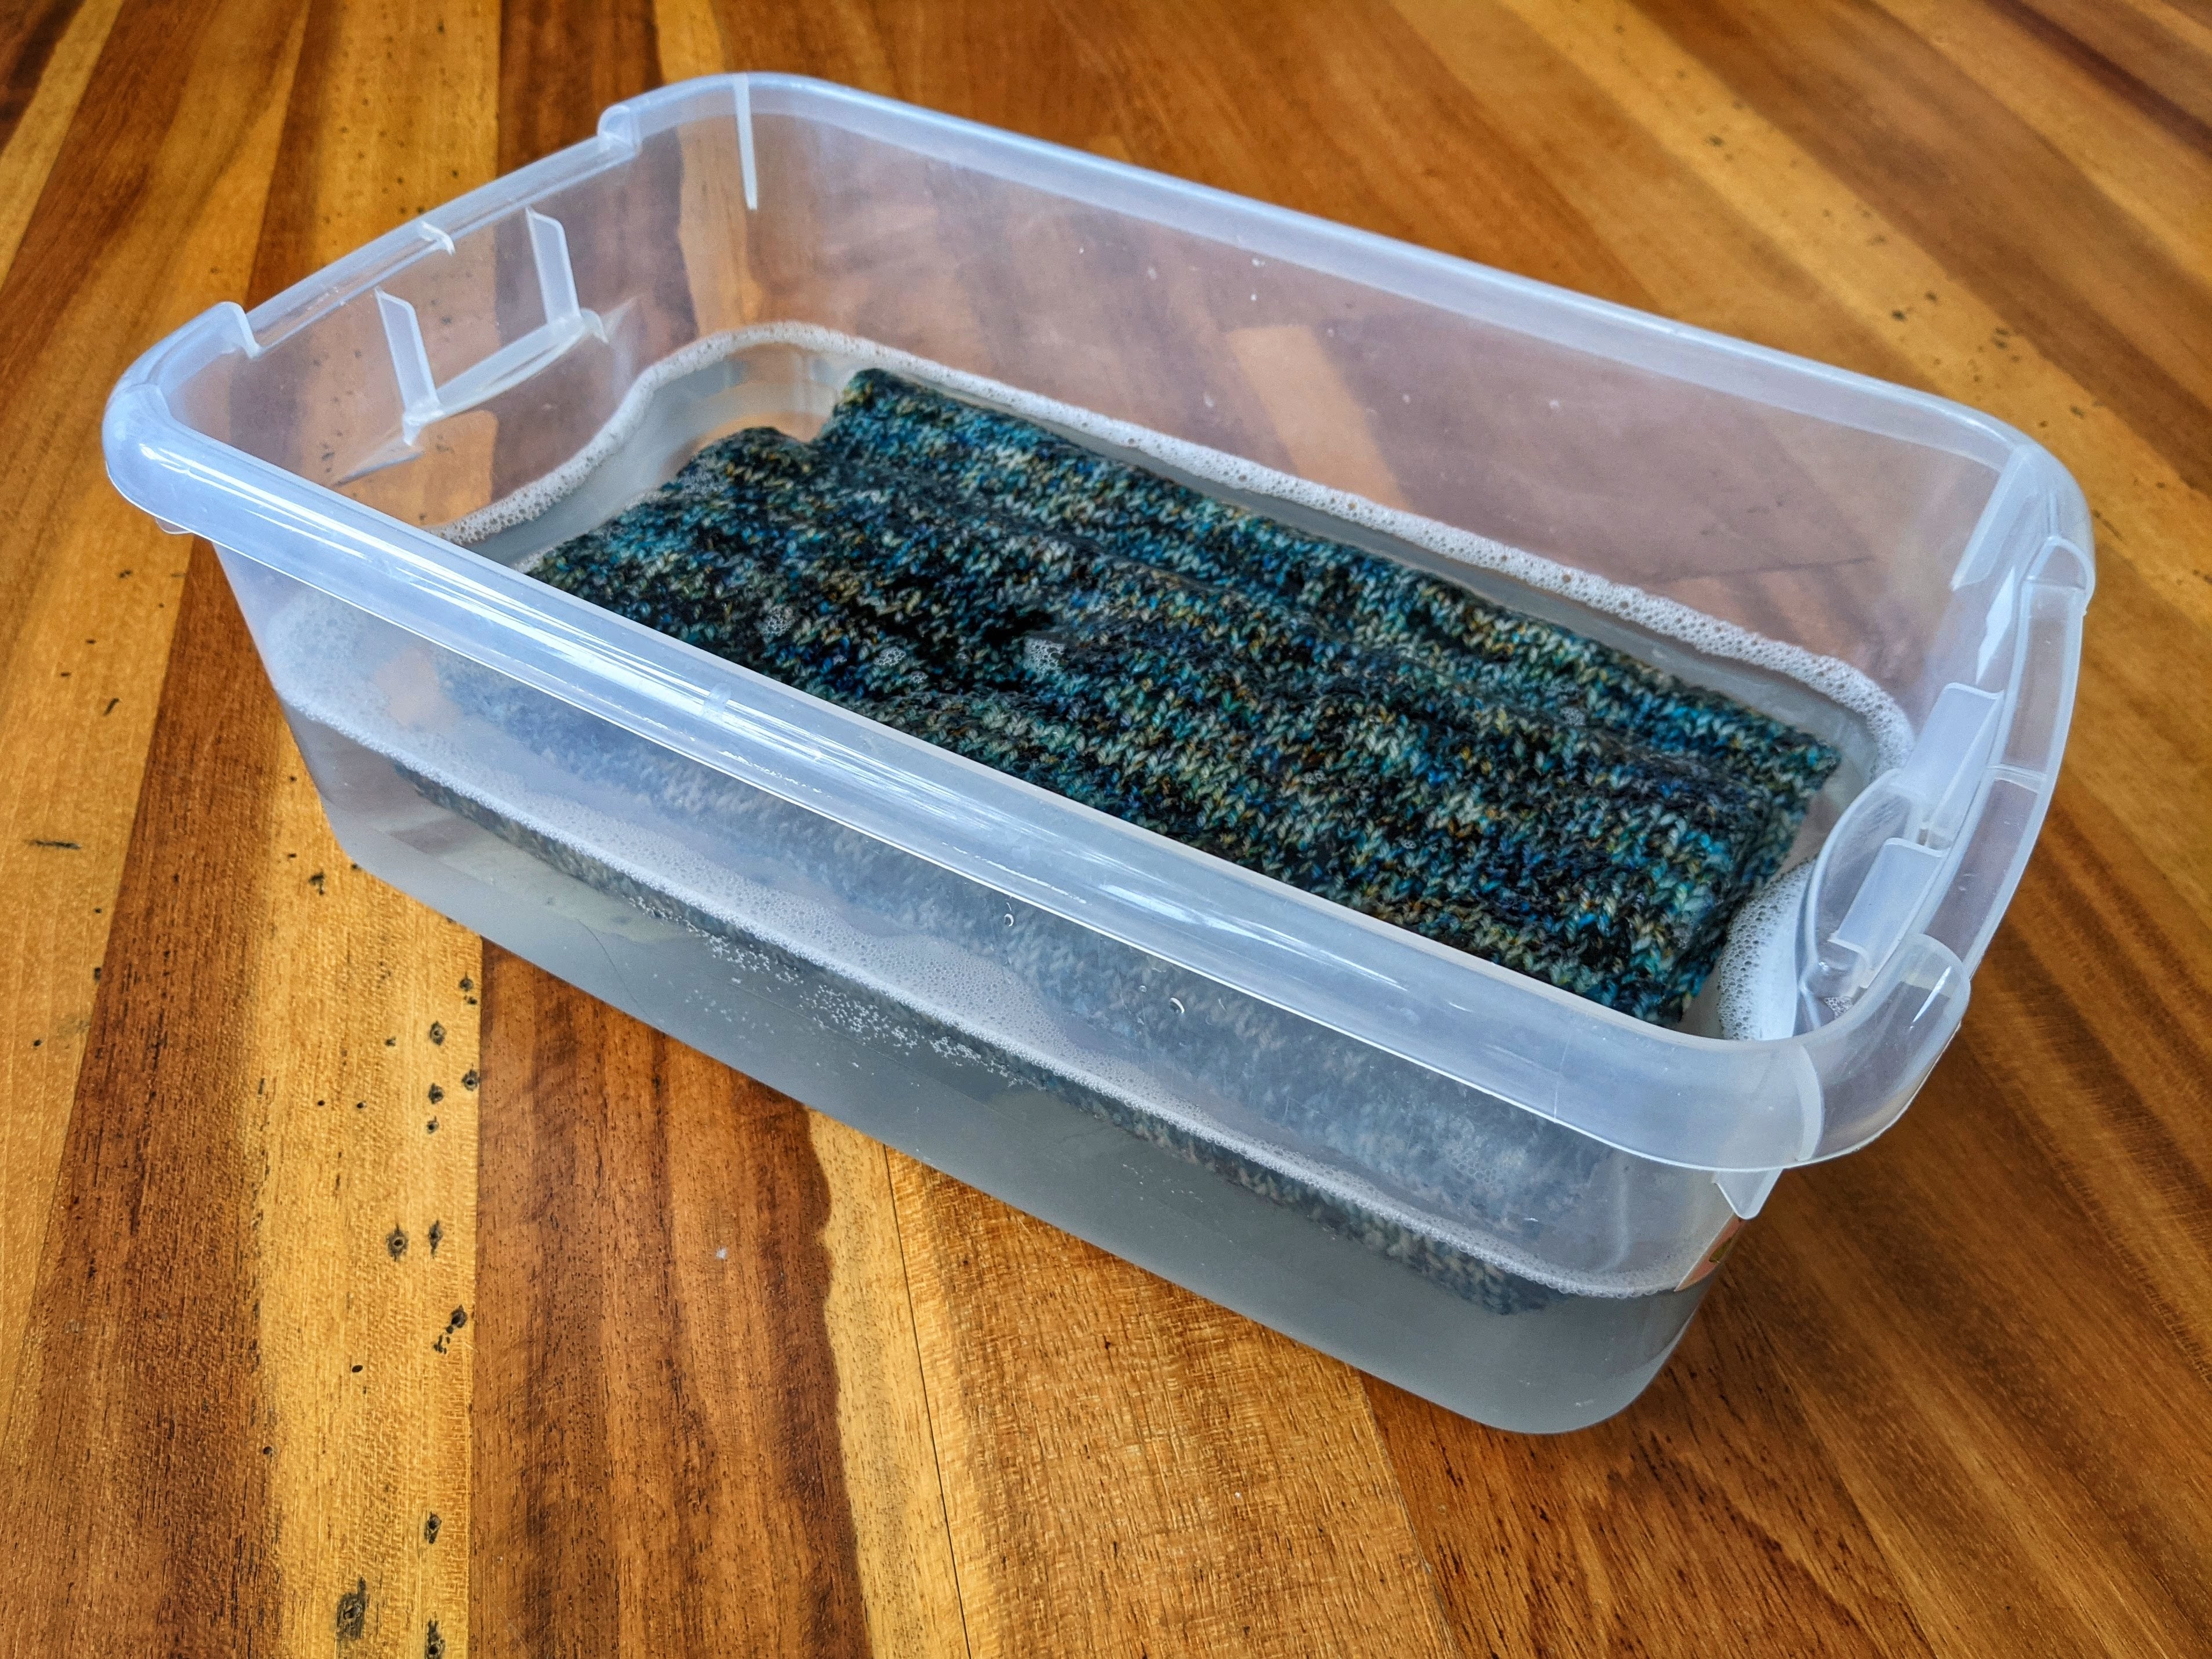
3. Put your handmade item into your washtub. Notice in the video below how I am using my fingertips to press the garment into the water. This is a safe way to soak your item without agitation. It is important that your garment is in the water and not sitting on top of the water.
4. Bath time! Let your garment soak for 15-20 minutes. In the meantime, prepare a towel for the upcoming towel burrito drying method. (Definitely an official term!)
One towel folded in half is sufficient for cowls, hats, and other small items. However, like I mentioned before, if you are washing a larger garment like a shawl, scarf, or sweater, I suggest laying multiple layers of towels out flat. I normally use three to four beach towels because a bigger item means more water to soak up!
5. Drain the washtub. You do not need to rinse your item when using Eucalan or a similar delicate wool wash. Then, PRESS excess water out of your item. DO NOT wring or twist your item. In the video below, I folded my item on top of itself and pressed excess water out.
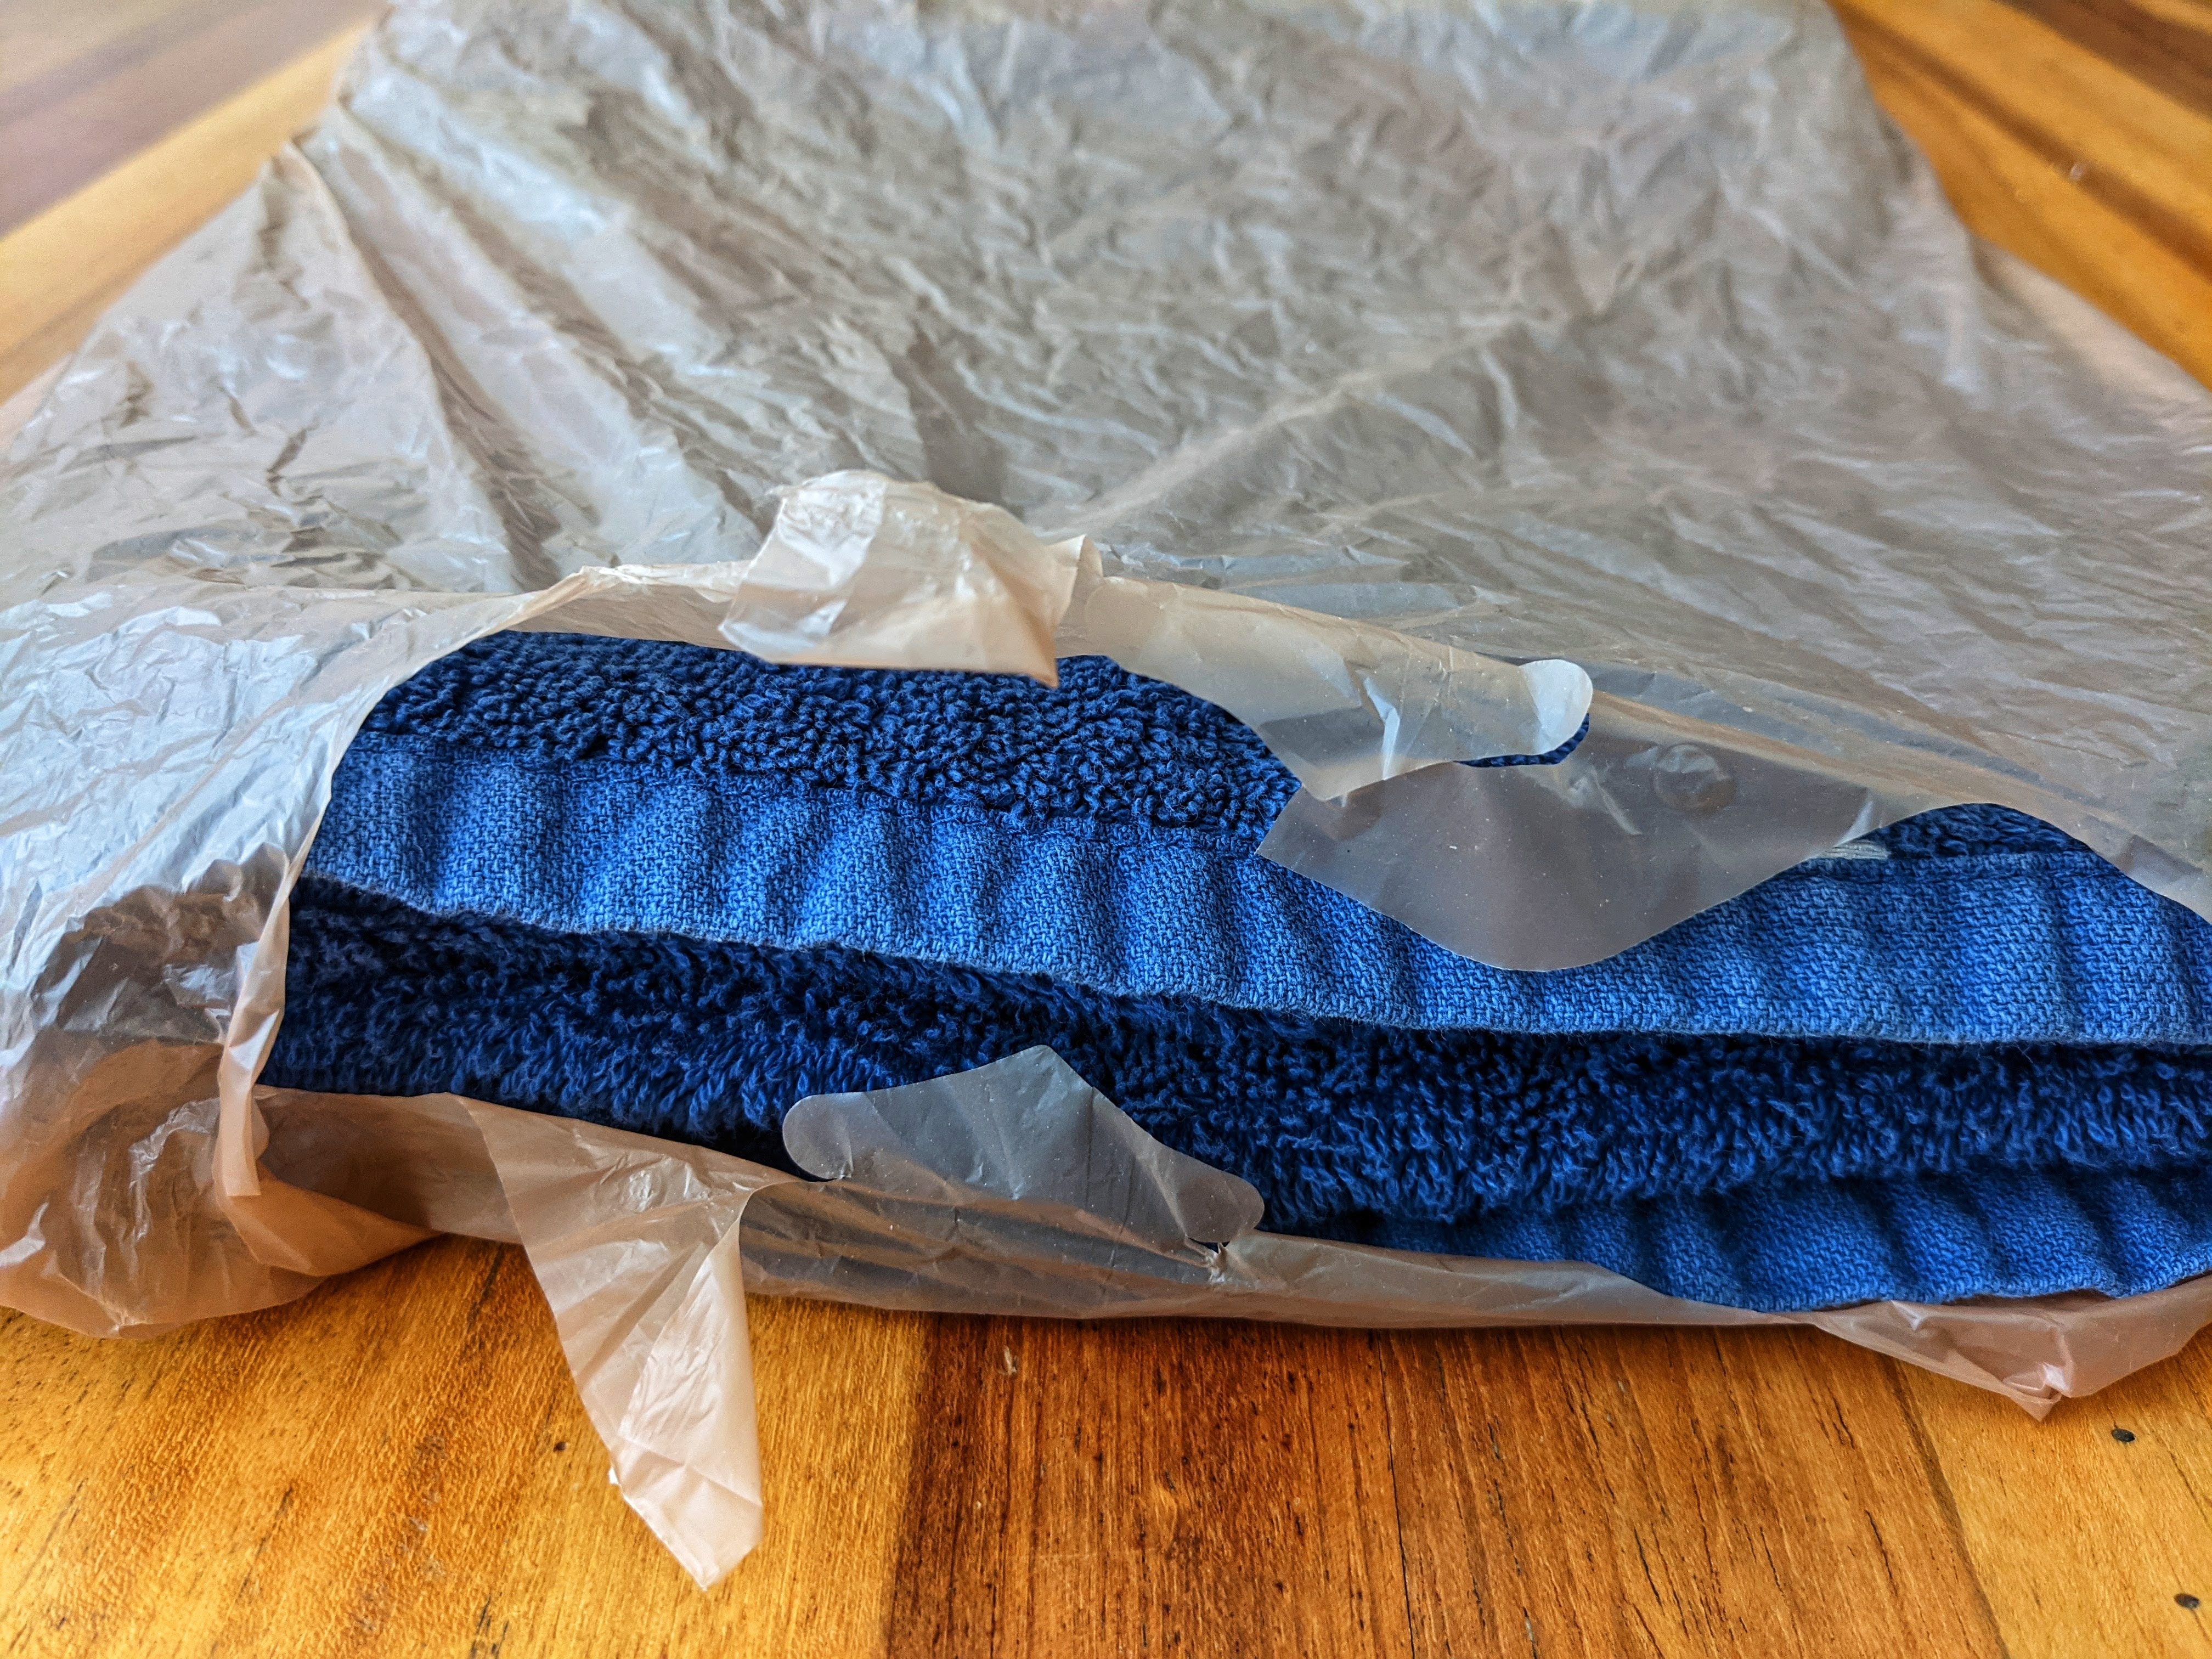
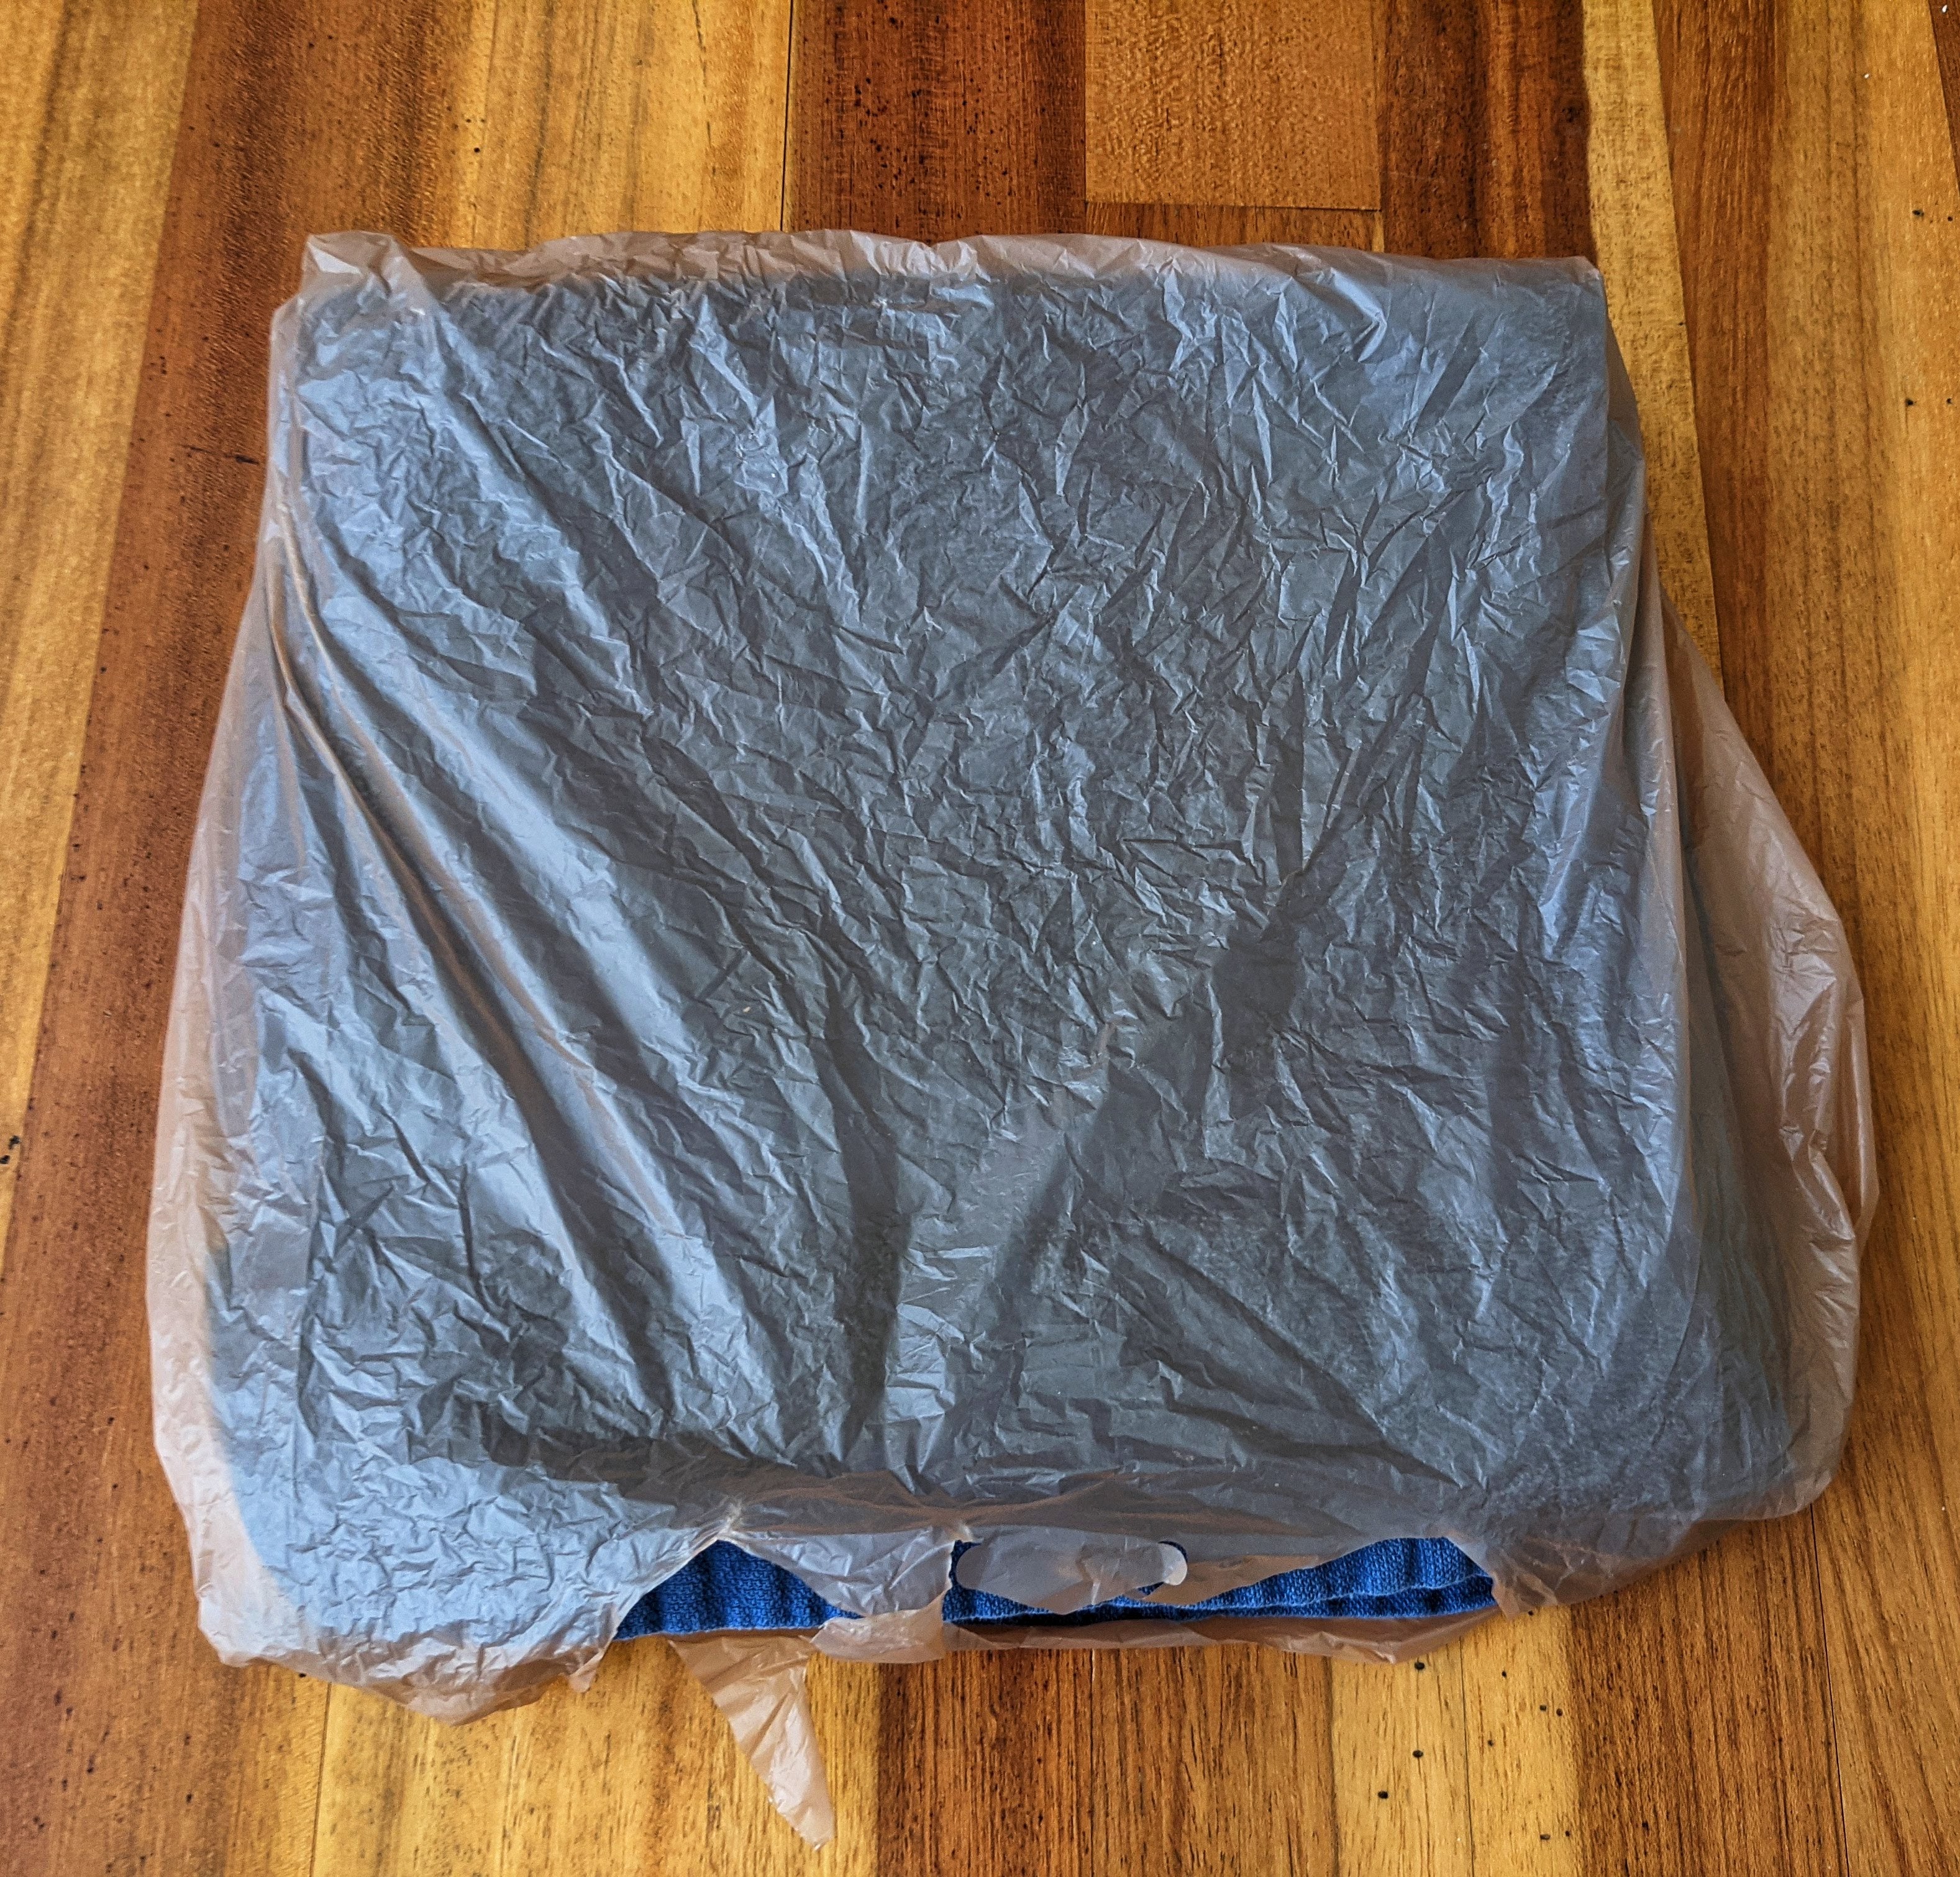
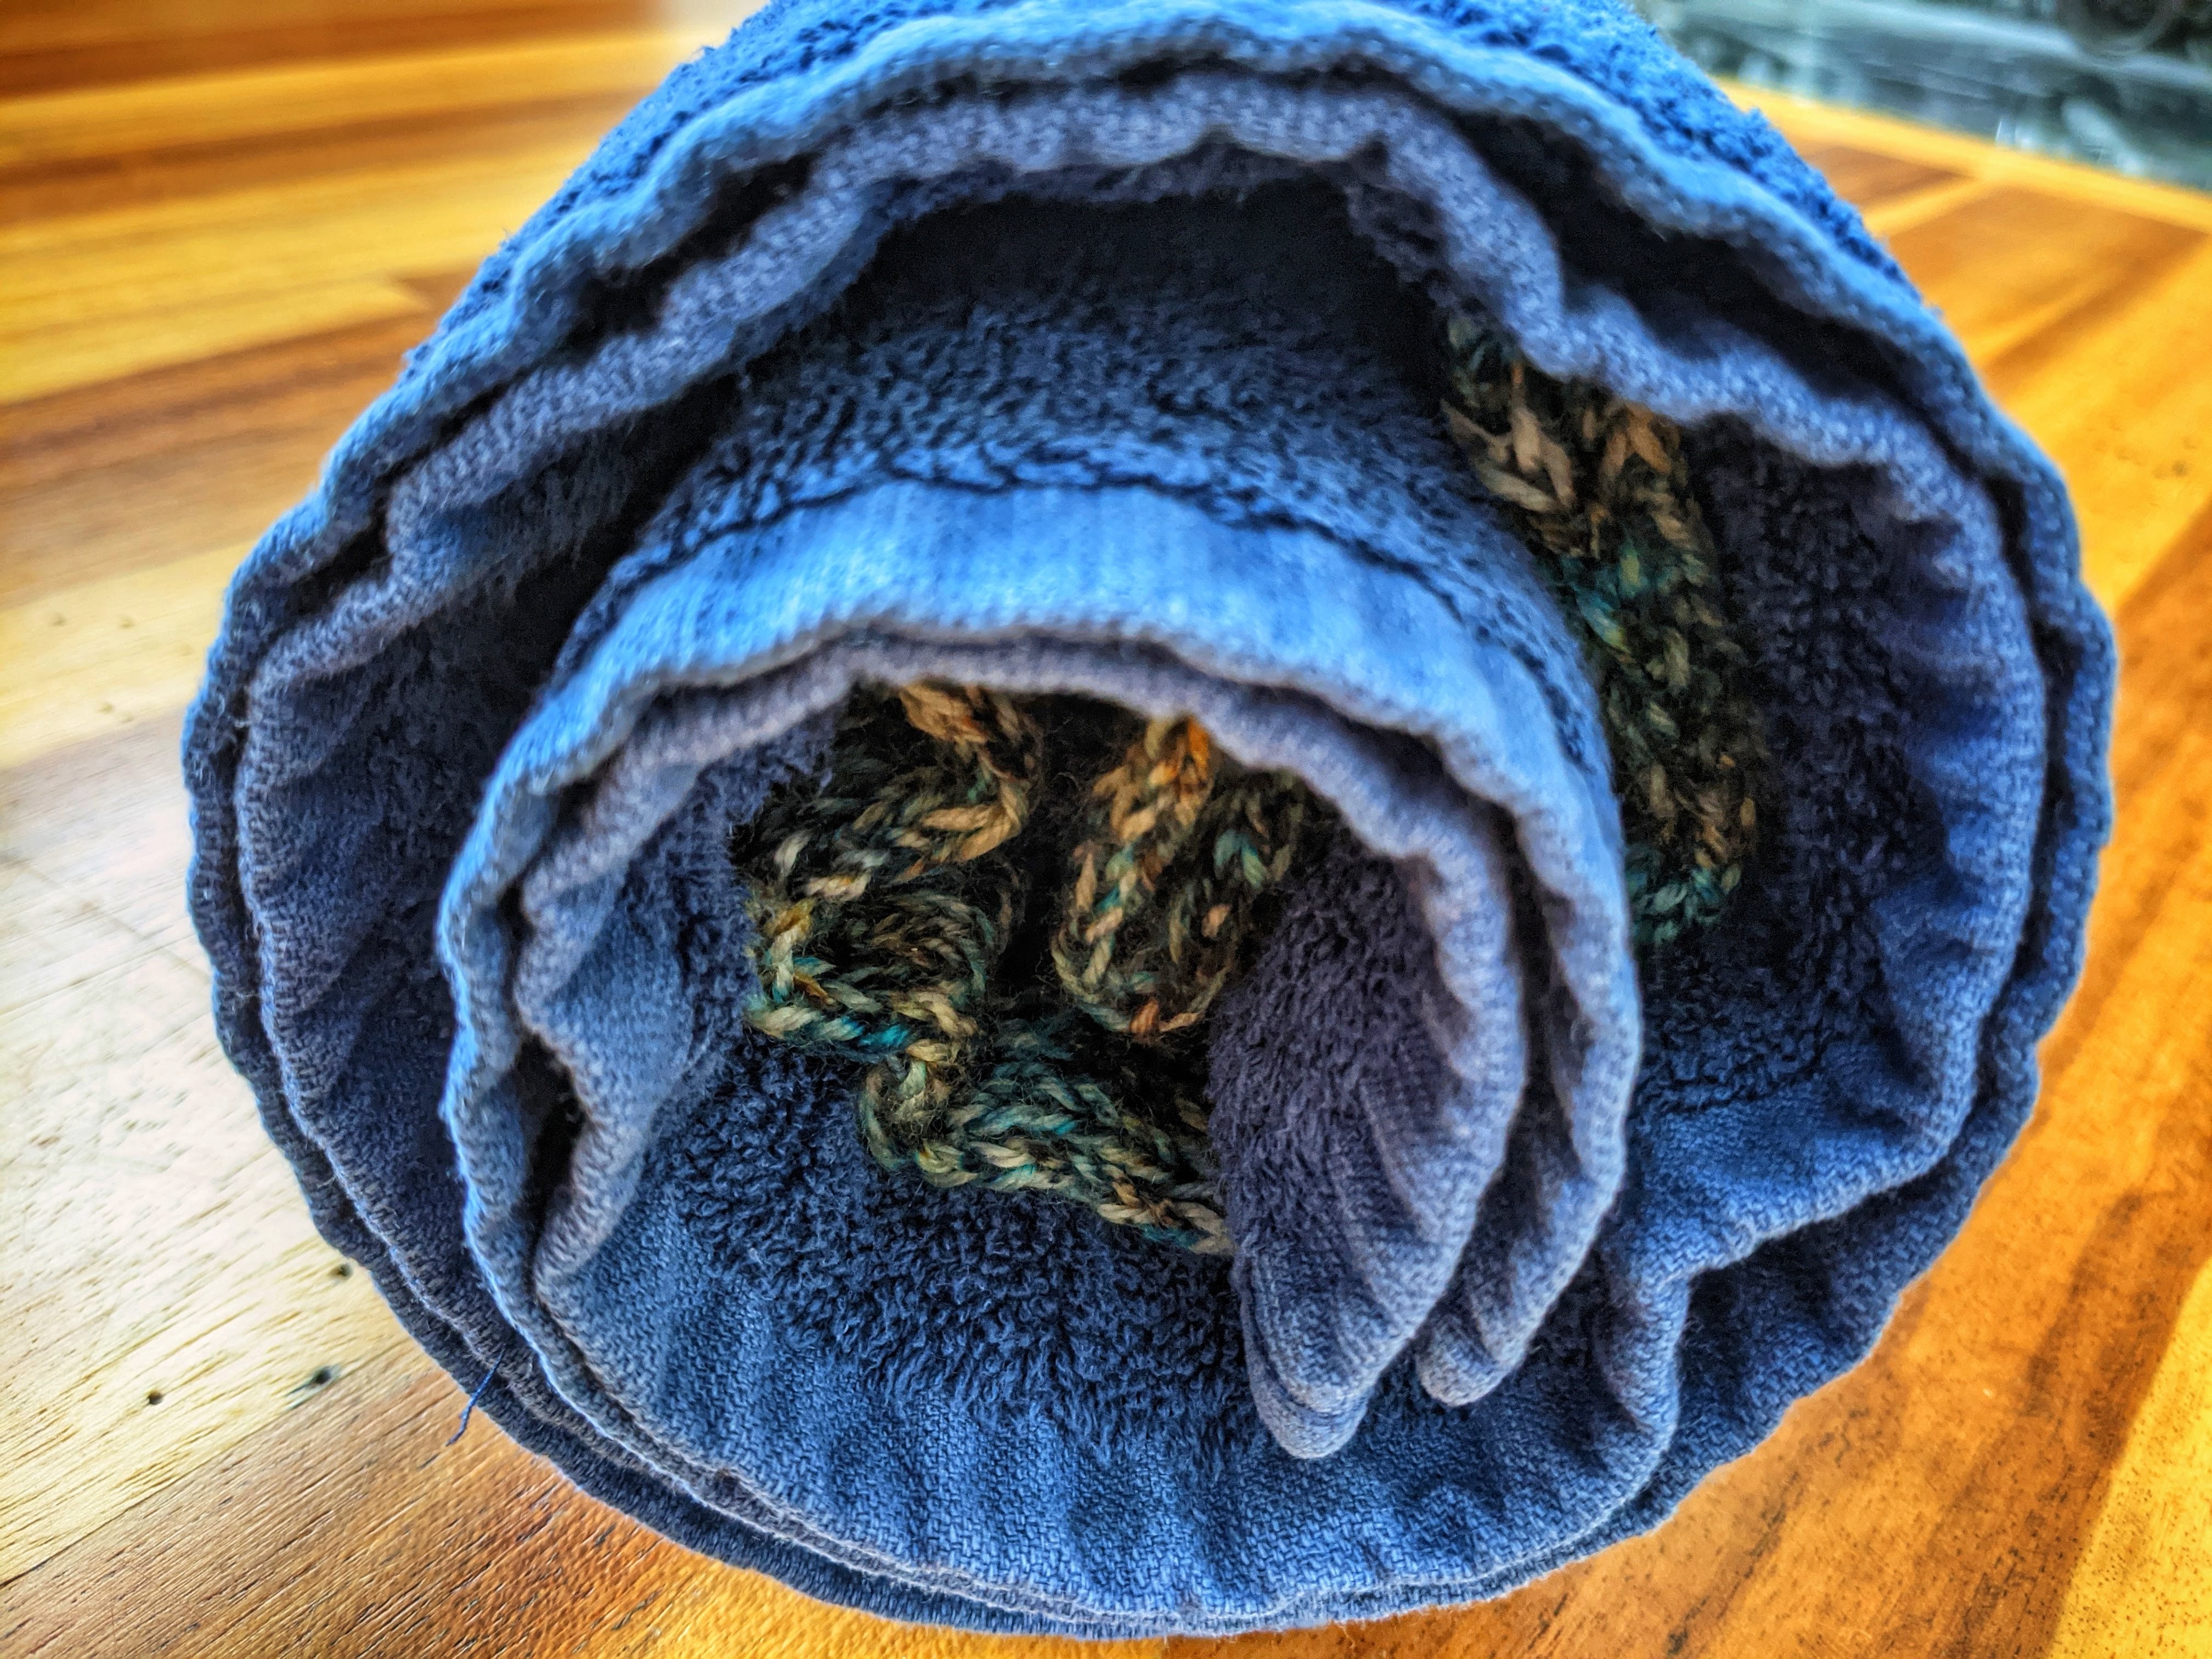
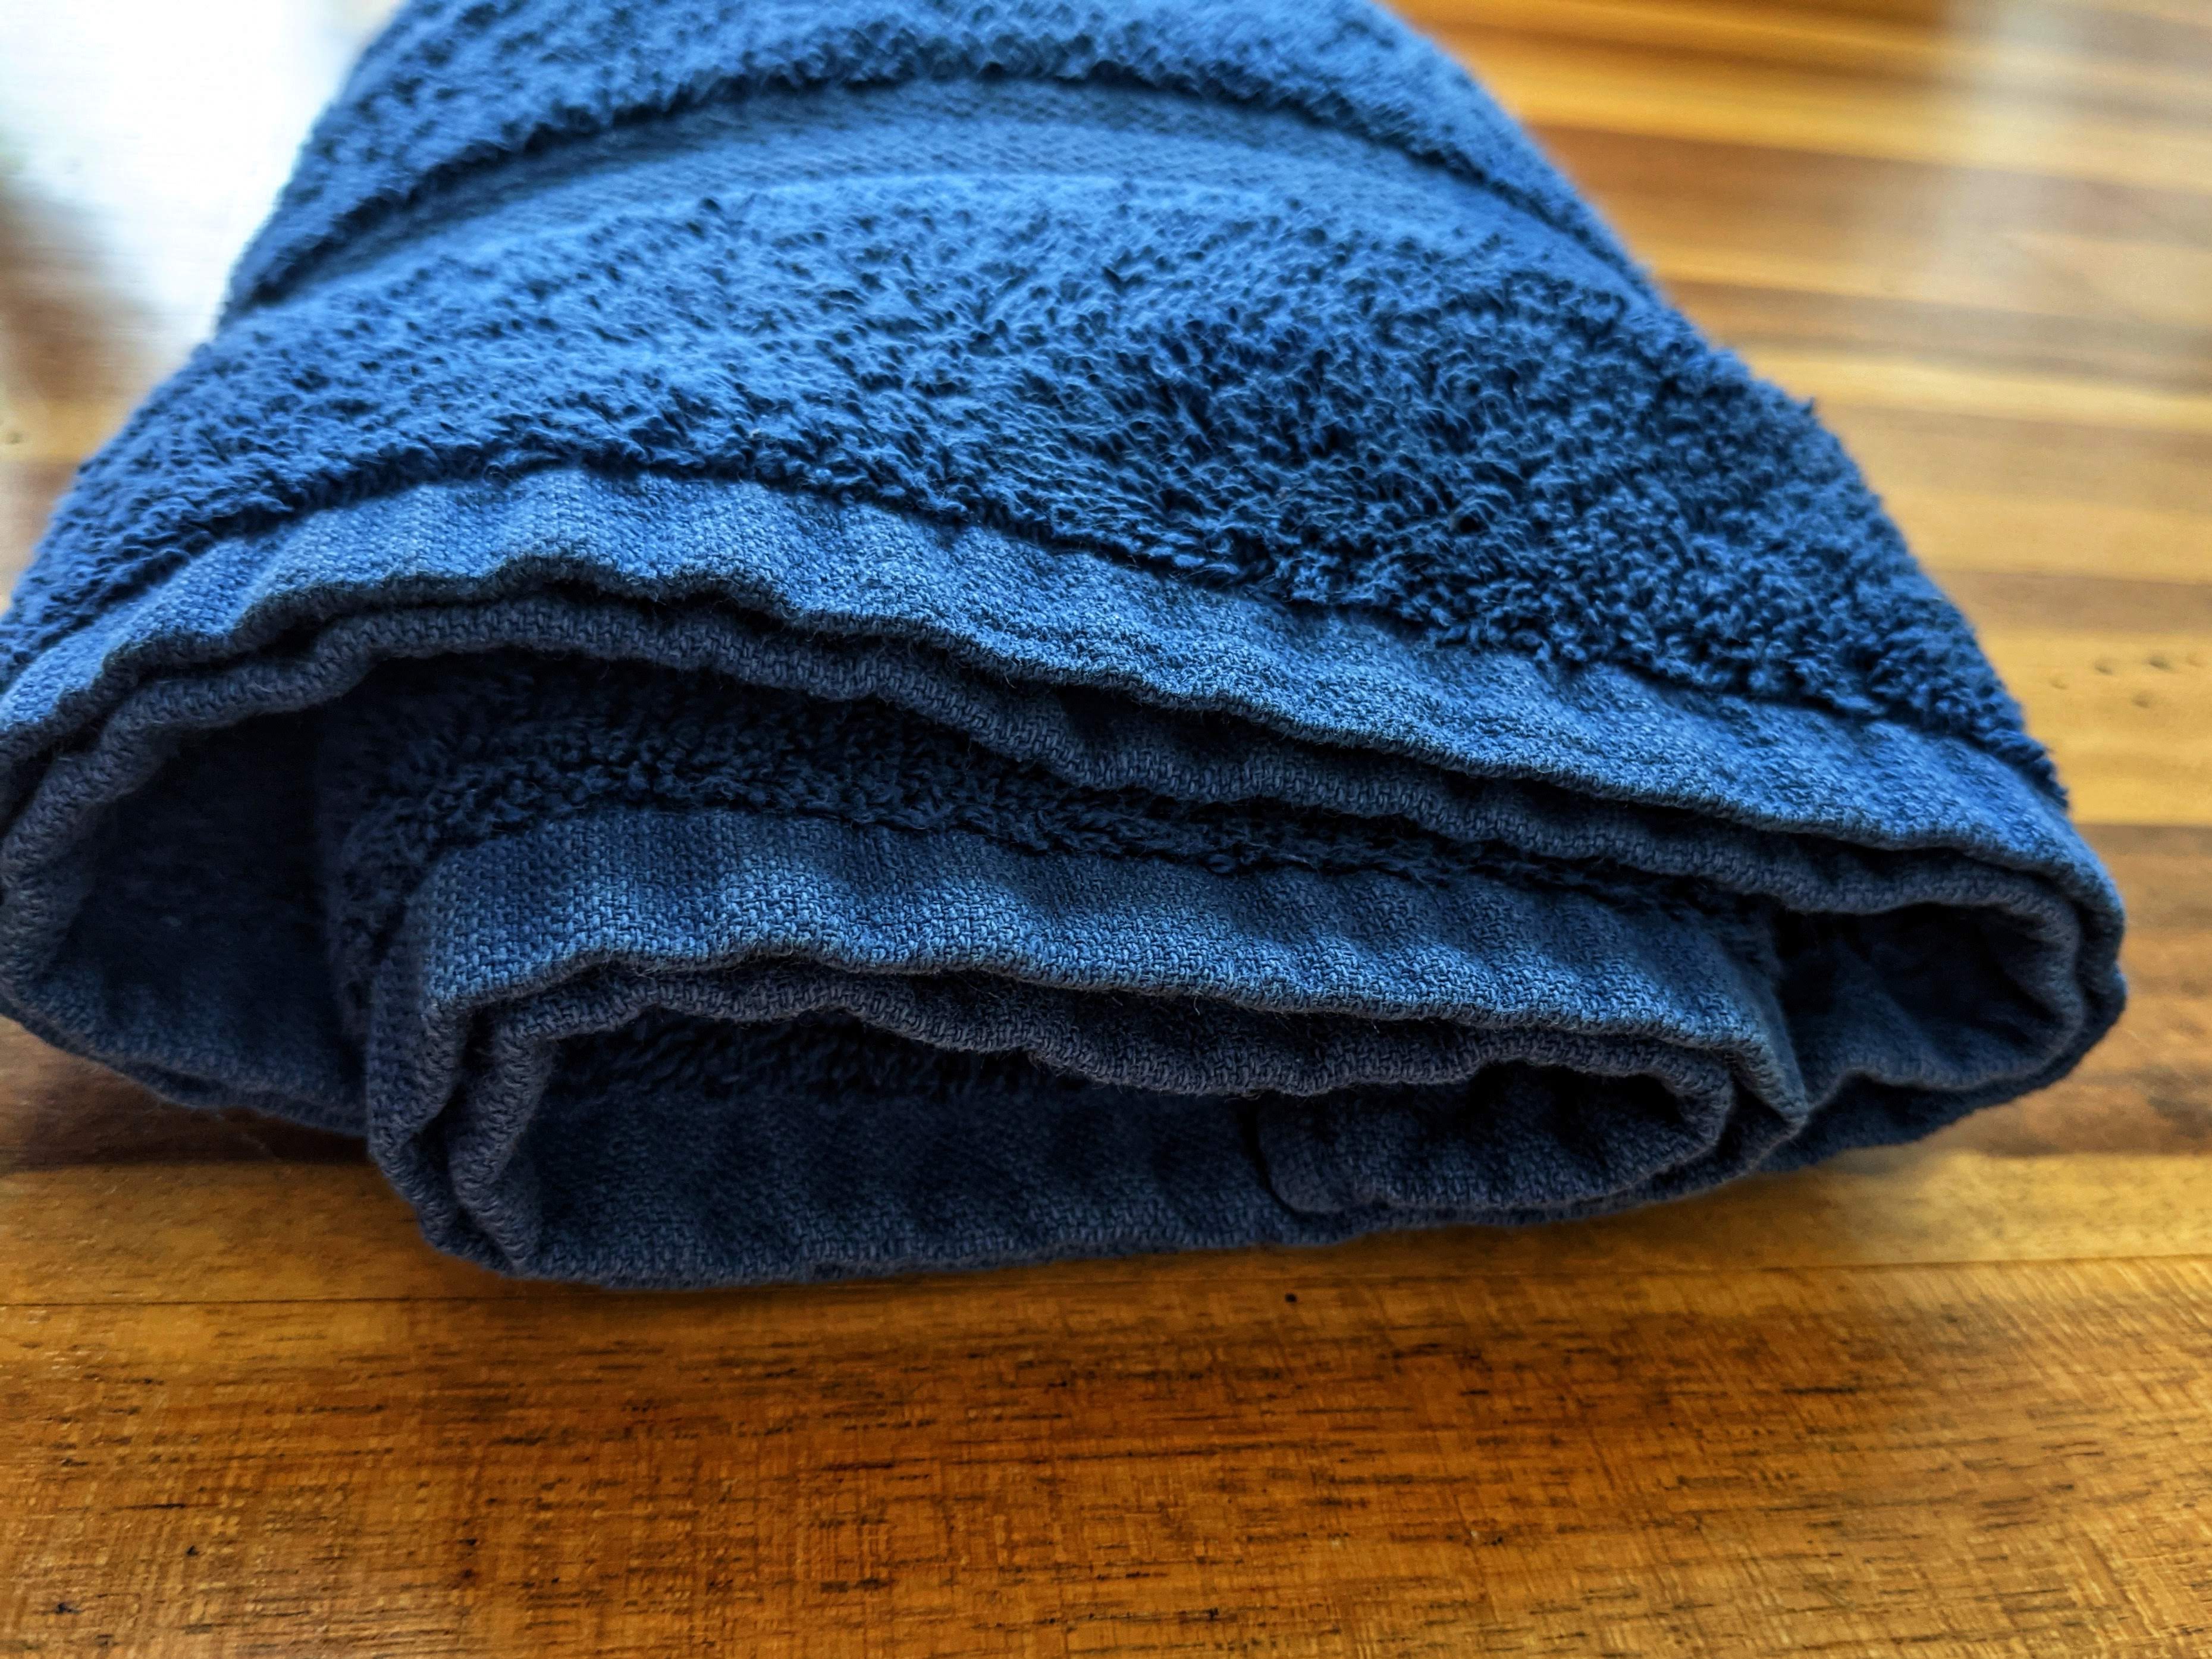
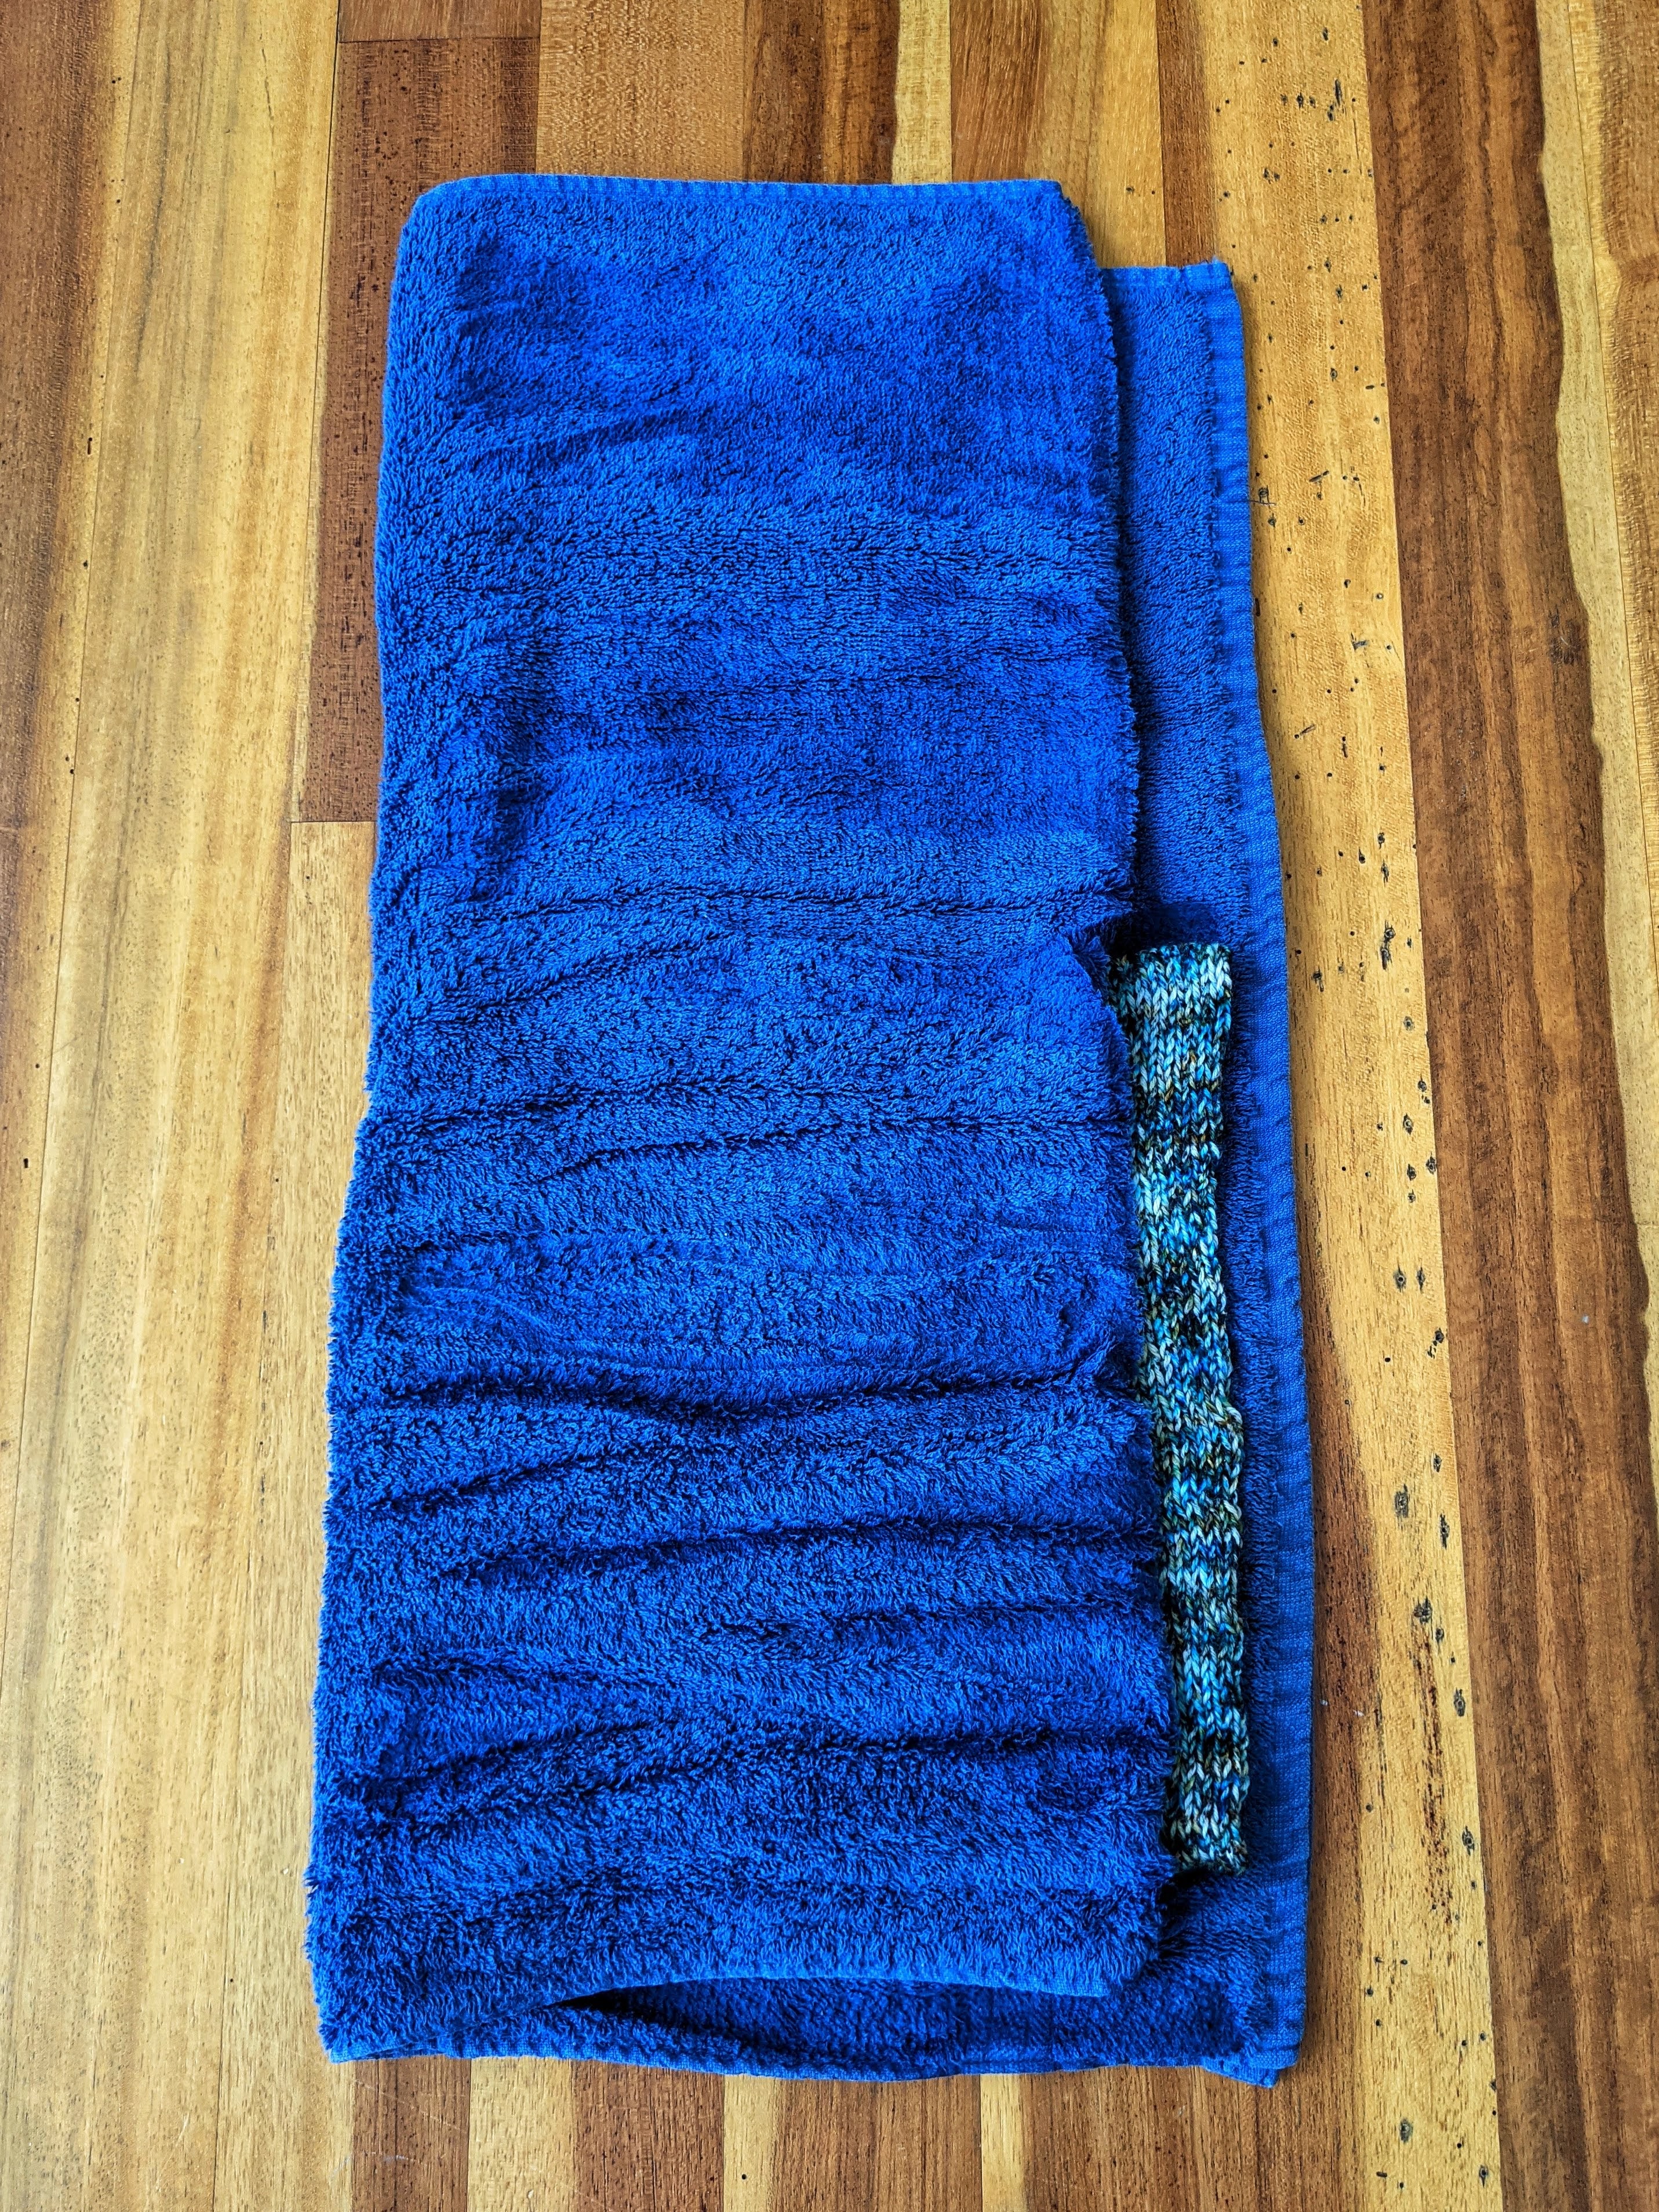
6. Then, move your item to your towels, and roll it into a burrito! Try to avoid folding your wet garment over onto itself. There should be a layer of towel between each layer of knitted/crocheted fabric. So, for larger items on beach towels, I lay my item out along the middle of the towels and then start rolling from the shortest towel edge at the bottom all the way to the top. It’s okay if your burrito looks more like a pool noodle!
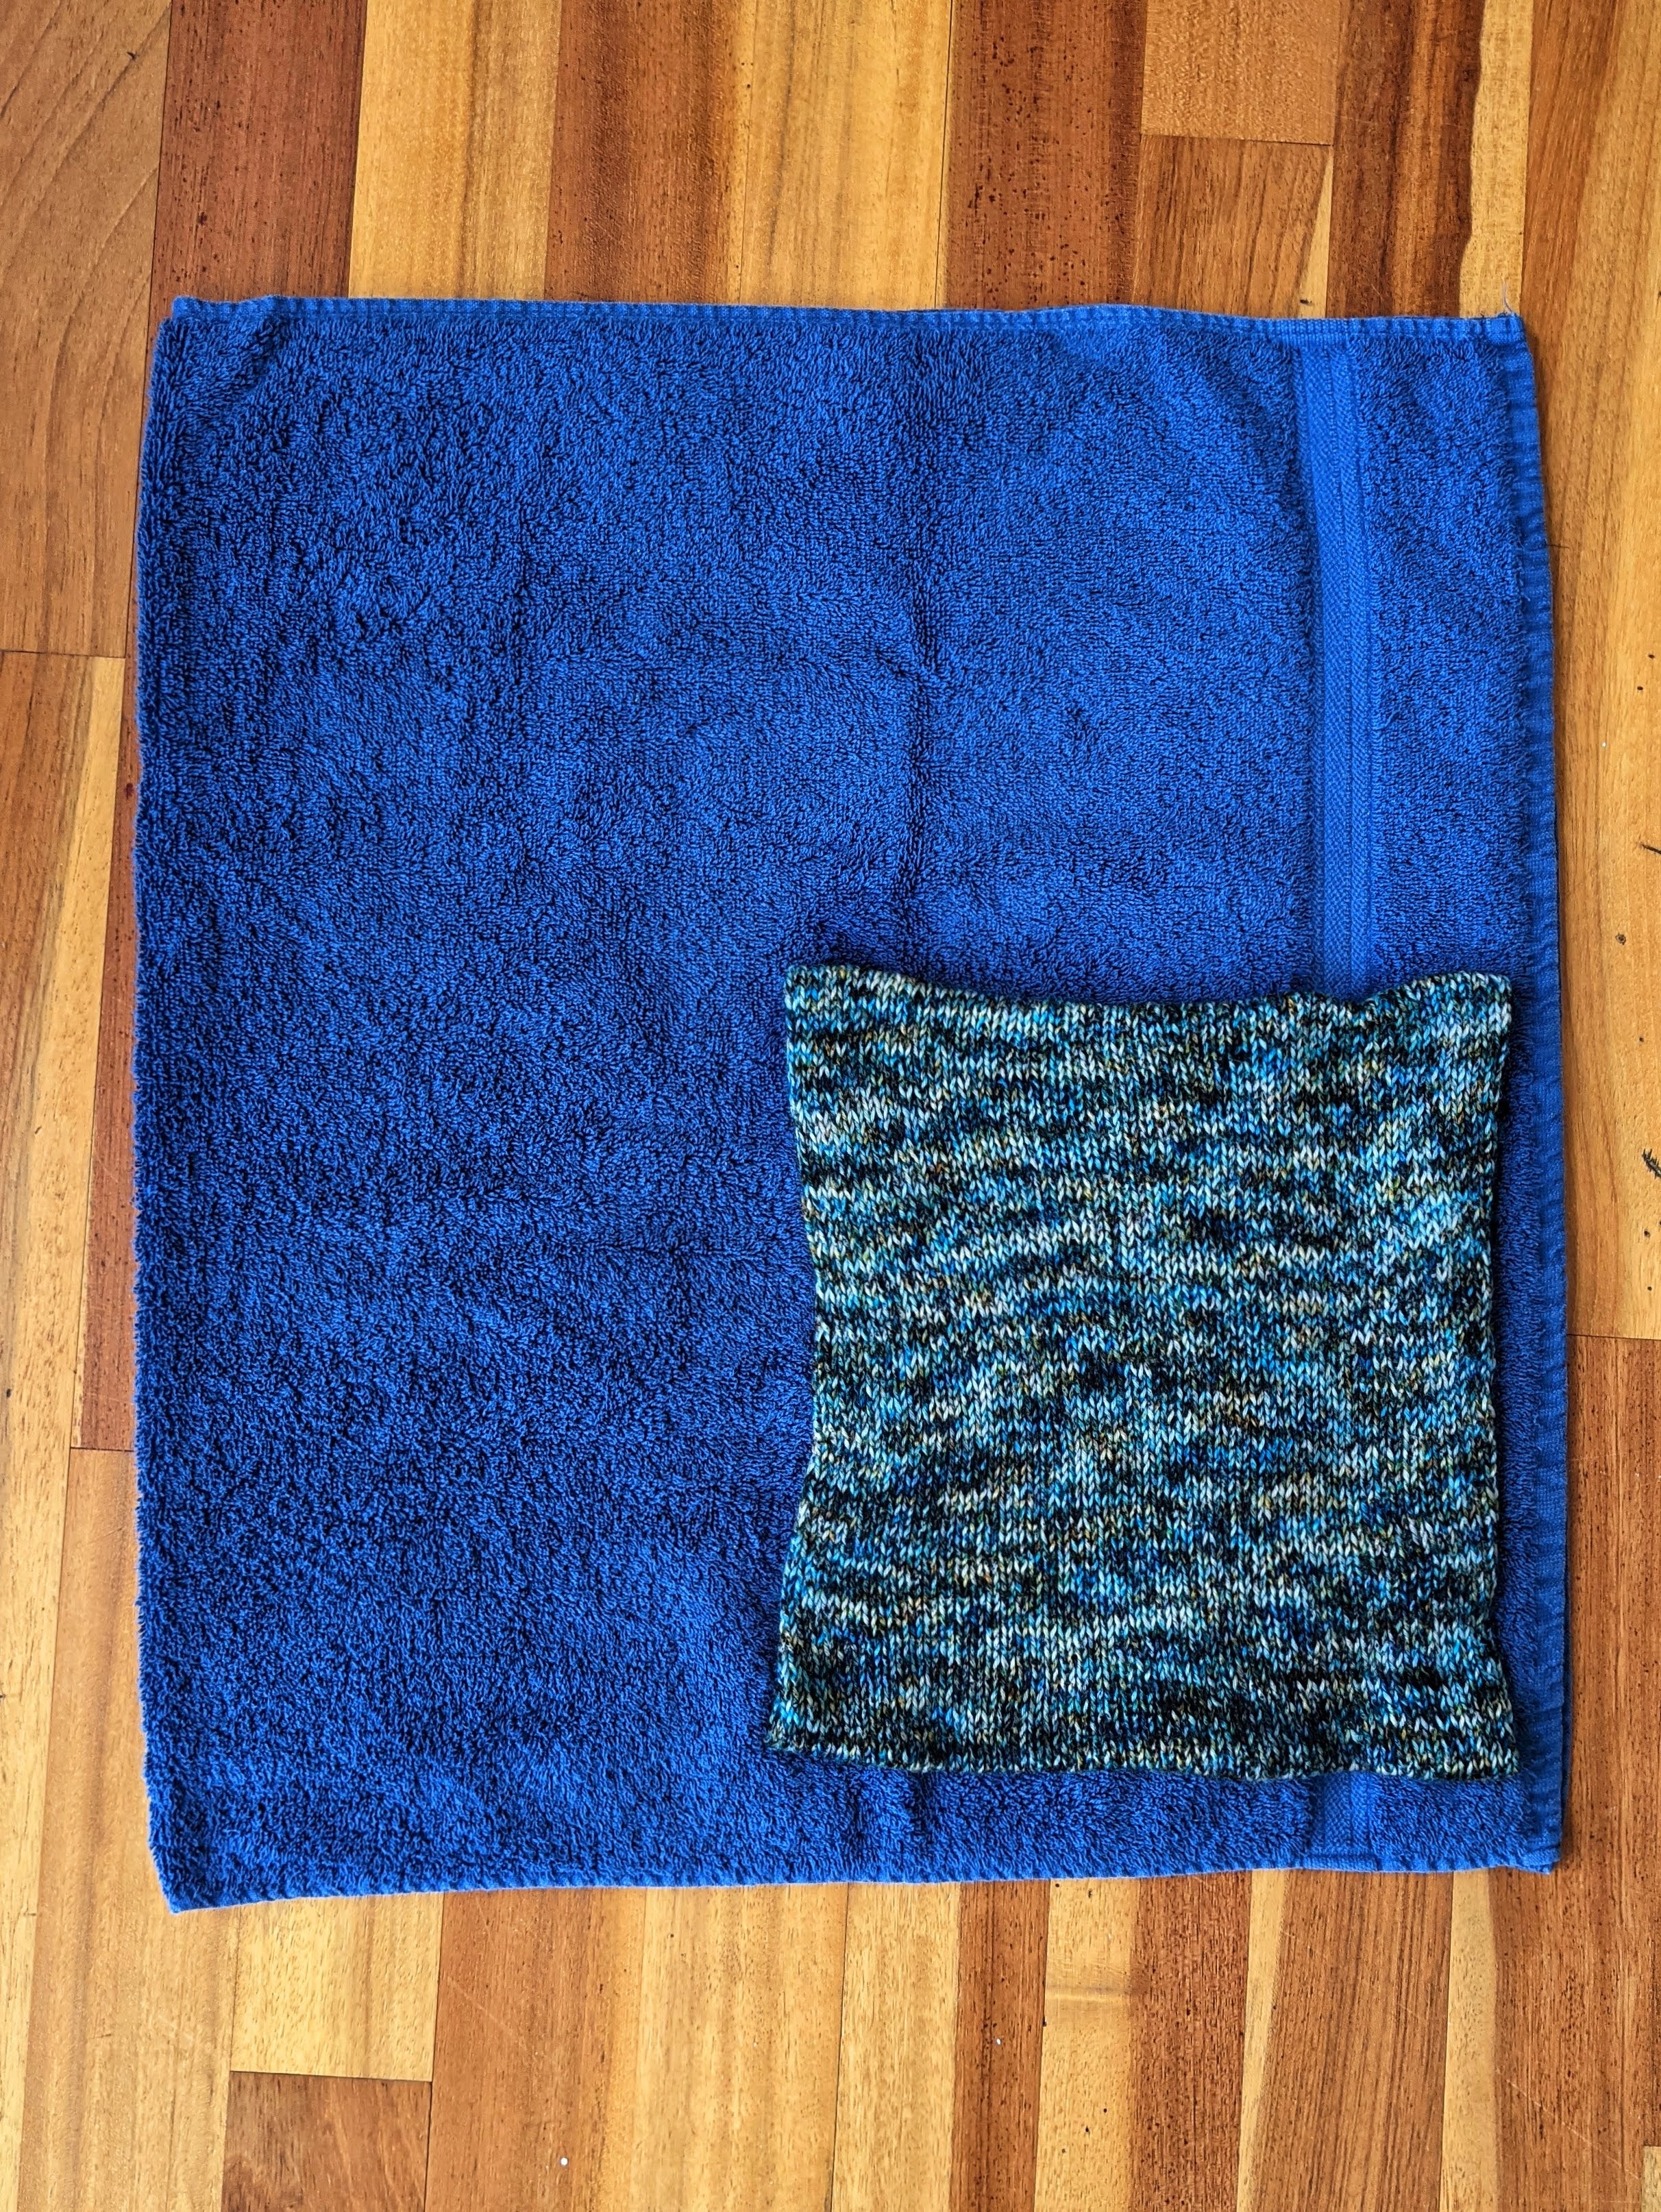
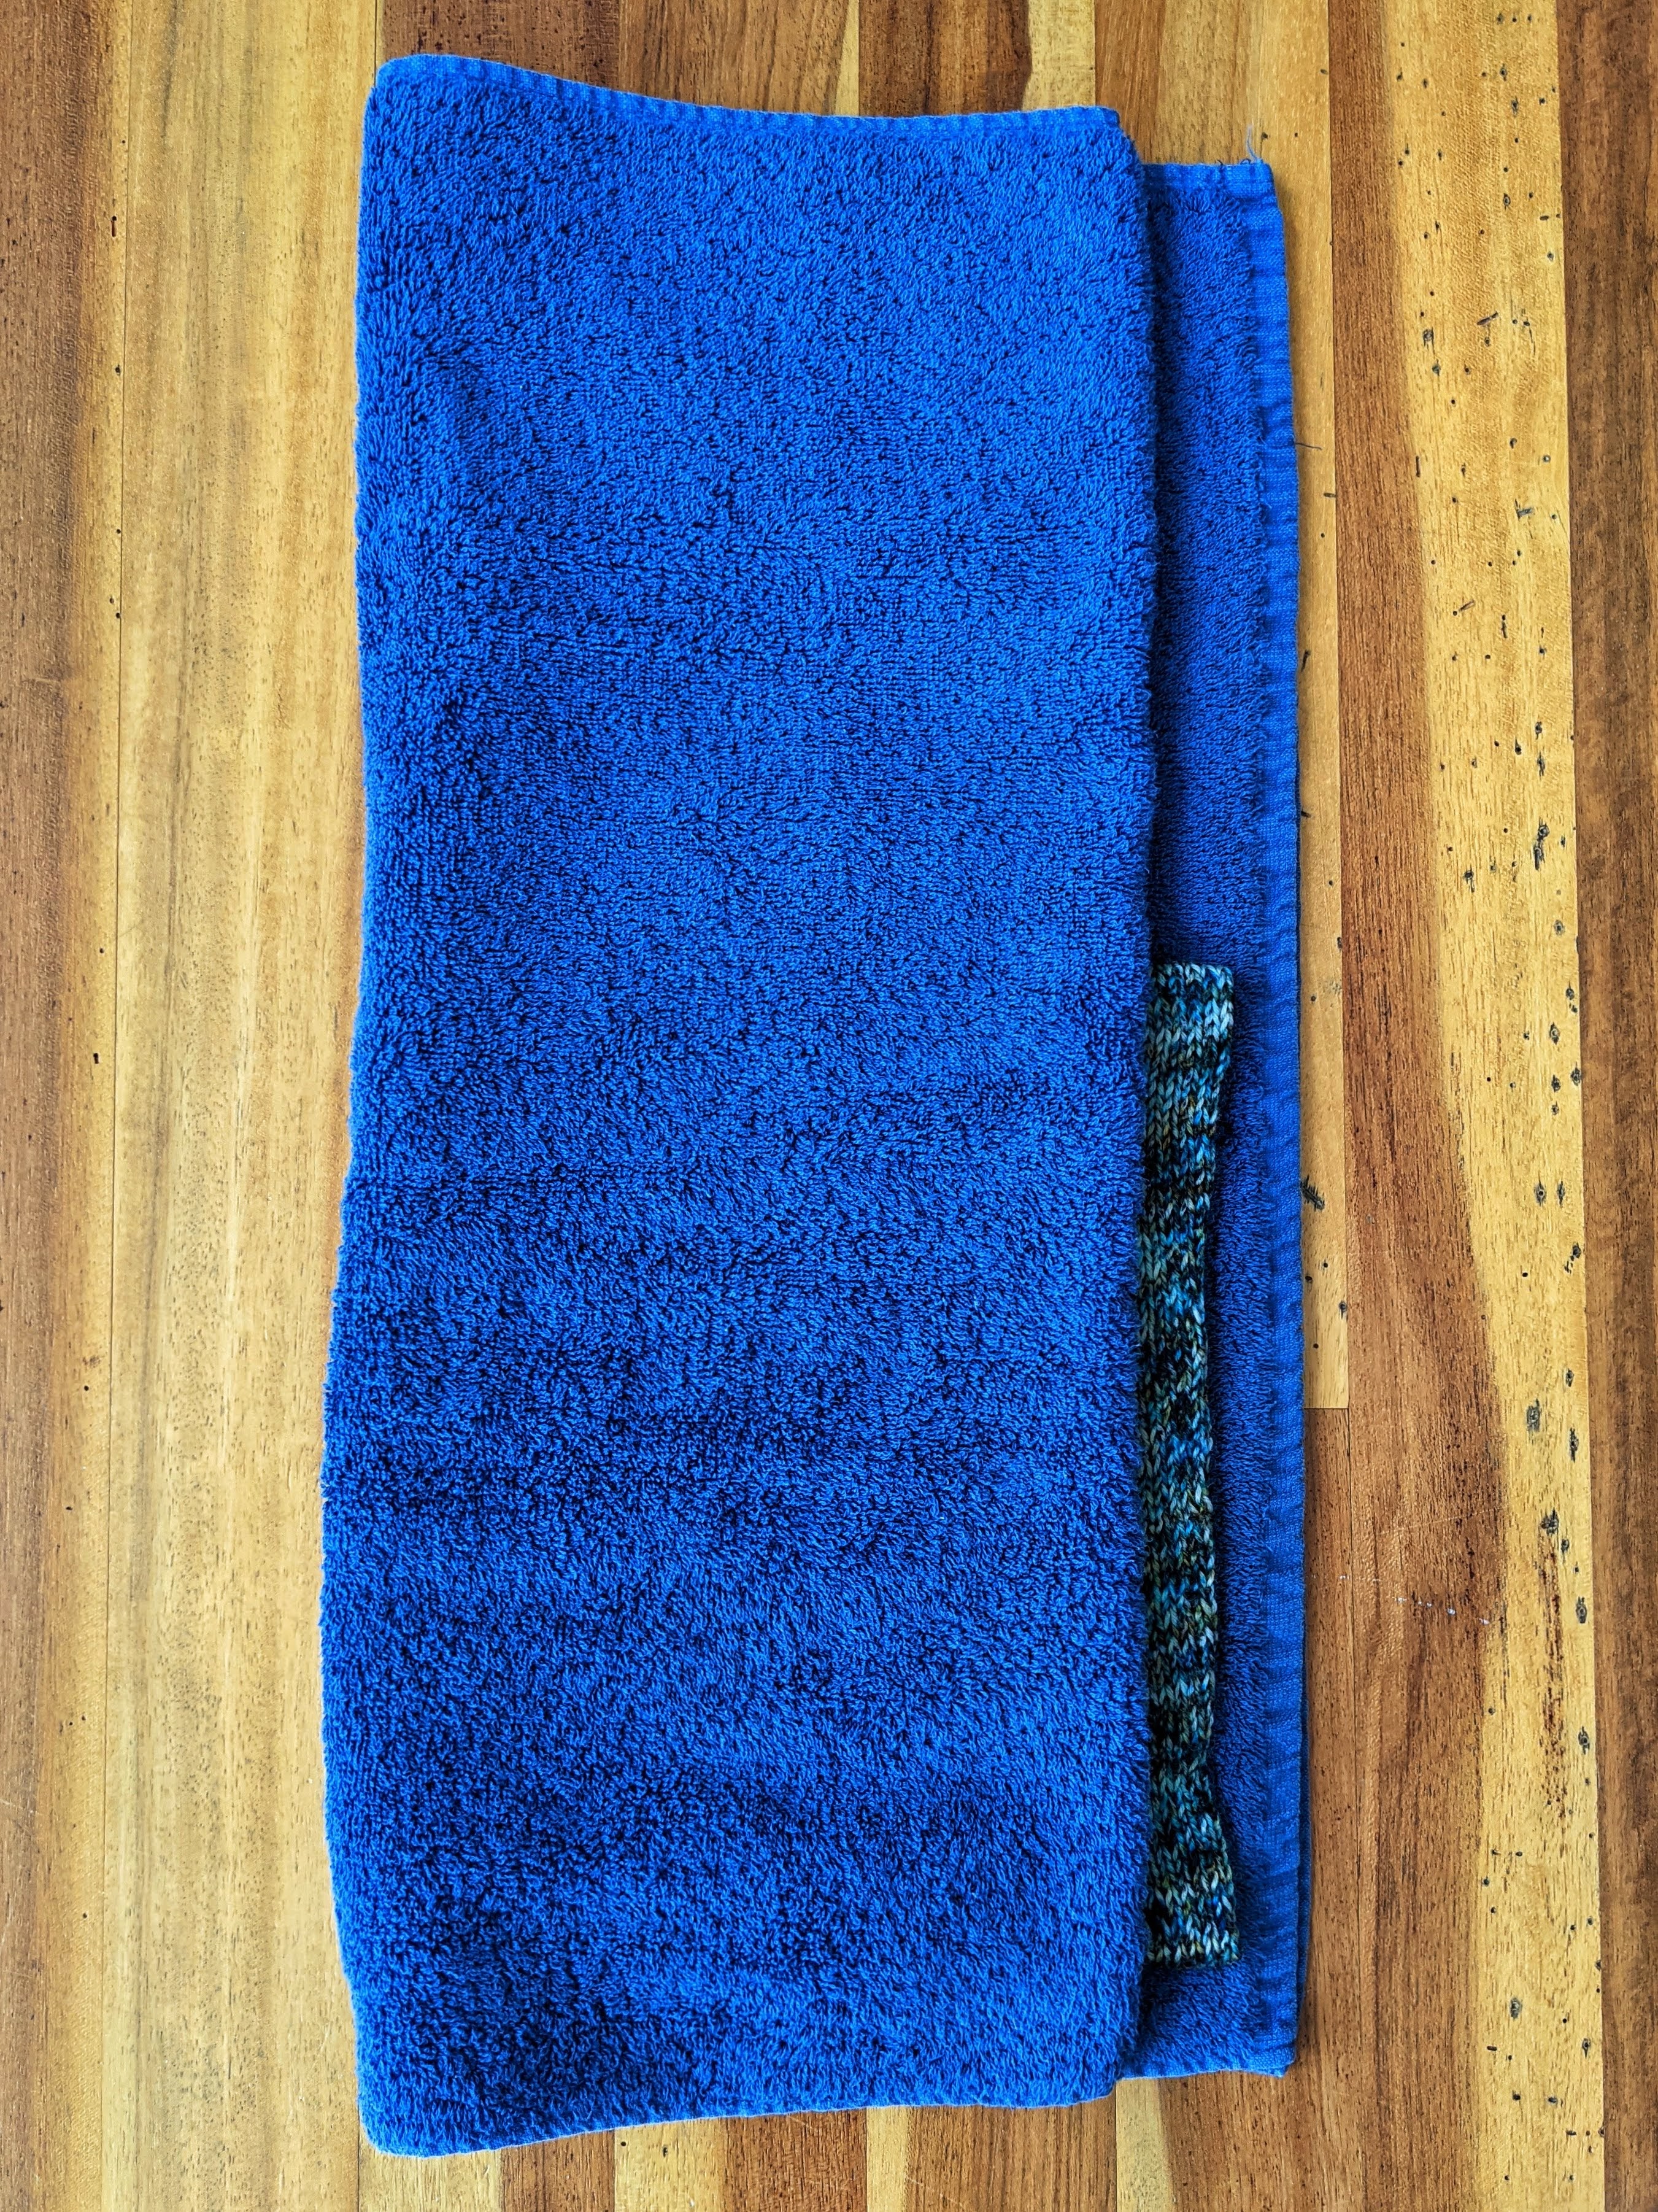

I placed my cowl in the bottom right corner of my towels, folded the towels in half to avoid my wet garment folding onto itself, and then rolled into a compact burrito. (A to-go burrito, if you will!)
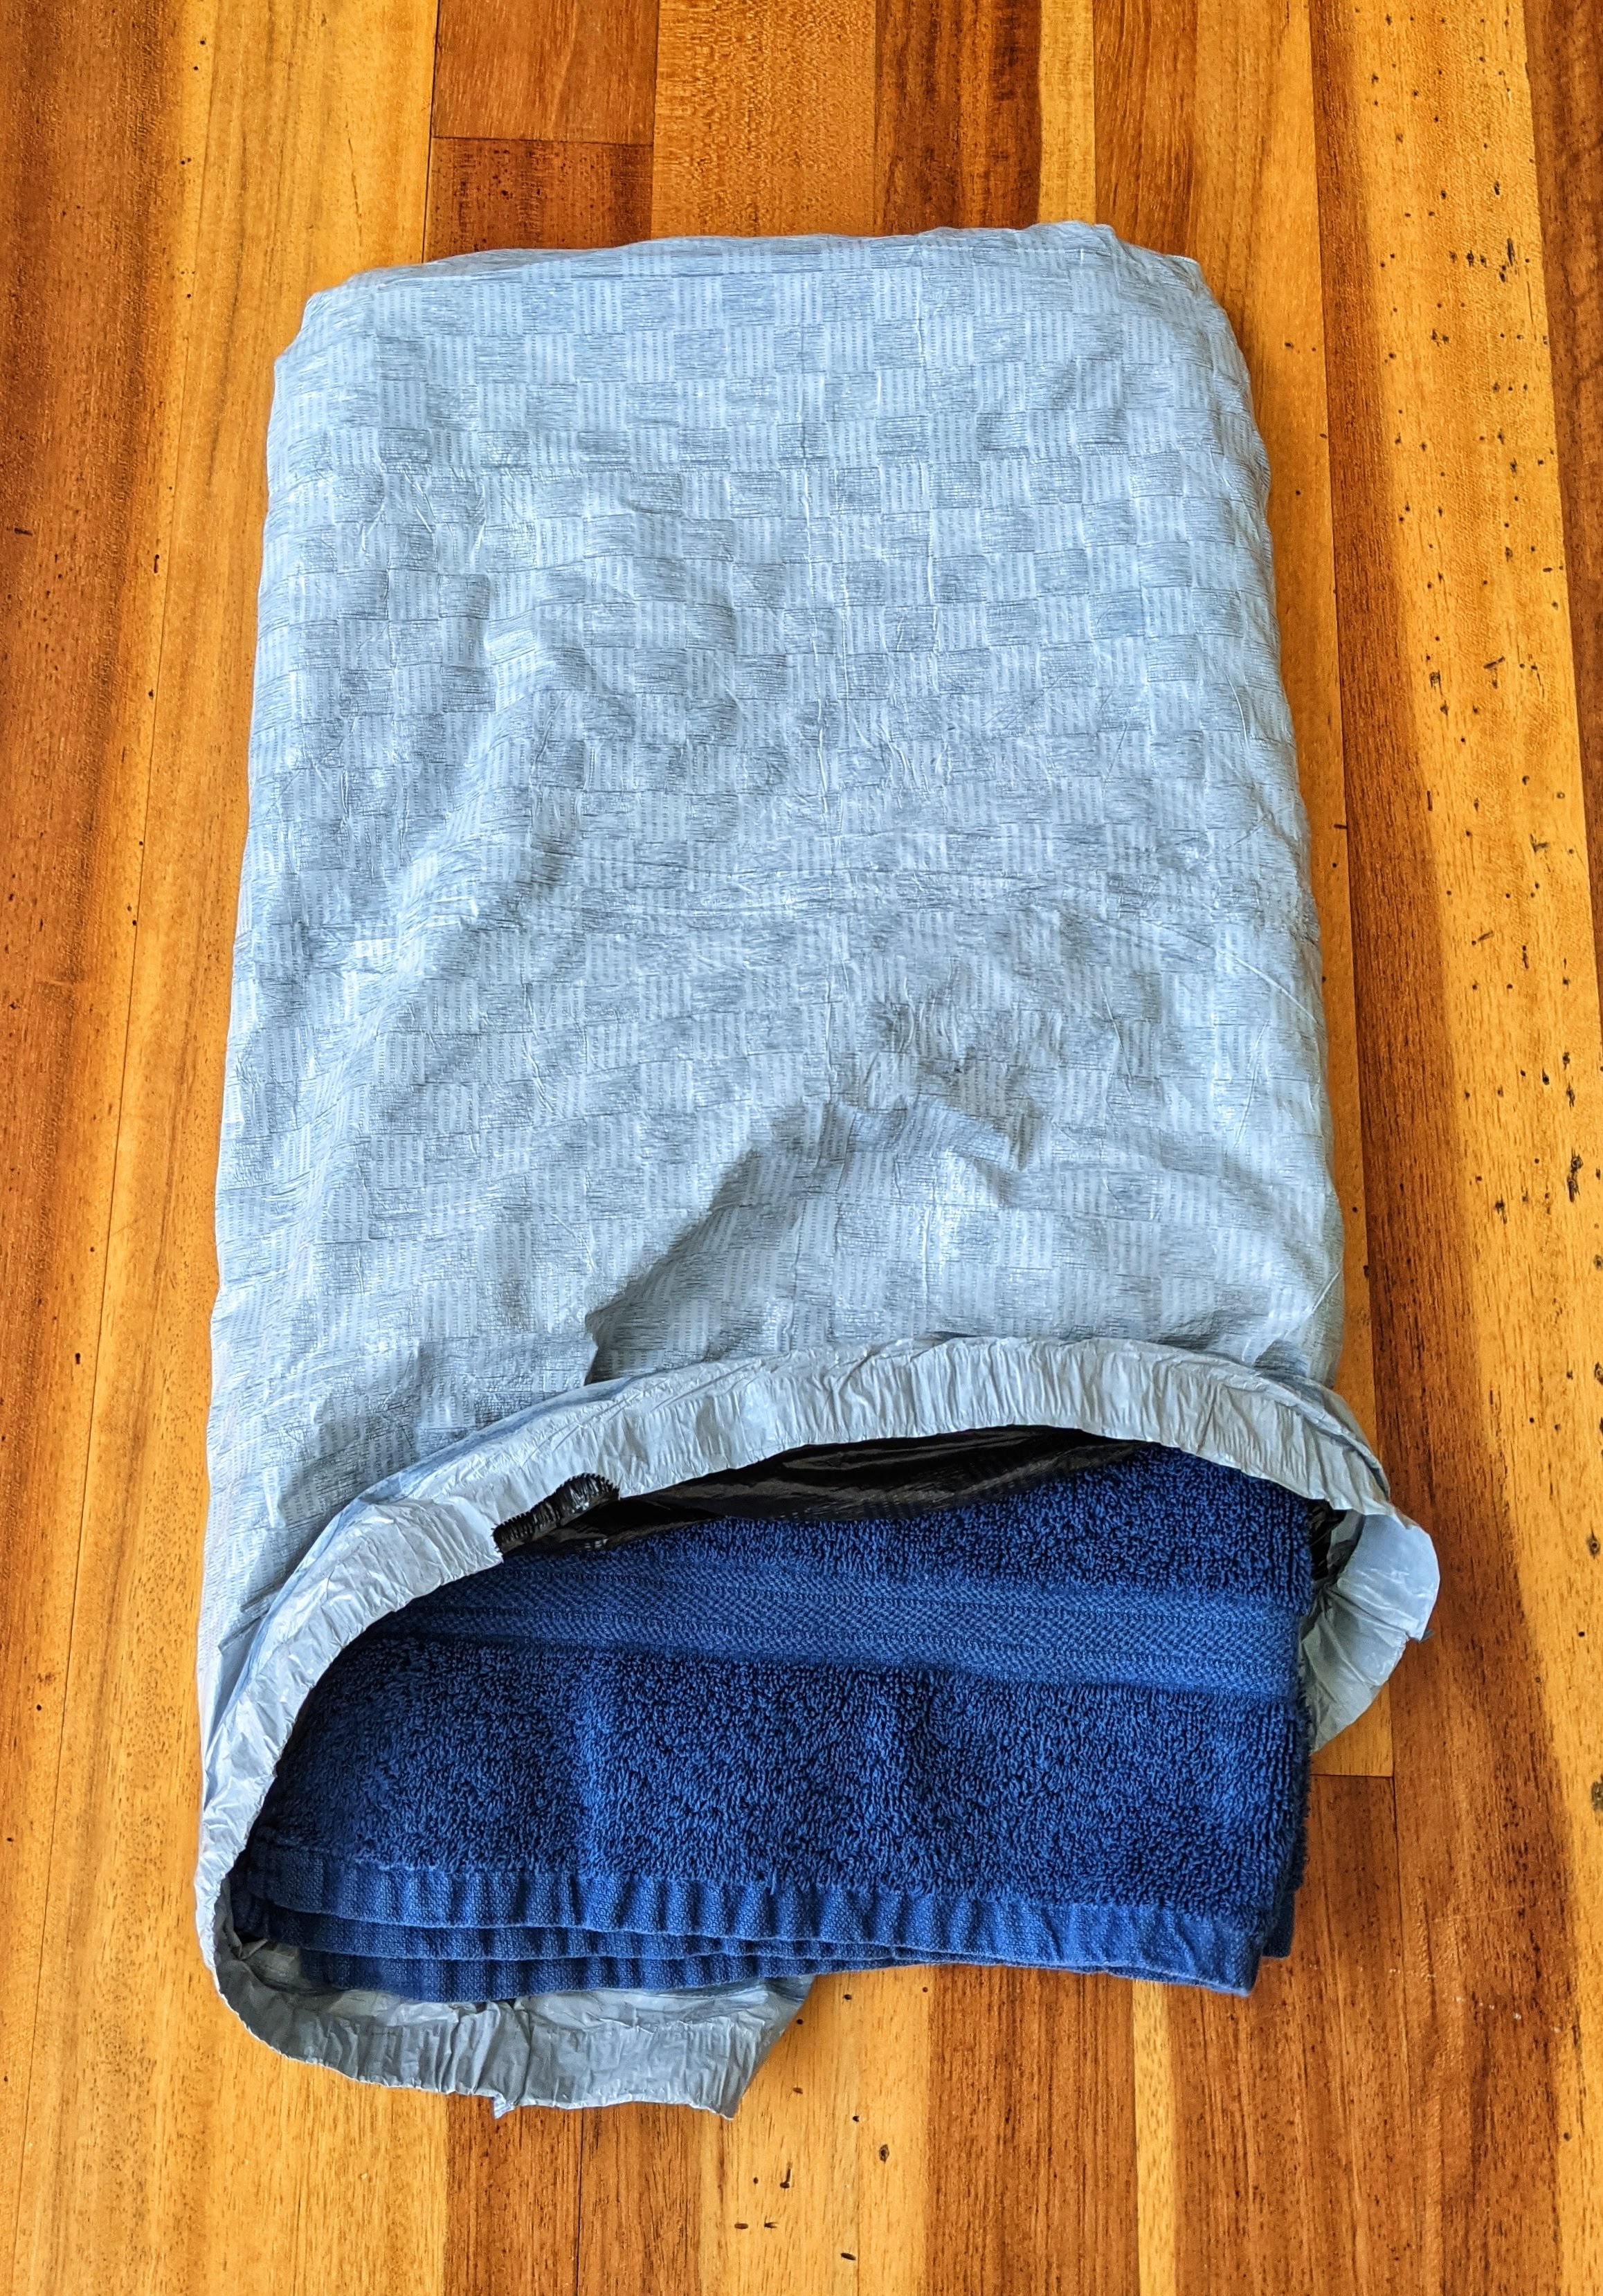
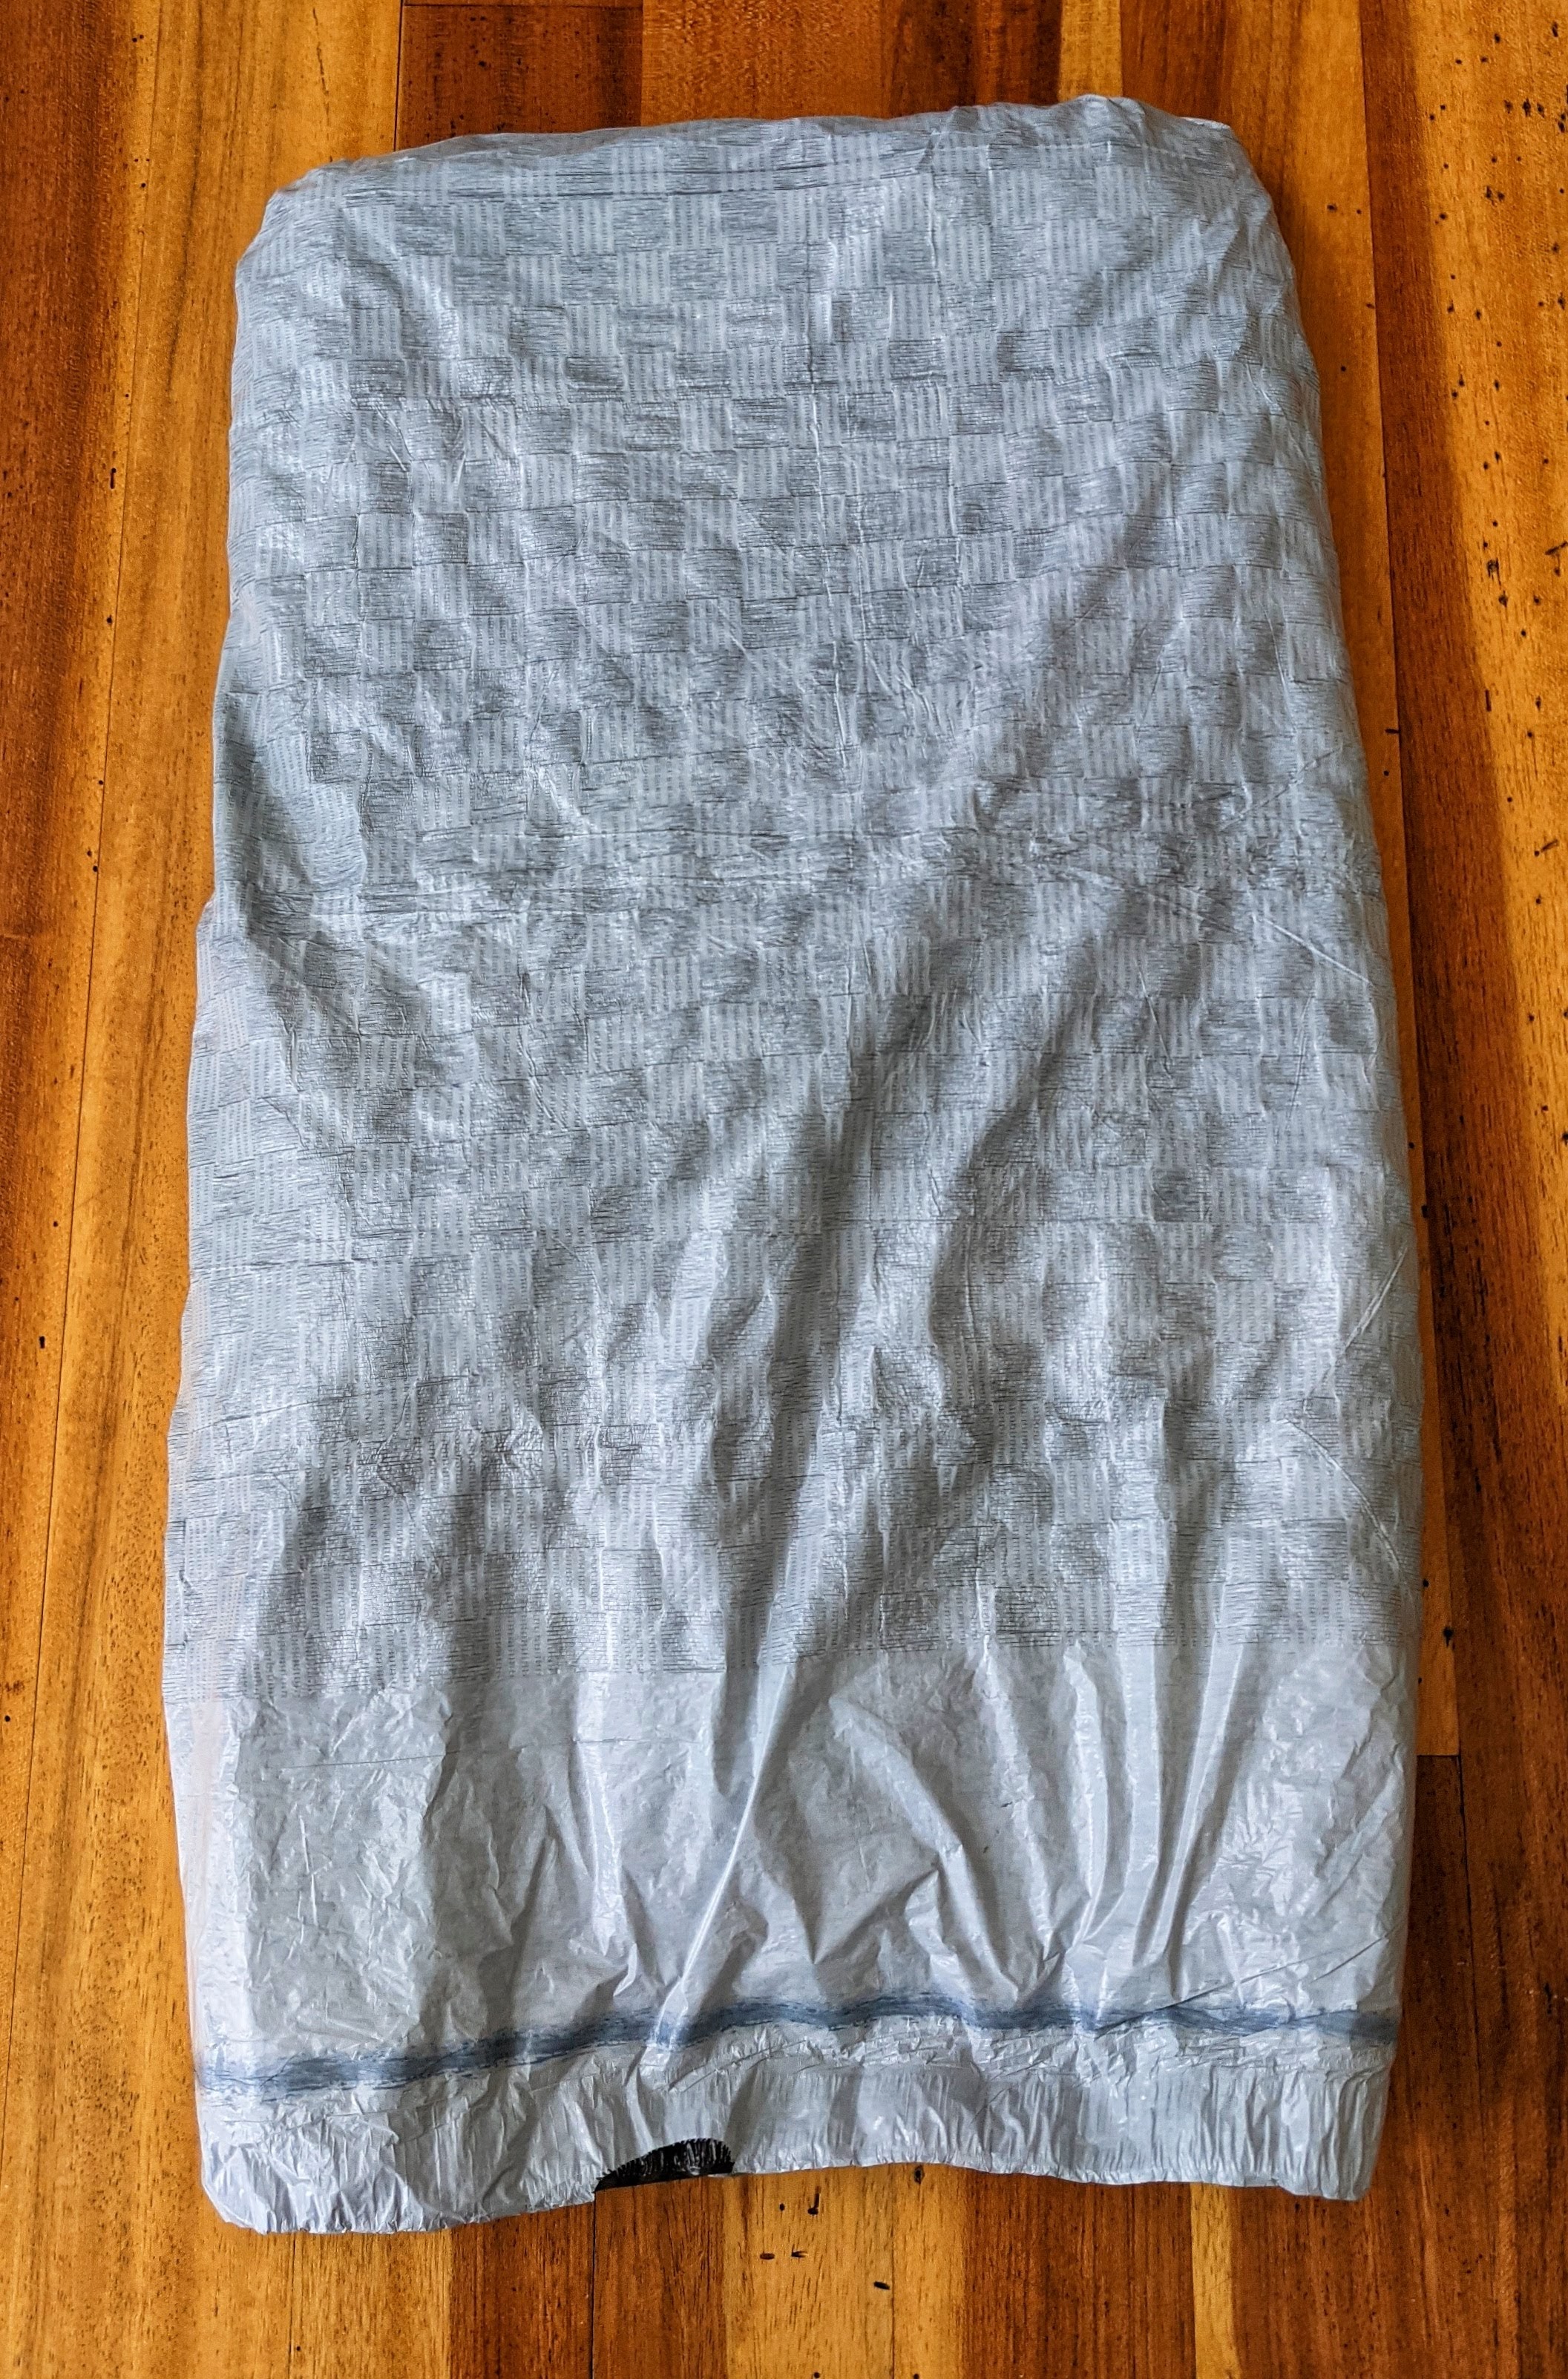
7. Step on your burrito. Yes, use your feet. The weight of your body will help to press excess water out. I like to stand in one spot for a few seconds, then move to a different spot for a few seconds, and so on. This is where the bulk of the moisture is removed before laying flat to dry.

Toe nail polish encouraged but not necessary 🙂
Before (left) and after (right) stepping on the burrito. This soaks up so much excess water and really does a great job jumpstarting the air drying process.
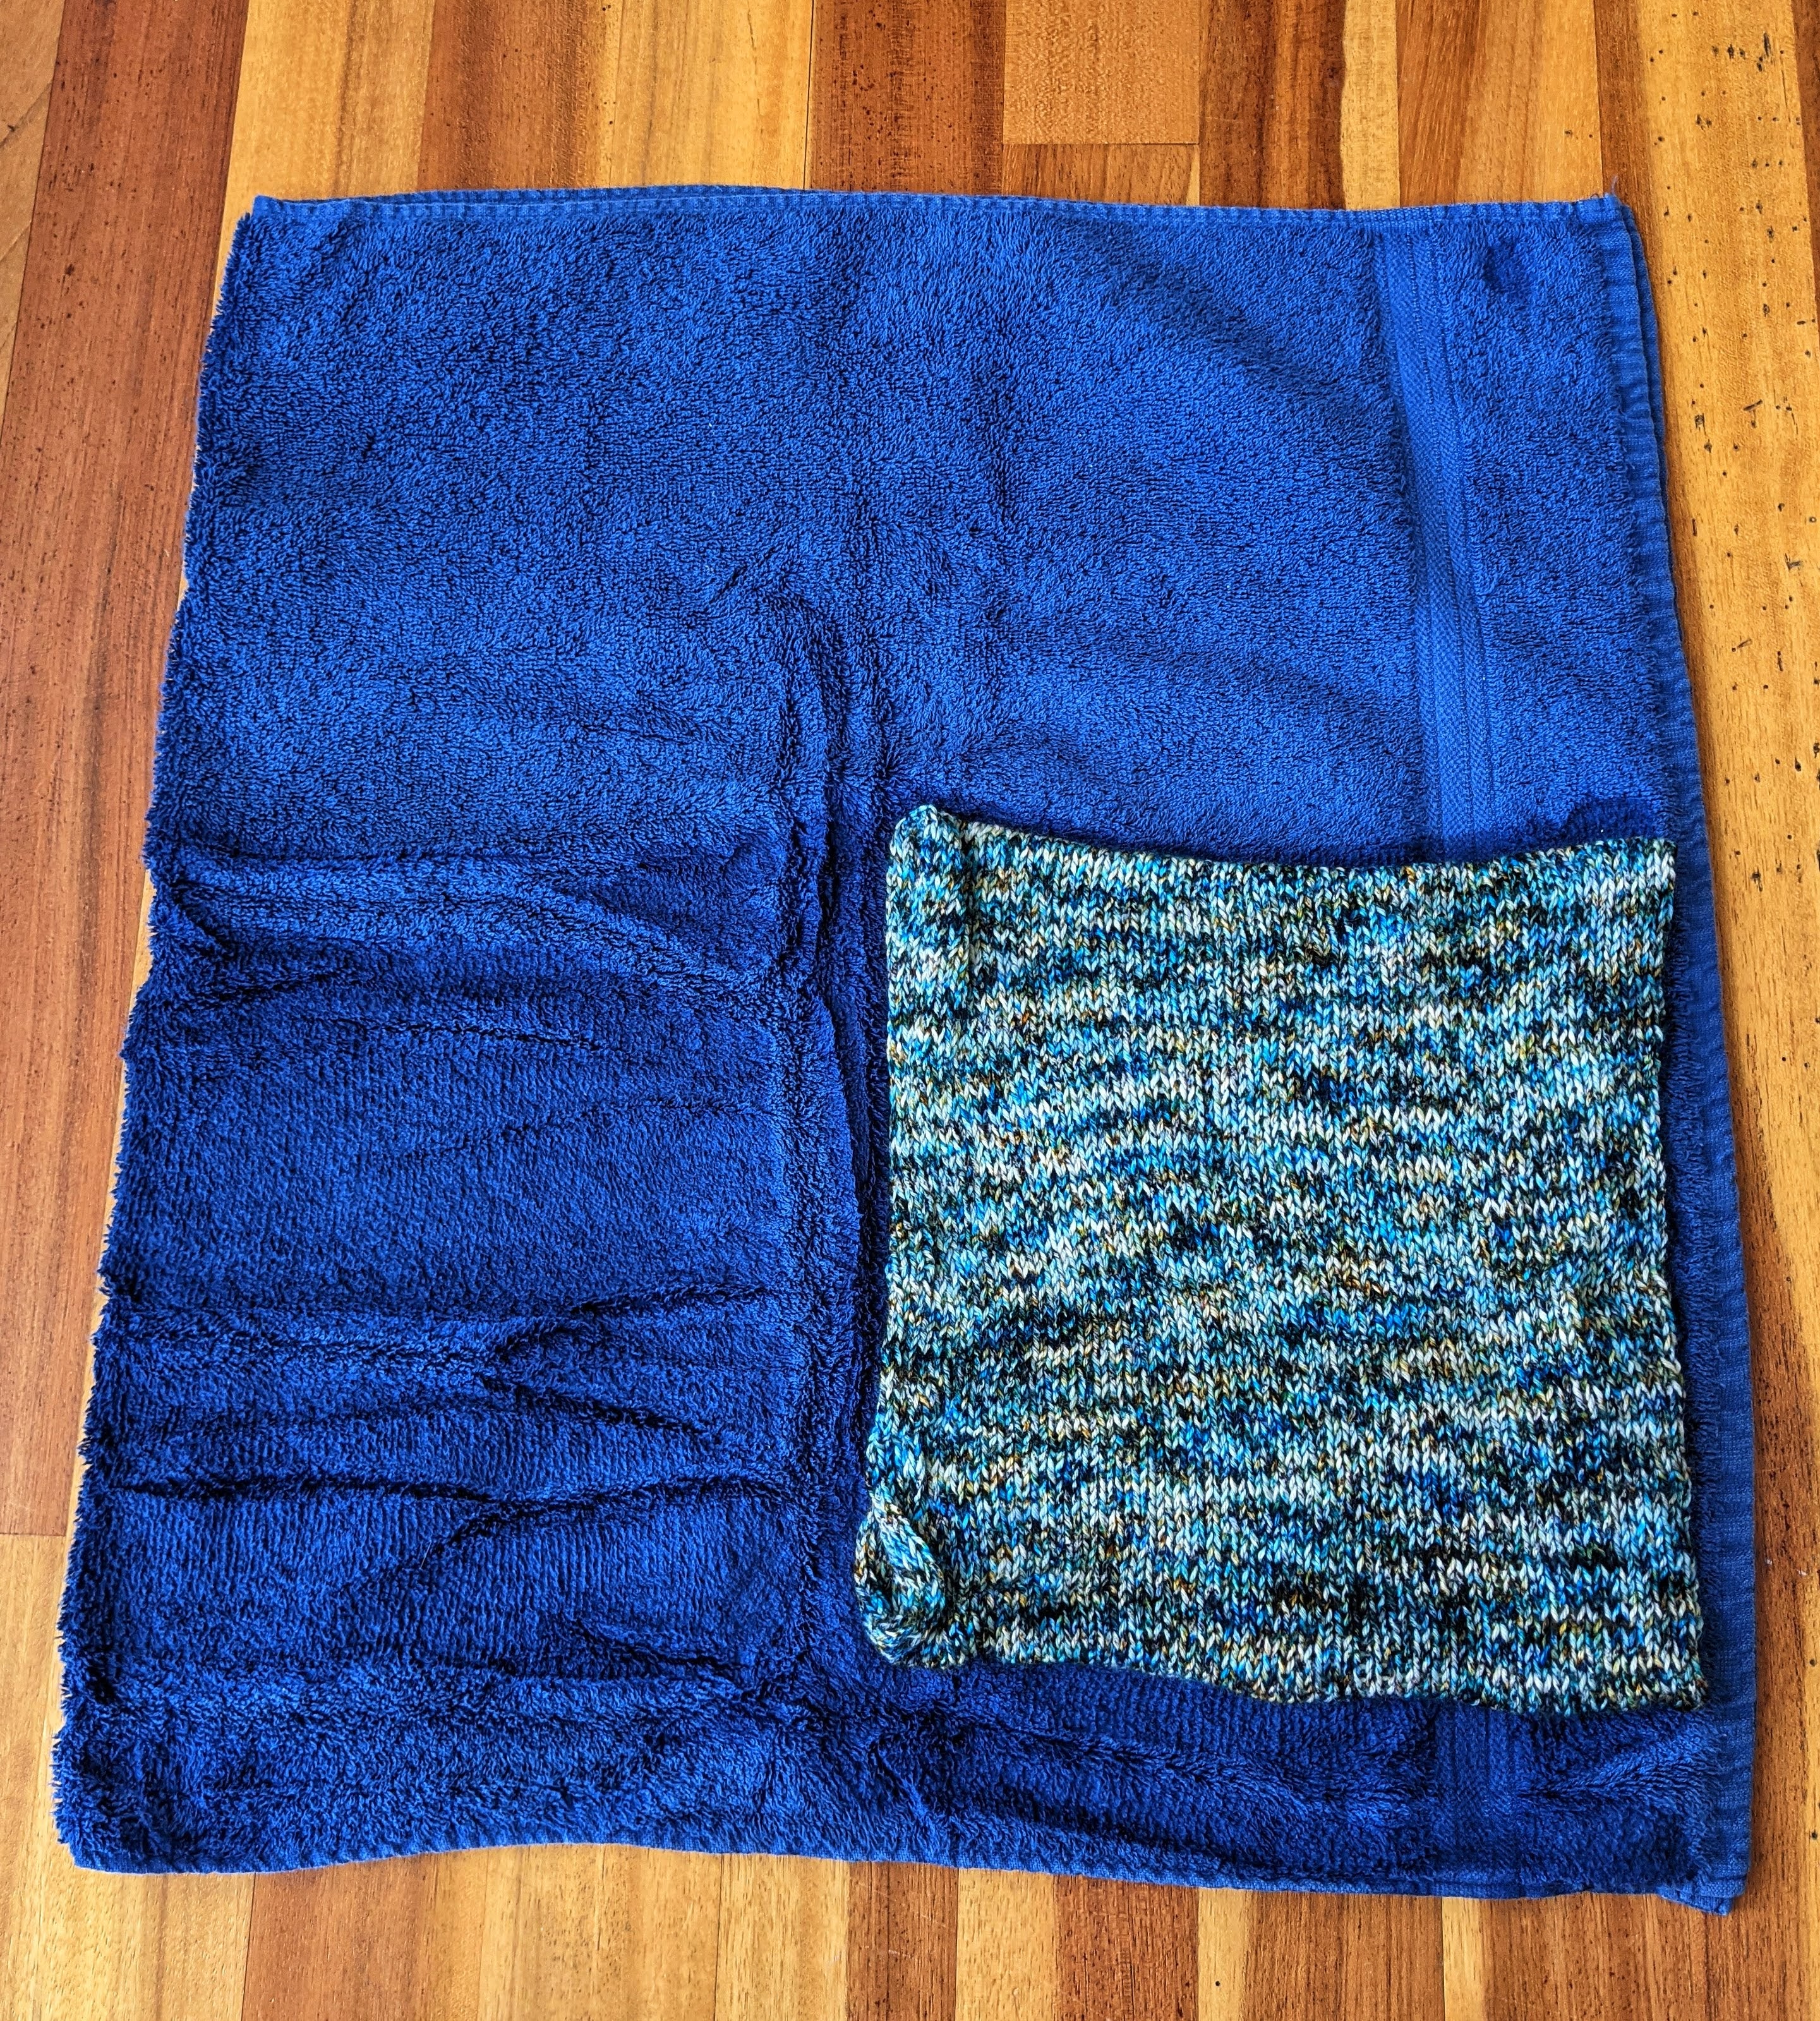
8. Unfold your burrito to reveal your garment. Notice how much water the towel absorbed!
9. Finally, reshape and lay your garment out flat to dry on whichever drying surface you prepared. In the photos below, I show my cowl air drying on each of the options I presented earlier.
After 24 hours, your project should be good to go. Hang up your wet towels and give your washtub a rinse and voila! Your garment is clean!
I hope this has been helpful. I’m happy to help with any questions you may have in the comments, as always. Until we talk next, happy washing!
