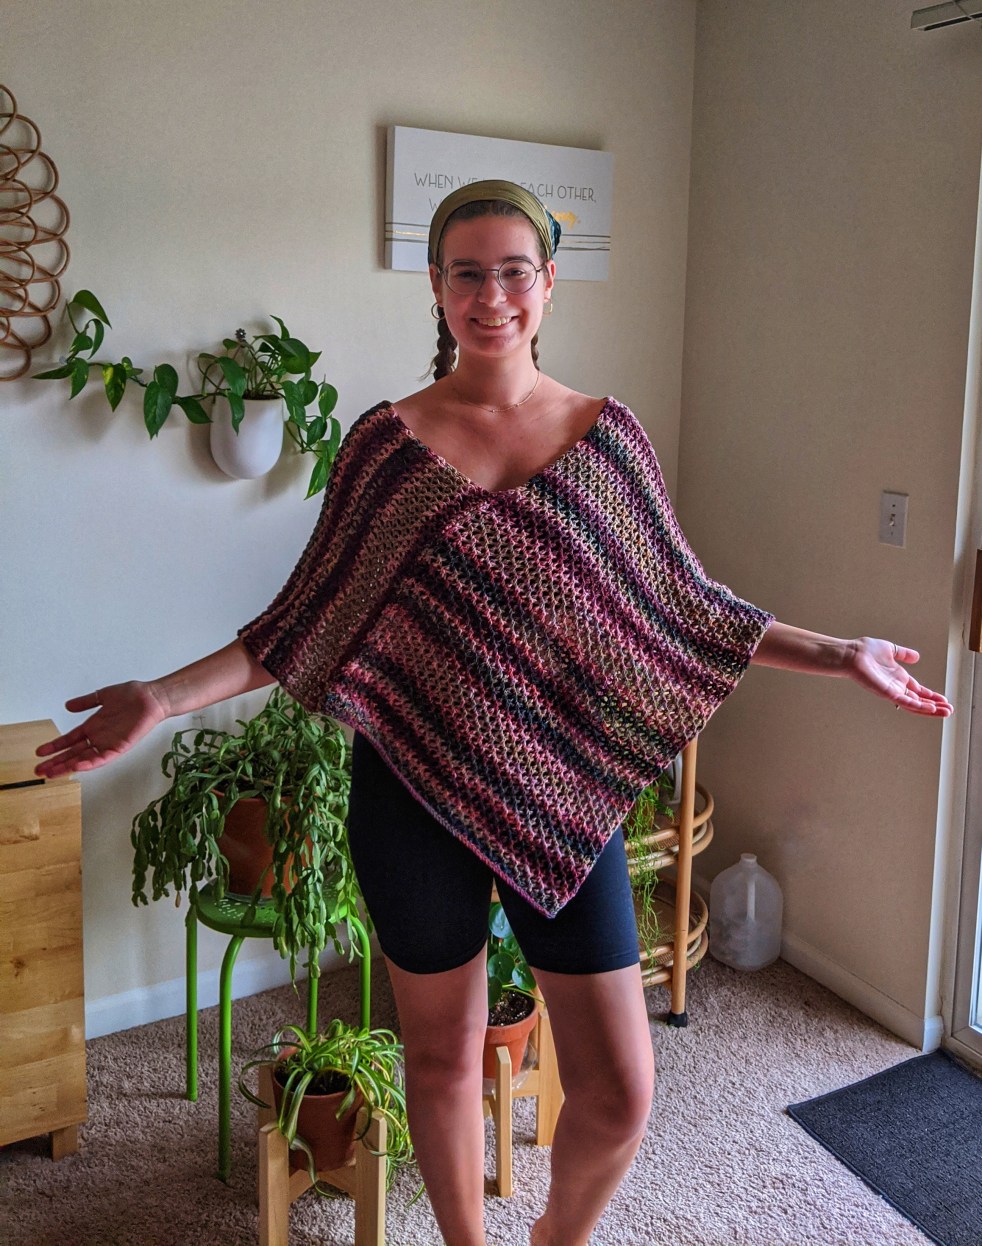
a free knitting pattern
This is such a fun project that I have to share with you all today. I saw this colorful yarn at a yarn shop I was visiting (A Bit O’ Yarn) and immediately knew I had to make something with it. A cell stitch cowl was featured with this yarn in the shop, and I loved the way it showcased this two-toned yarn, so I figured a poncho in cell stitch would be fantastic!
The yarn I used for my poncho is Cairns by Queensland Collection. It is a dual-toned chain yarn that is 60% cotton and 40% acrylic. I was drawn to the warm colors in color 19, “Heart Reef” so I purchased 4 balls of it. I made two panels using two balls of yarn for each panel.

There is a pattern and yarn kit by Haus of Yarn that I did not use for this project, but it was my inspiration. It can be found here.
If you are interested in making this project, here is my pattern!
Pattern
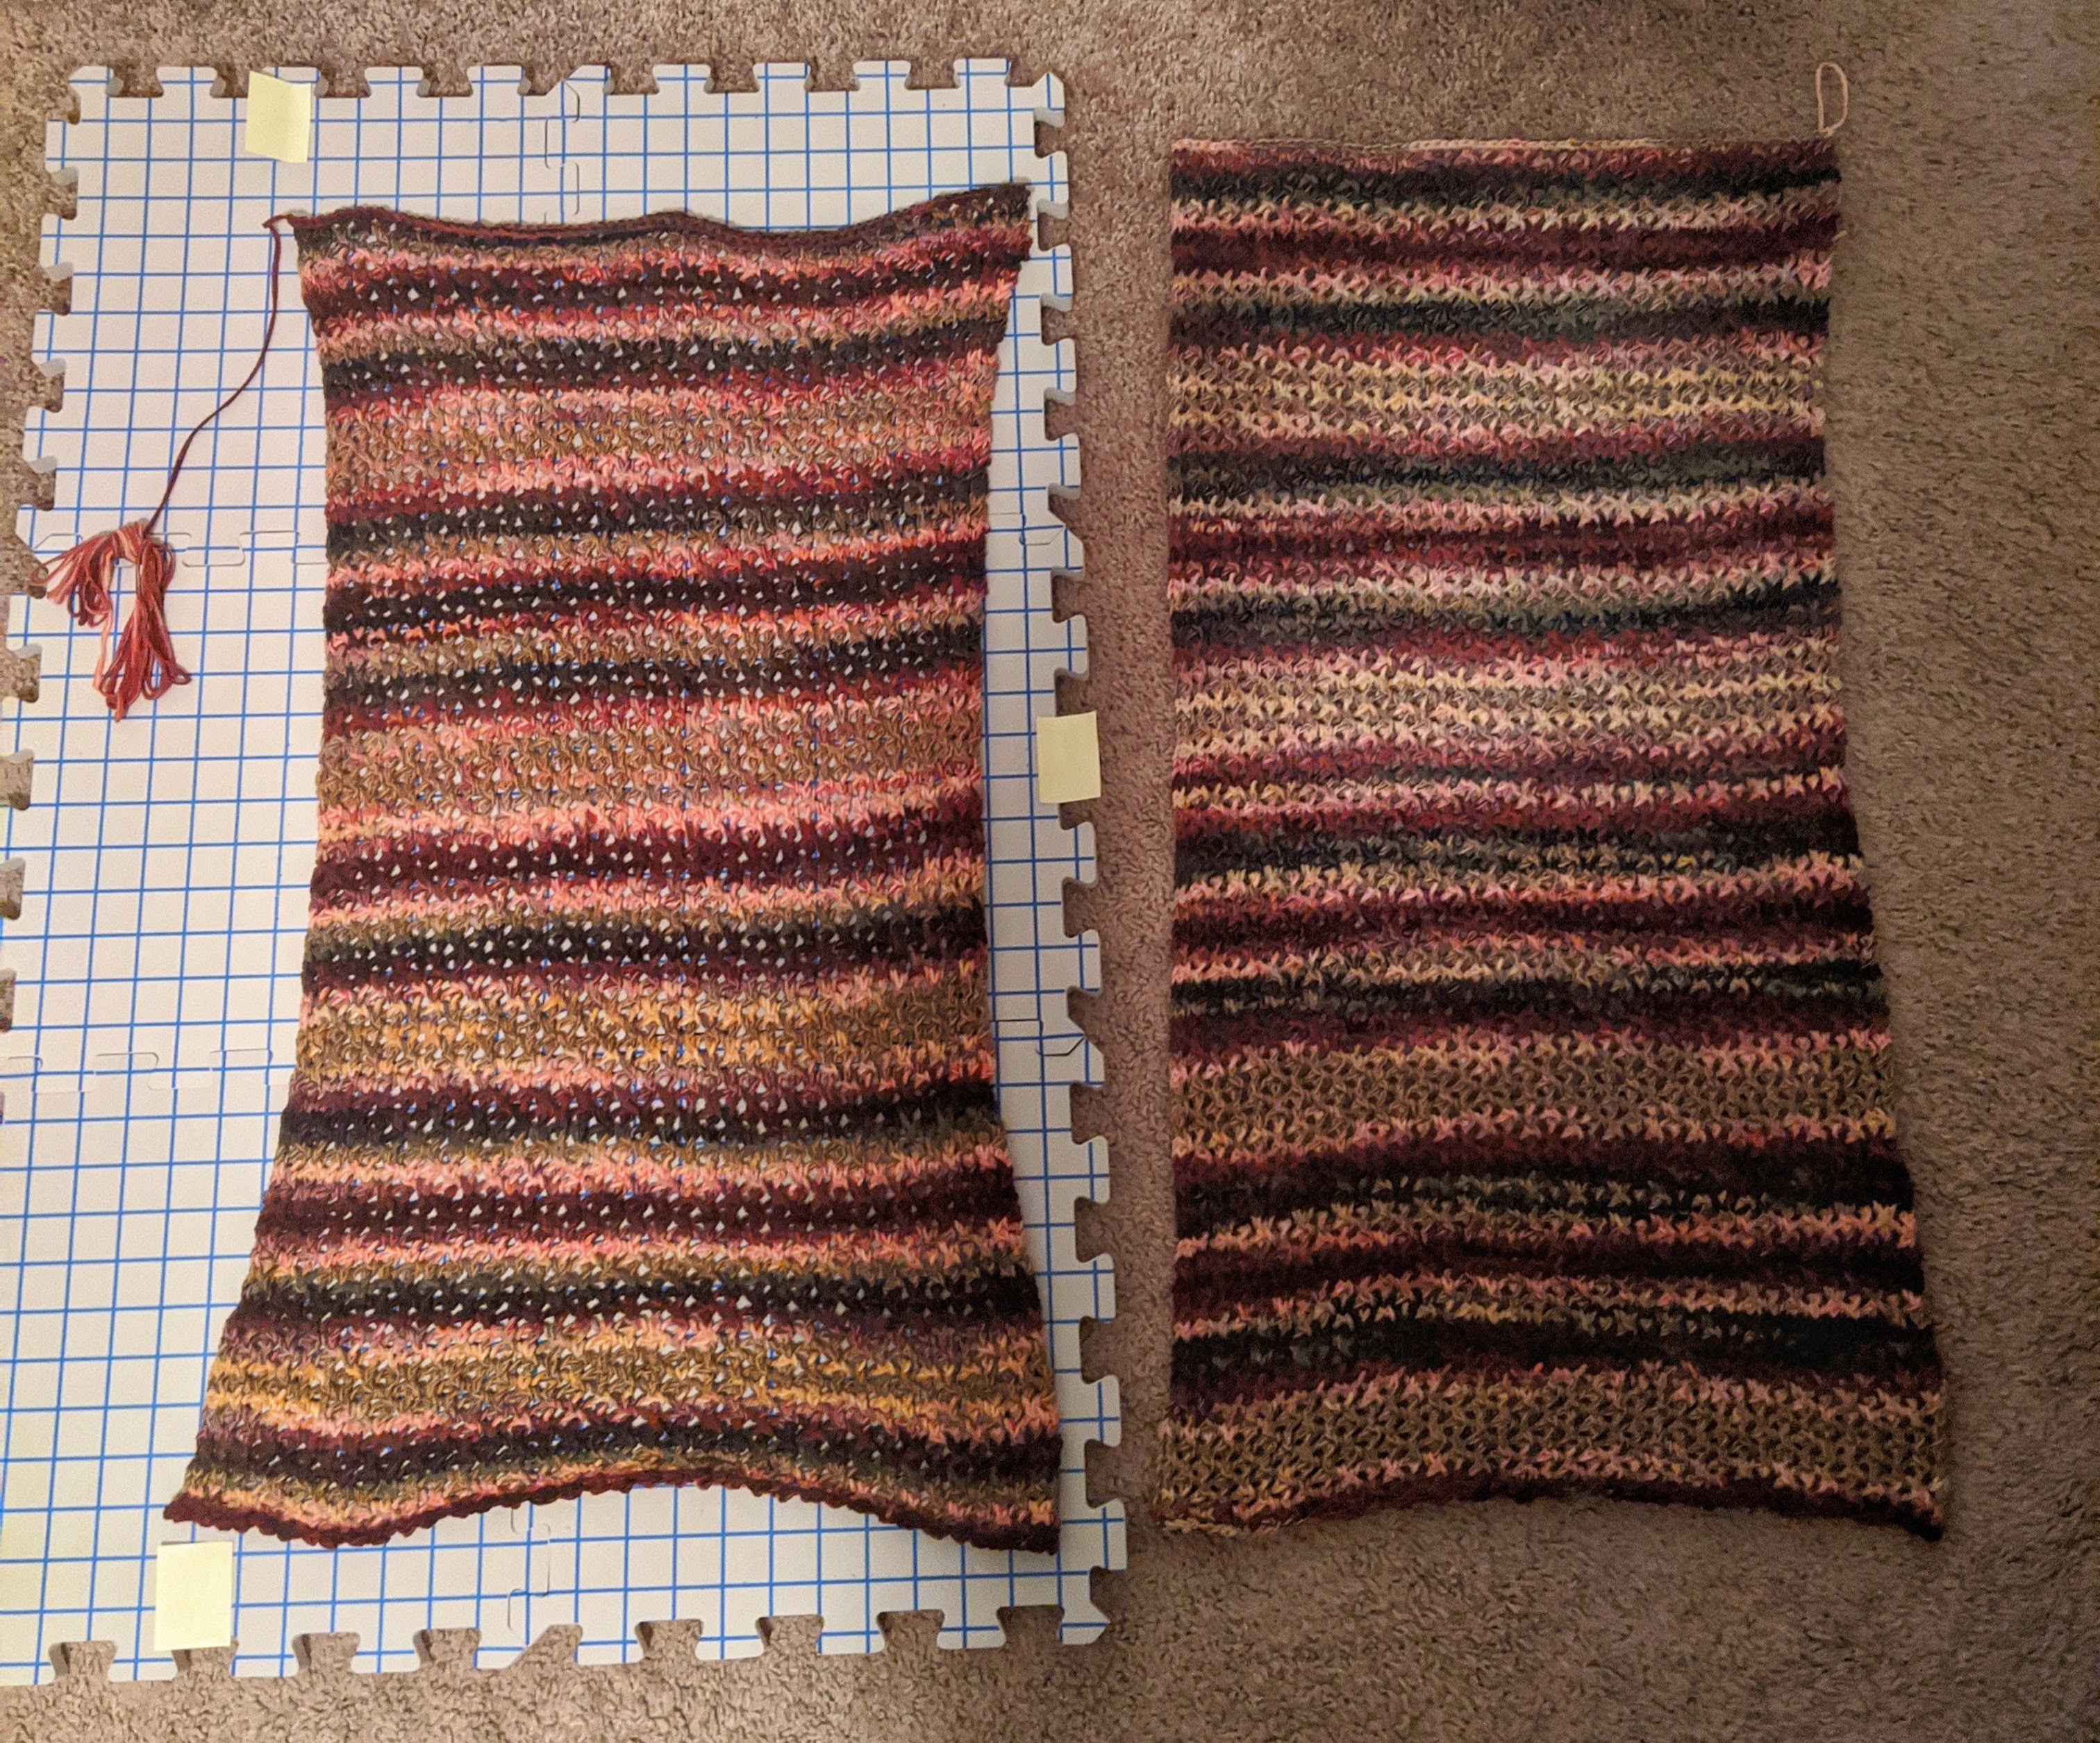
Using size 9 needles and Queensland Cairns yarn, cast on any multiple of 4 stitches plus 3. (I cast on 63 stitches.) You will be making two panels, worked flat one at a time, and each panel uses two balls of yarn.
Work Cell stitch in a panel until you have used two balls of yarn. This was about 32 inches for me.
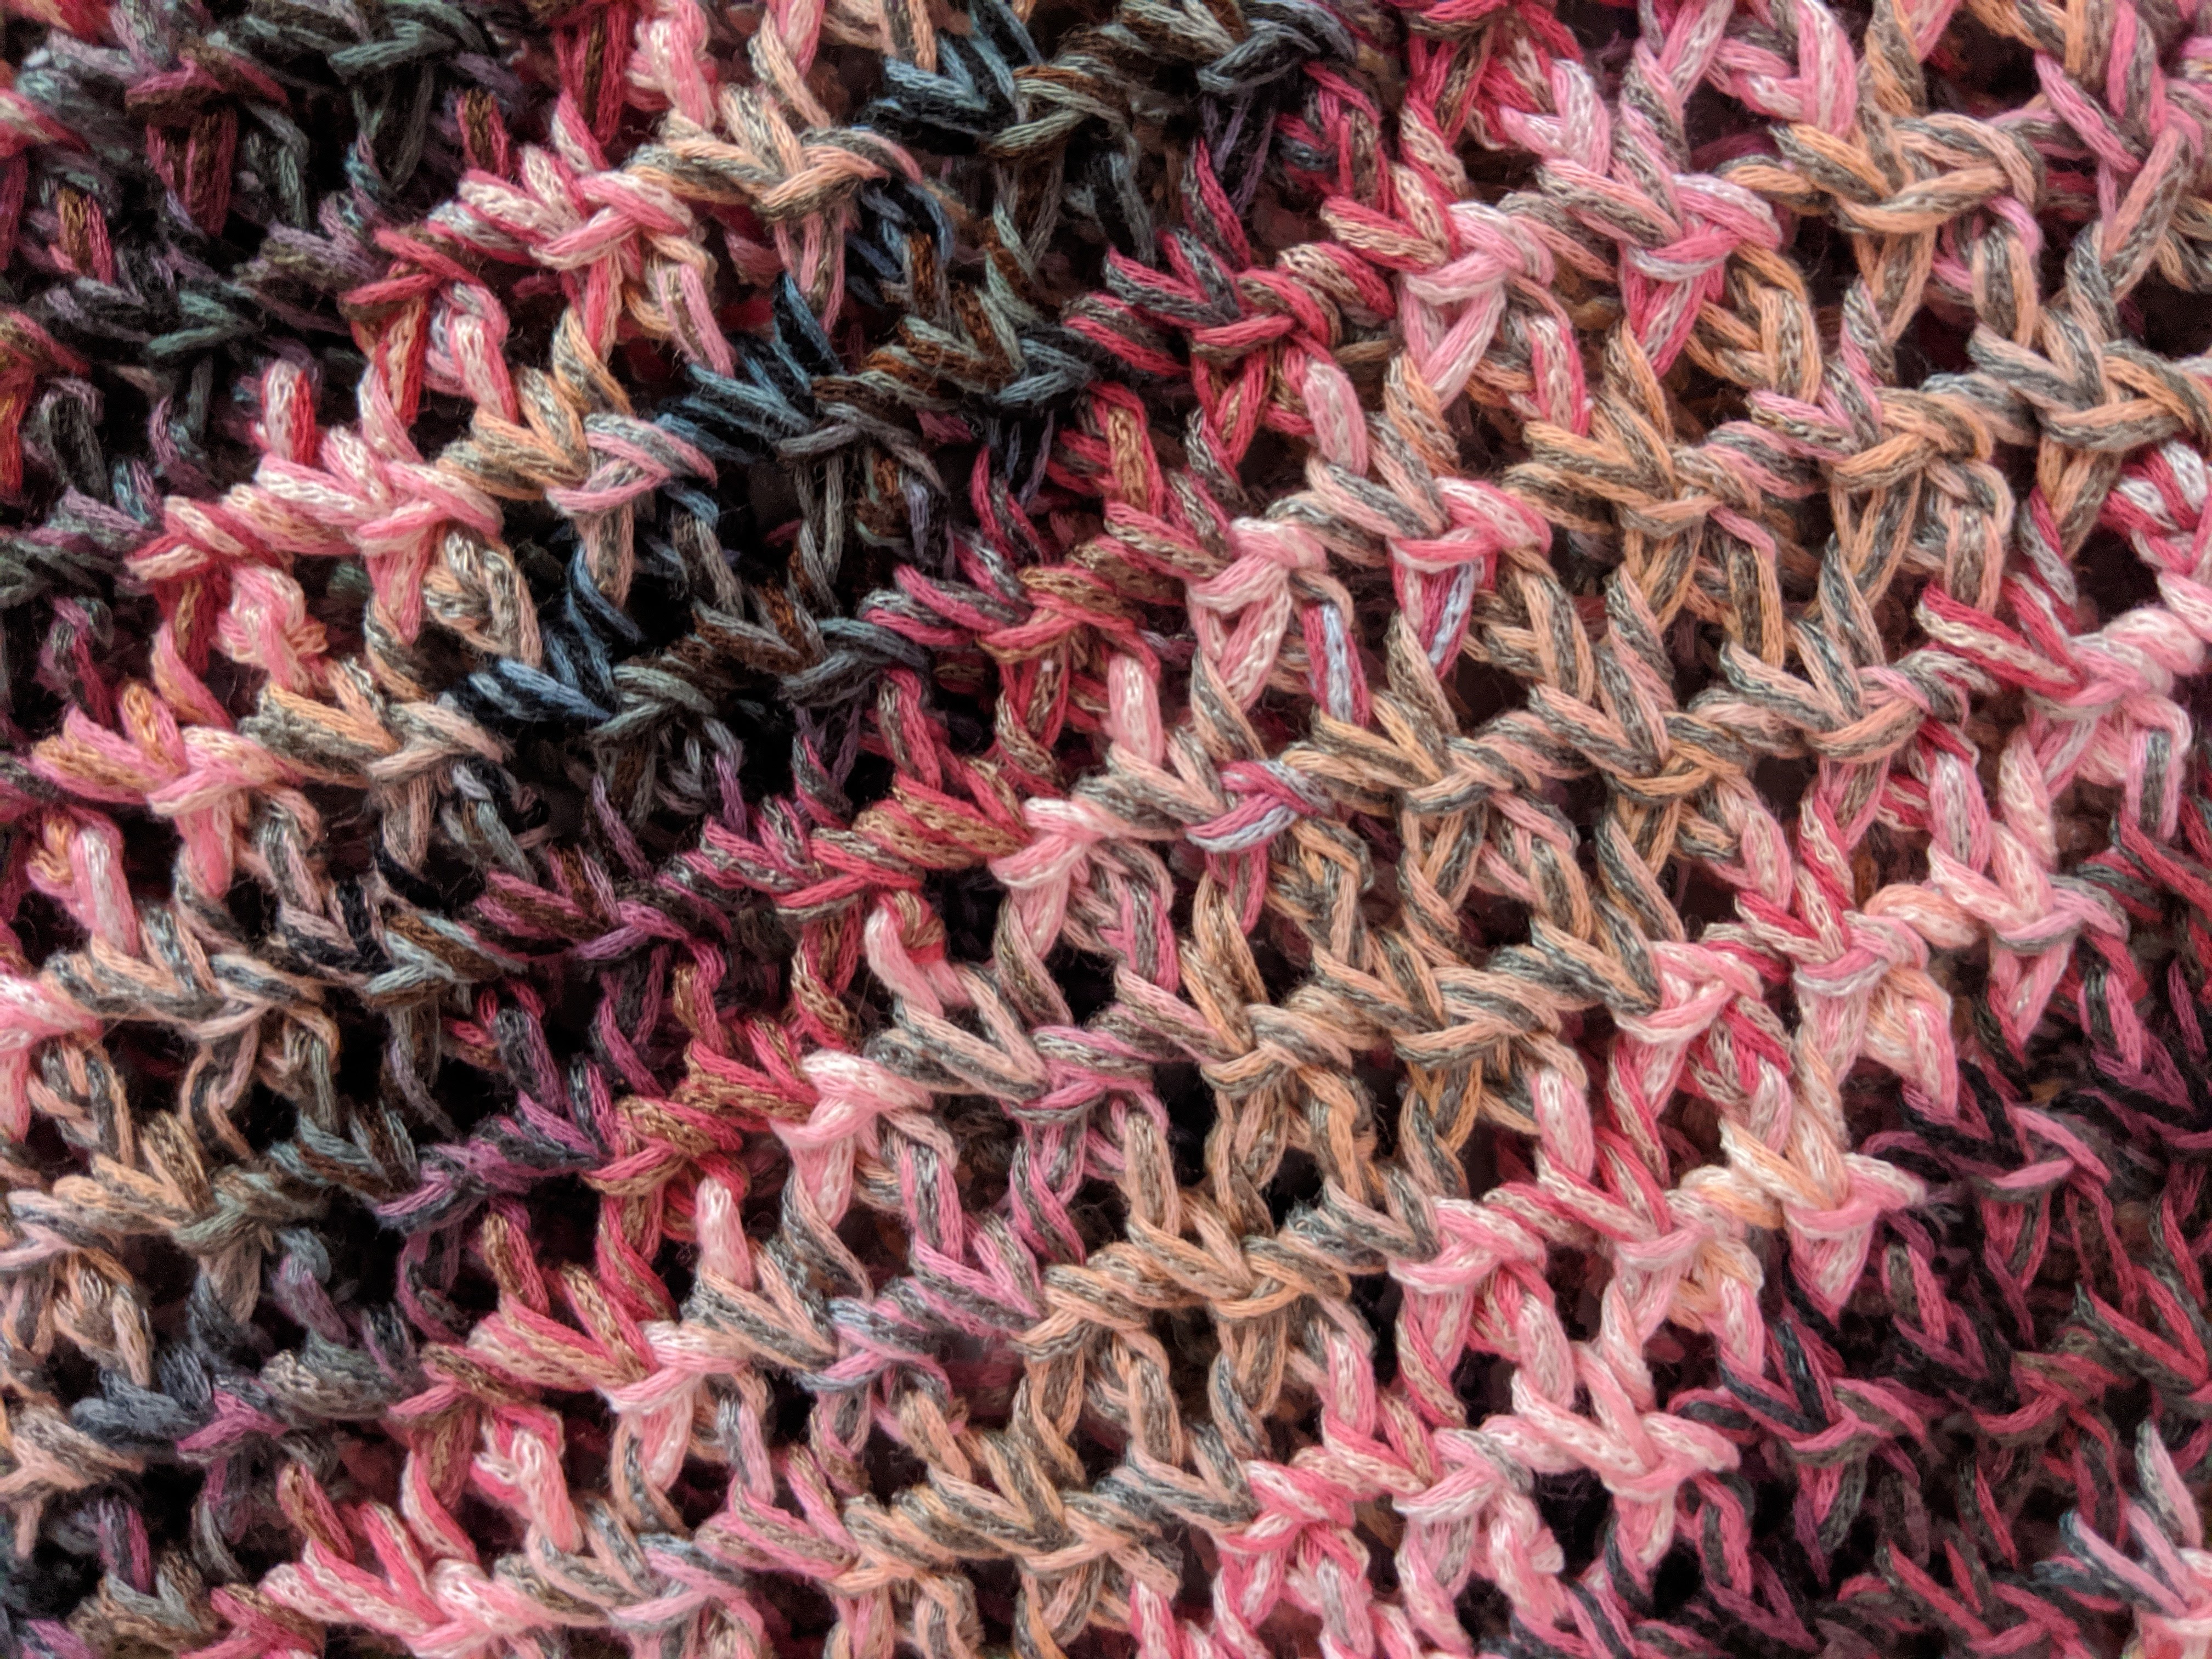
Cell Stitch:
- Row 1 (RS): K2, *yo, sl 1, k2tog, psso, yo, k1; repeat from * to last st, k1
- Row 2 (WS): Purl
- Row 3 (RS): K1, k2tog, yo, k1, *yo, sl 1, k2tog, psso, yo, k1; repeat from * to last 3 sts, yo, sl 1, k1, psso, k1.
- Row 4 (WS): Purl
- Repeat these four rows.
Make two panels in cell stitch. You might find it beneficial to count your stitches more frequently than usual when working cell stitch. This mesh pattern is worked over an even number of stitches and you should always end each row with the same number of stitches with which you began the row.
Wet block both panels before sewing together, being sure to pin both panels to the same dimensions. I believe my panels measured 17″ wide by 34″ long, but feel free to stretch them to your desired size.
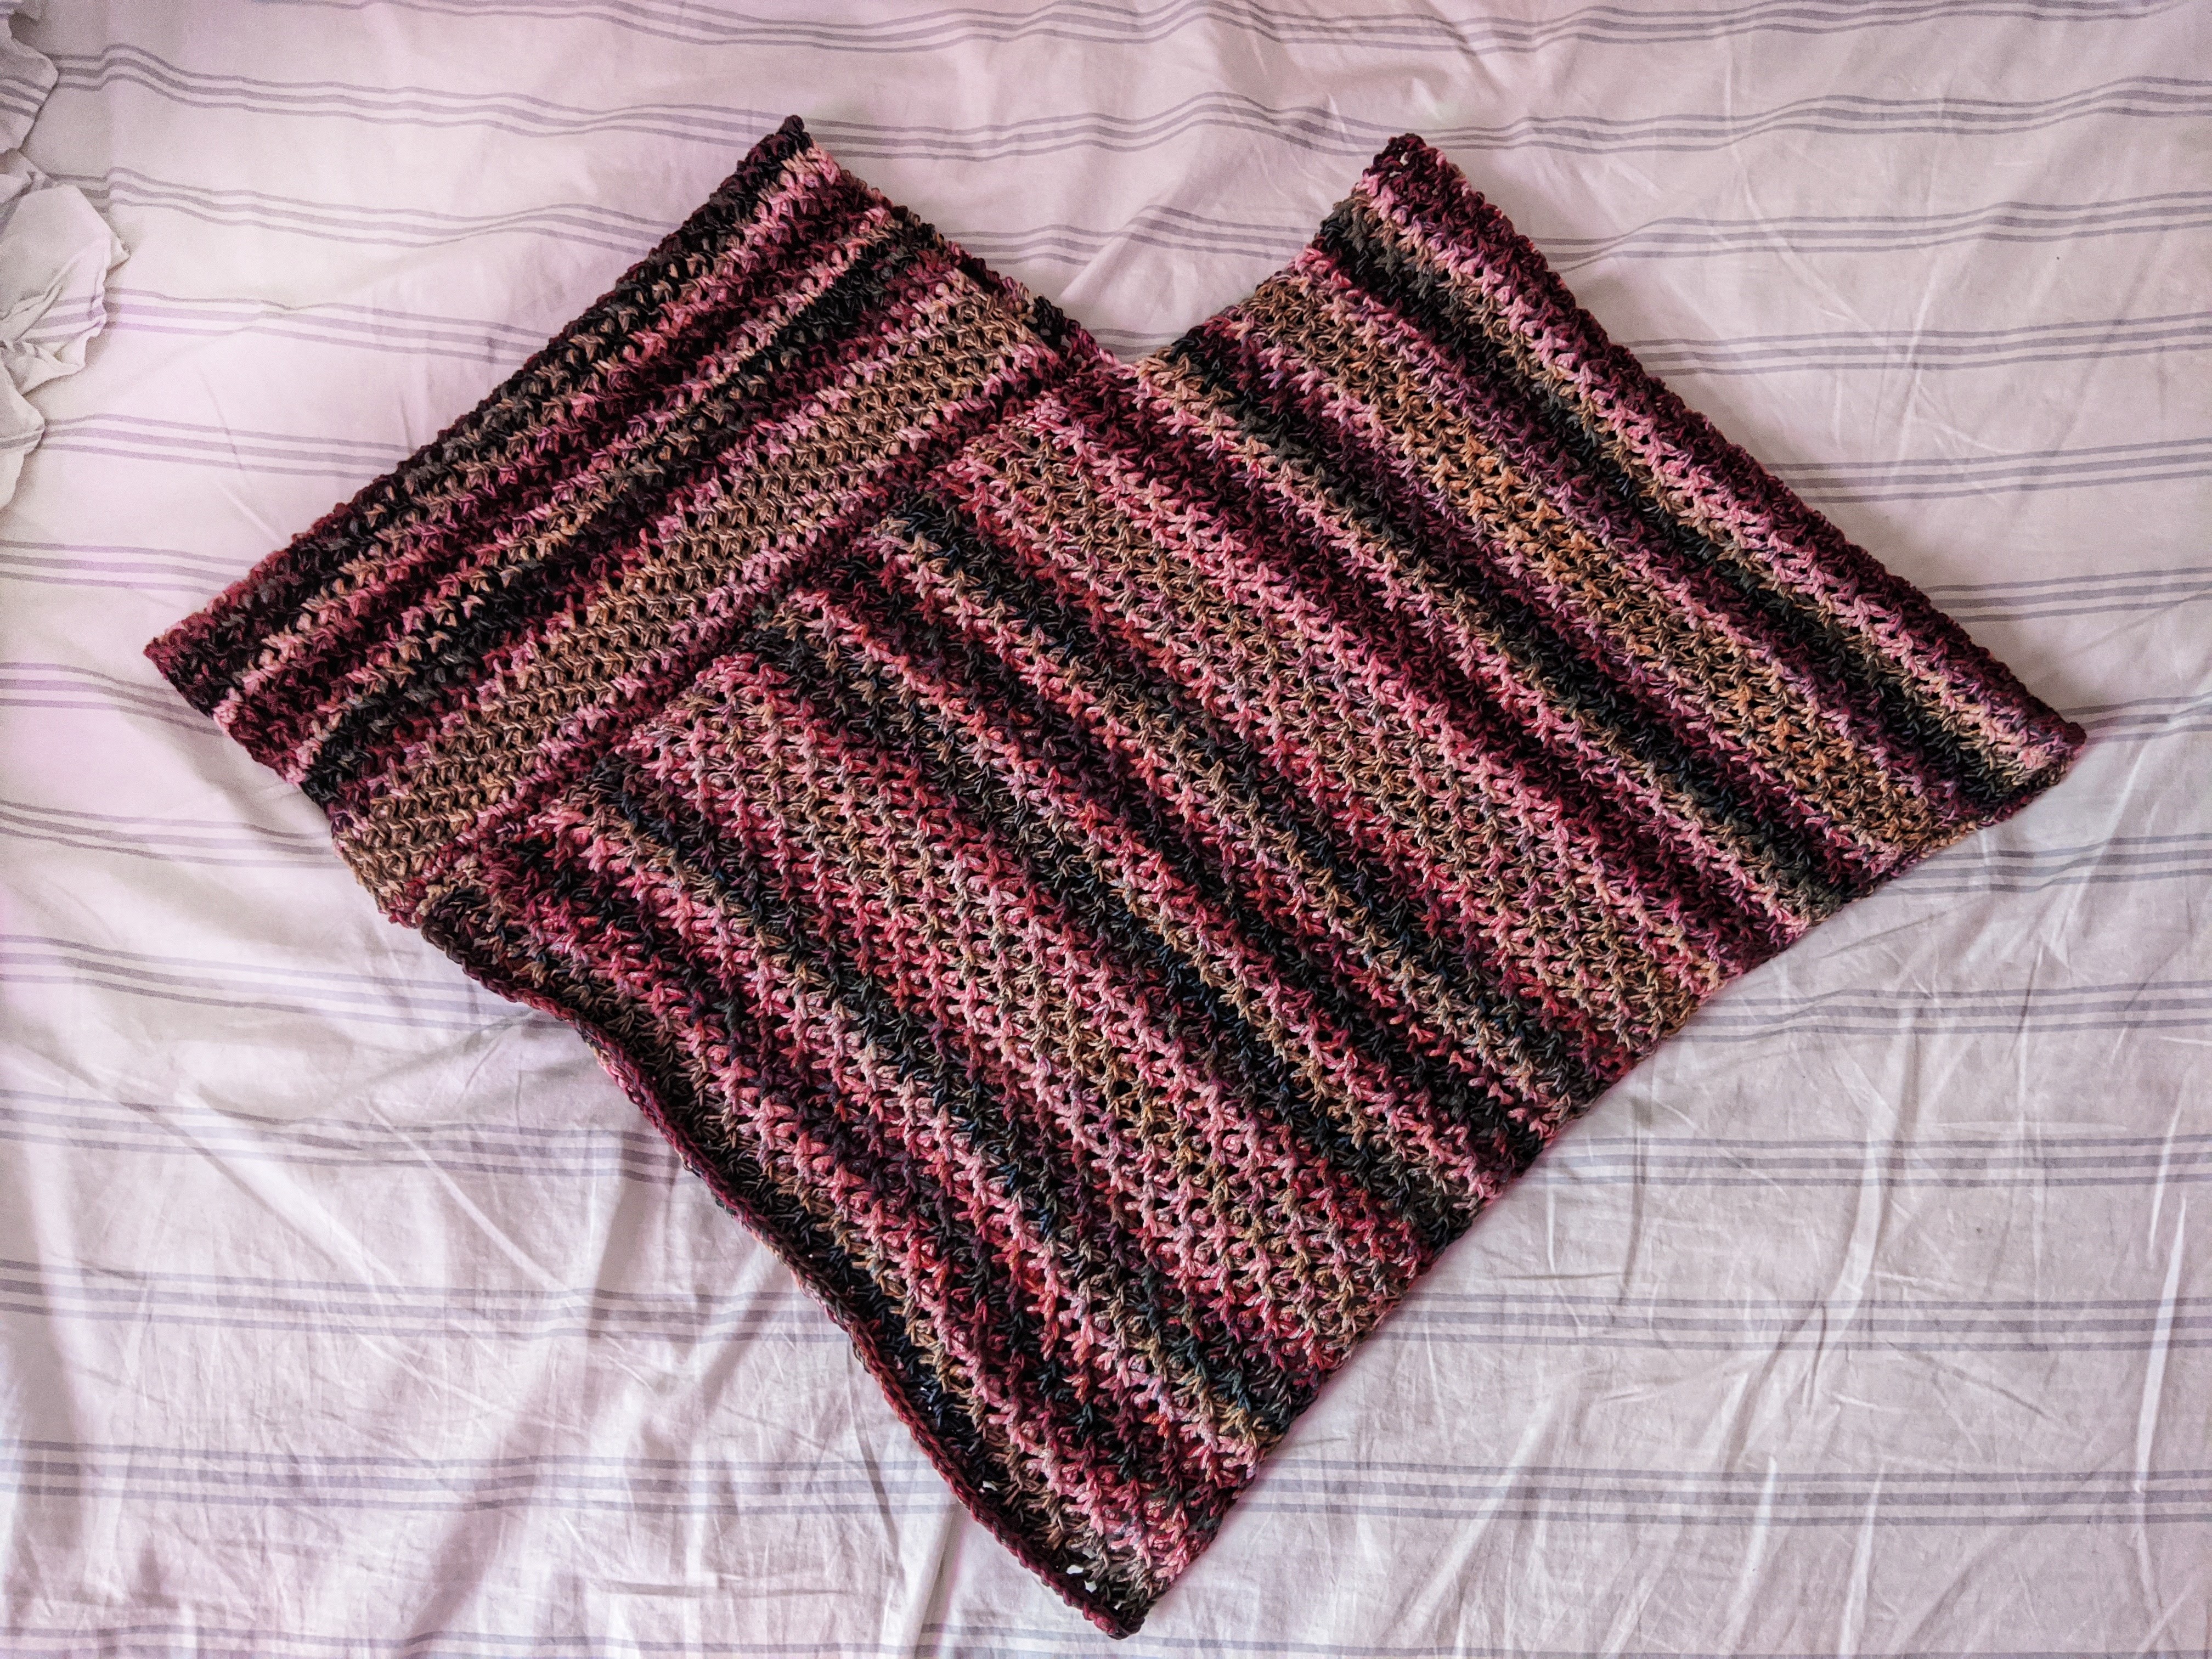
Sew panels together as in the diagram below:
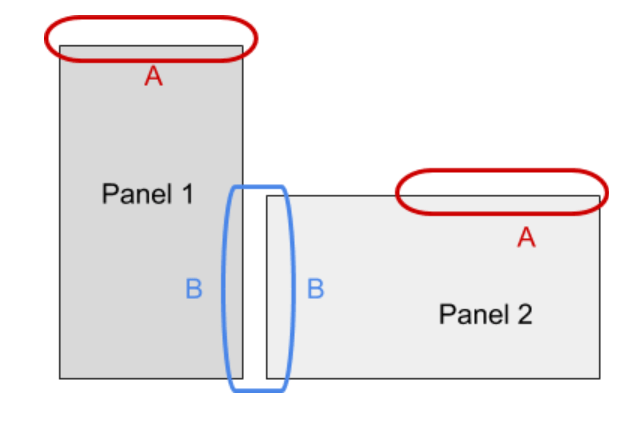
Weave in the ends, and enjoy! You could pick up stitches along the neckline and make a hood or collar with a contrasting color, or pick up stitches along the hem and create a nice edge as well. I would love to see what you come up with!
Abbreviations used in my pattern:
k = knit
p = purl
sl = slip stitch
psso = pass slipped stitch over
k2tog = knit 2 stitches together
yo = yarn over
st / sts = stitch / stitches
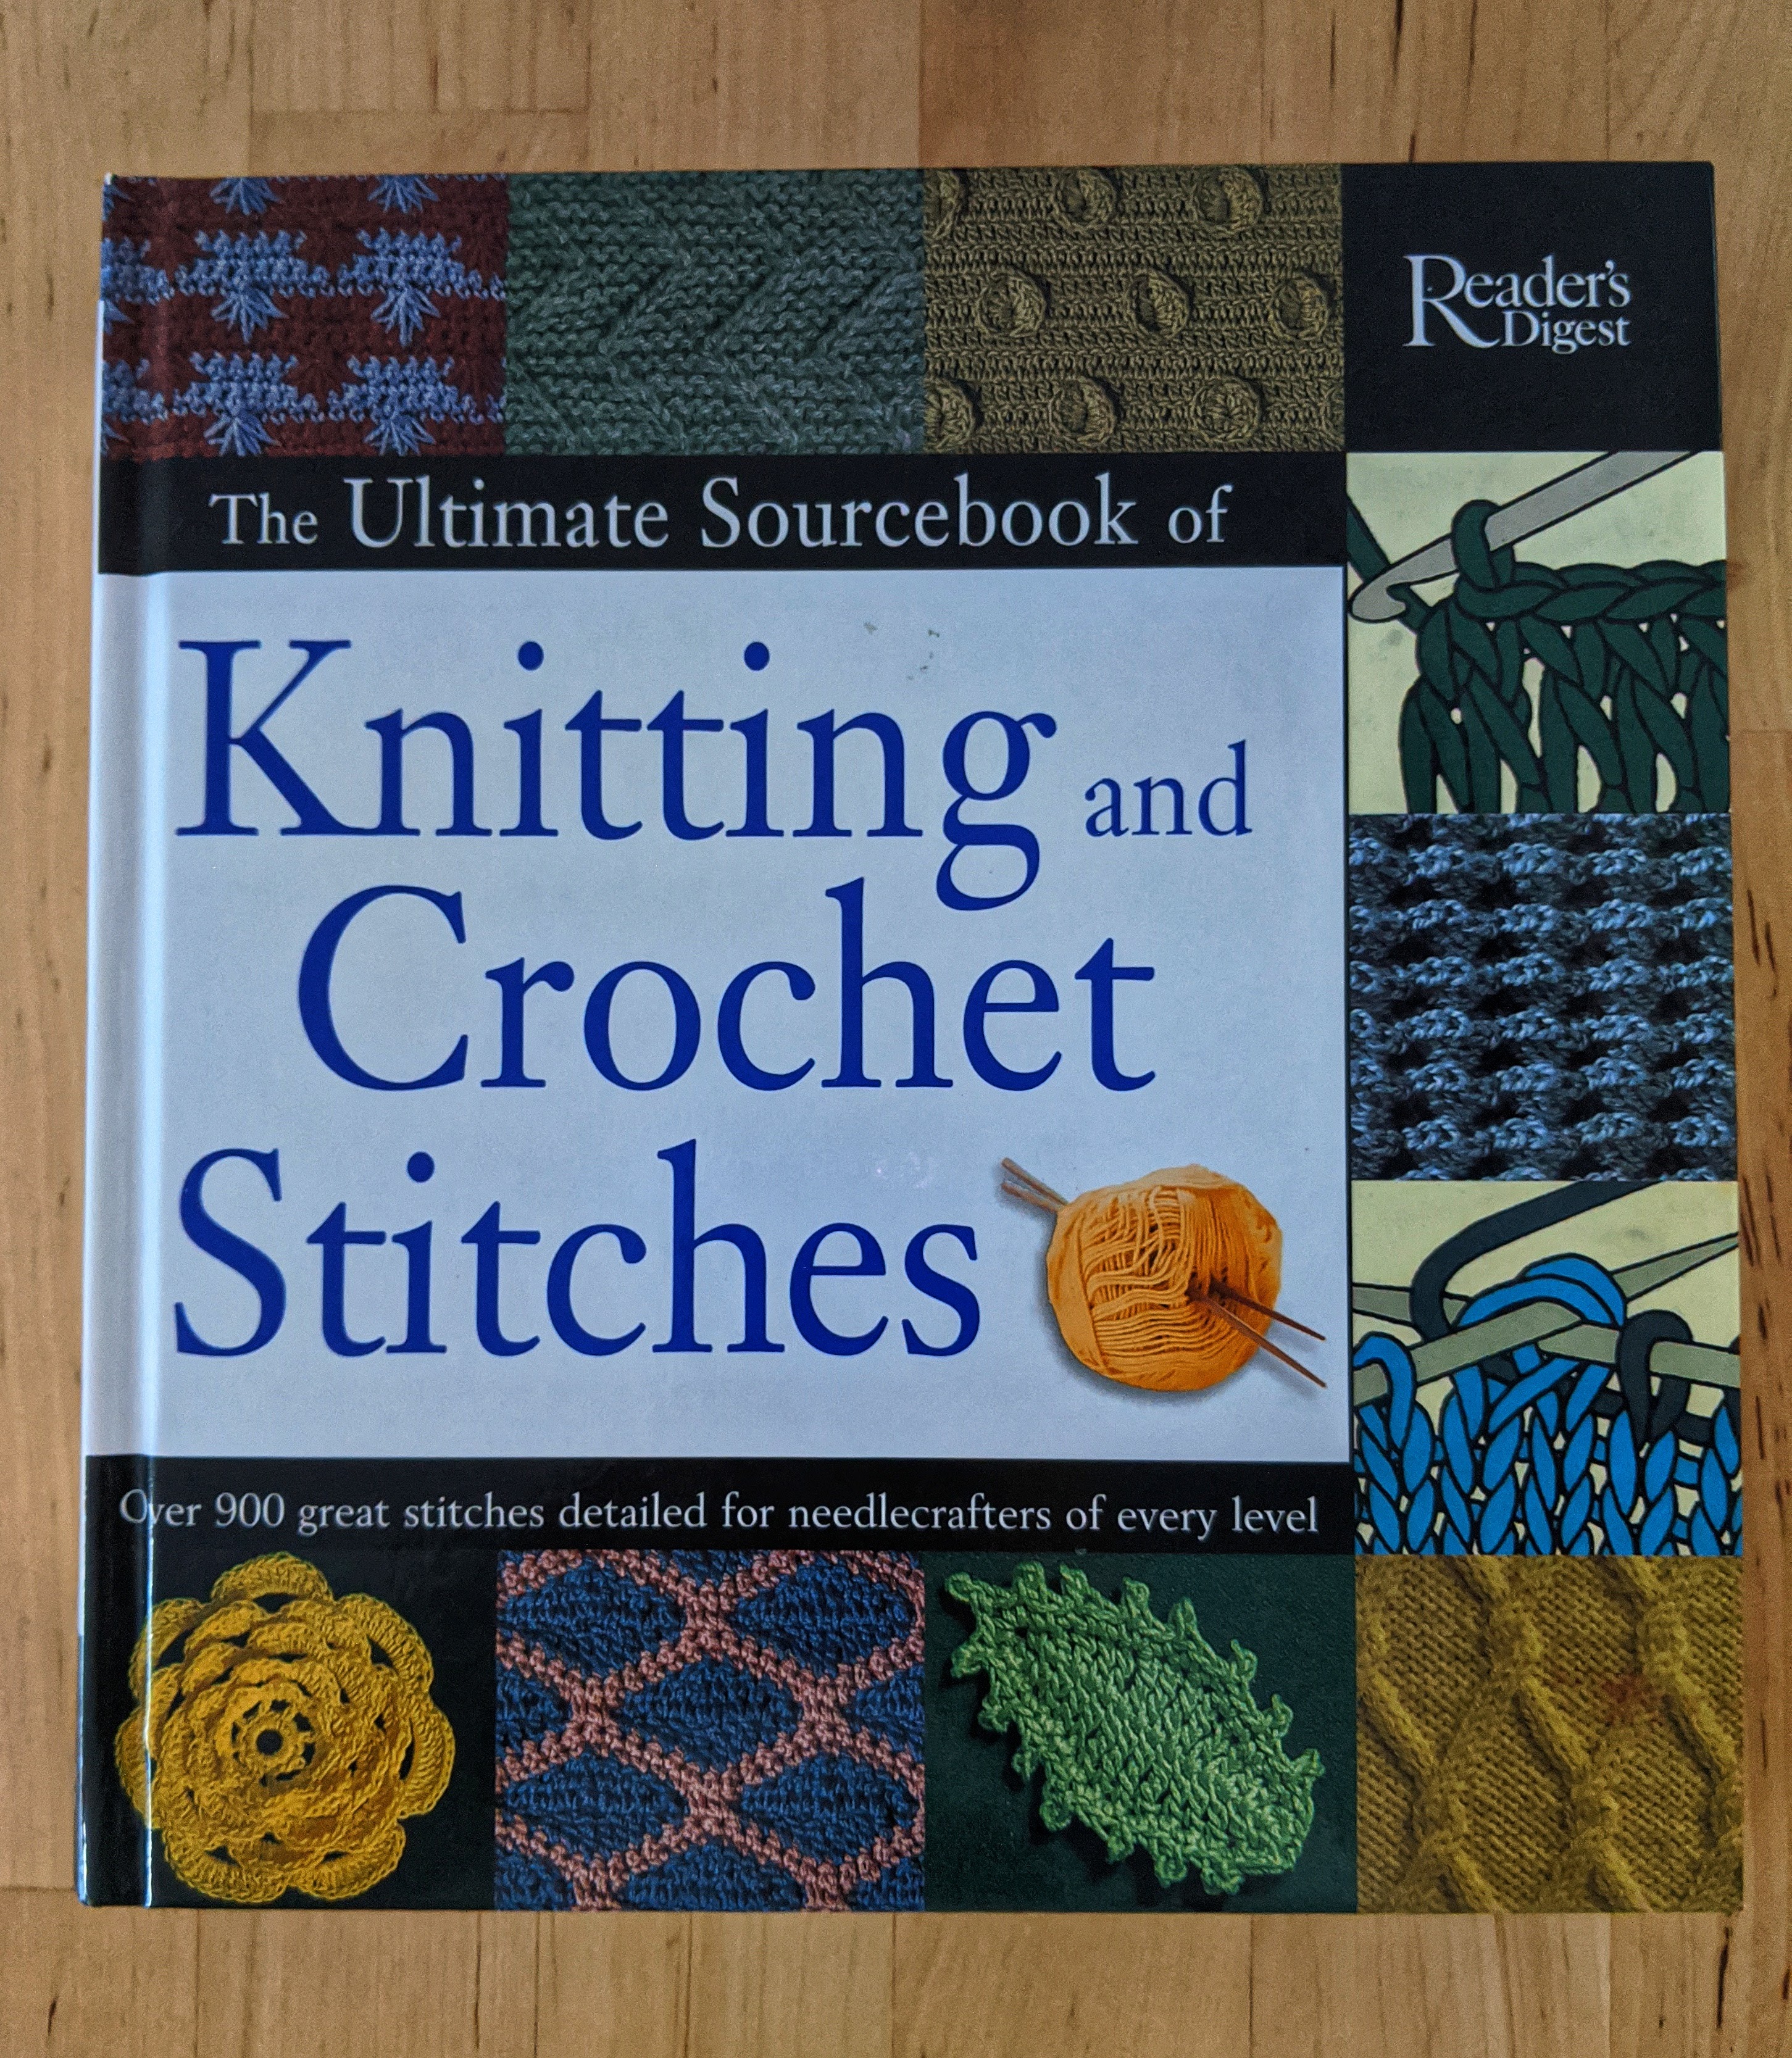
As a side note, this is a book I received early in my needle art career that has been incredibly helpful for me. If you like to make your own patterns, are interested in having a complete guide to most knitting and crocheting techniques, and like to try new stitches, this is a great choice for you. Half of the book is on knitting techniques and the other half is on crochet techniques. This is a handy resource for edgings, panels, motifs, lace patterns, heavyweight patterns, and medium-weight patterns. The cell stitch pattern I used for this project can be found on page 102.
Until next time, happy crafting!
