
a technique for finishing knitted and crocheted items
Wet blocking is a rather new technique to me, and since incorporating it into my finishing process, I wished I would have learned about it sooner!
There are three main ways to block knit/crochet items: steam blocking, spray blocking, and wet blocking. Today, I am going to describe how to wet block, because it is what I know best!
Blocking is typically the last step (or one of the very last steps) in your project. It can also be helpful for gauge swatches.
There is a lot of room to make decisions so that blocking will produce the nicest finish for your specific yarn and garment type. These decisions include when to weave in ends, when to do any sewing of seams, and even what you would like to block. But the overall blocking process remains pretty much the same!
The purpose of wet blocking is wash your newly finished project while also smoothing out designs like colorwork, lace, and patterned stitches. Blocking is also a key ingredient in making sure the desired dimensions of your finished project have been reached.
The first step is to gather your tools. You will need:
- Eucalan, or other no-rinse gentle washing detergent
- Blocking mats, towels, a tarp, or a garbage bag
- Any flat surface (bed, couch, floor, table, counter, etc.)
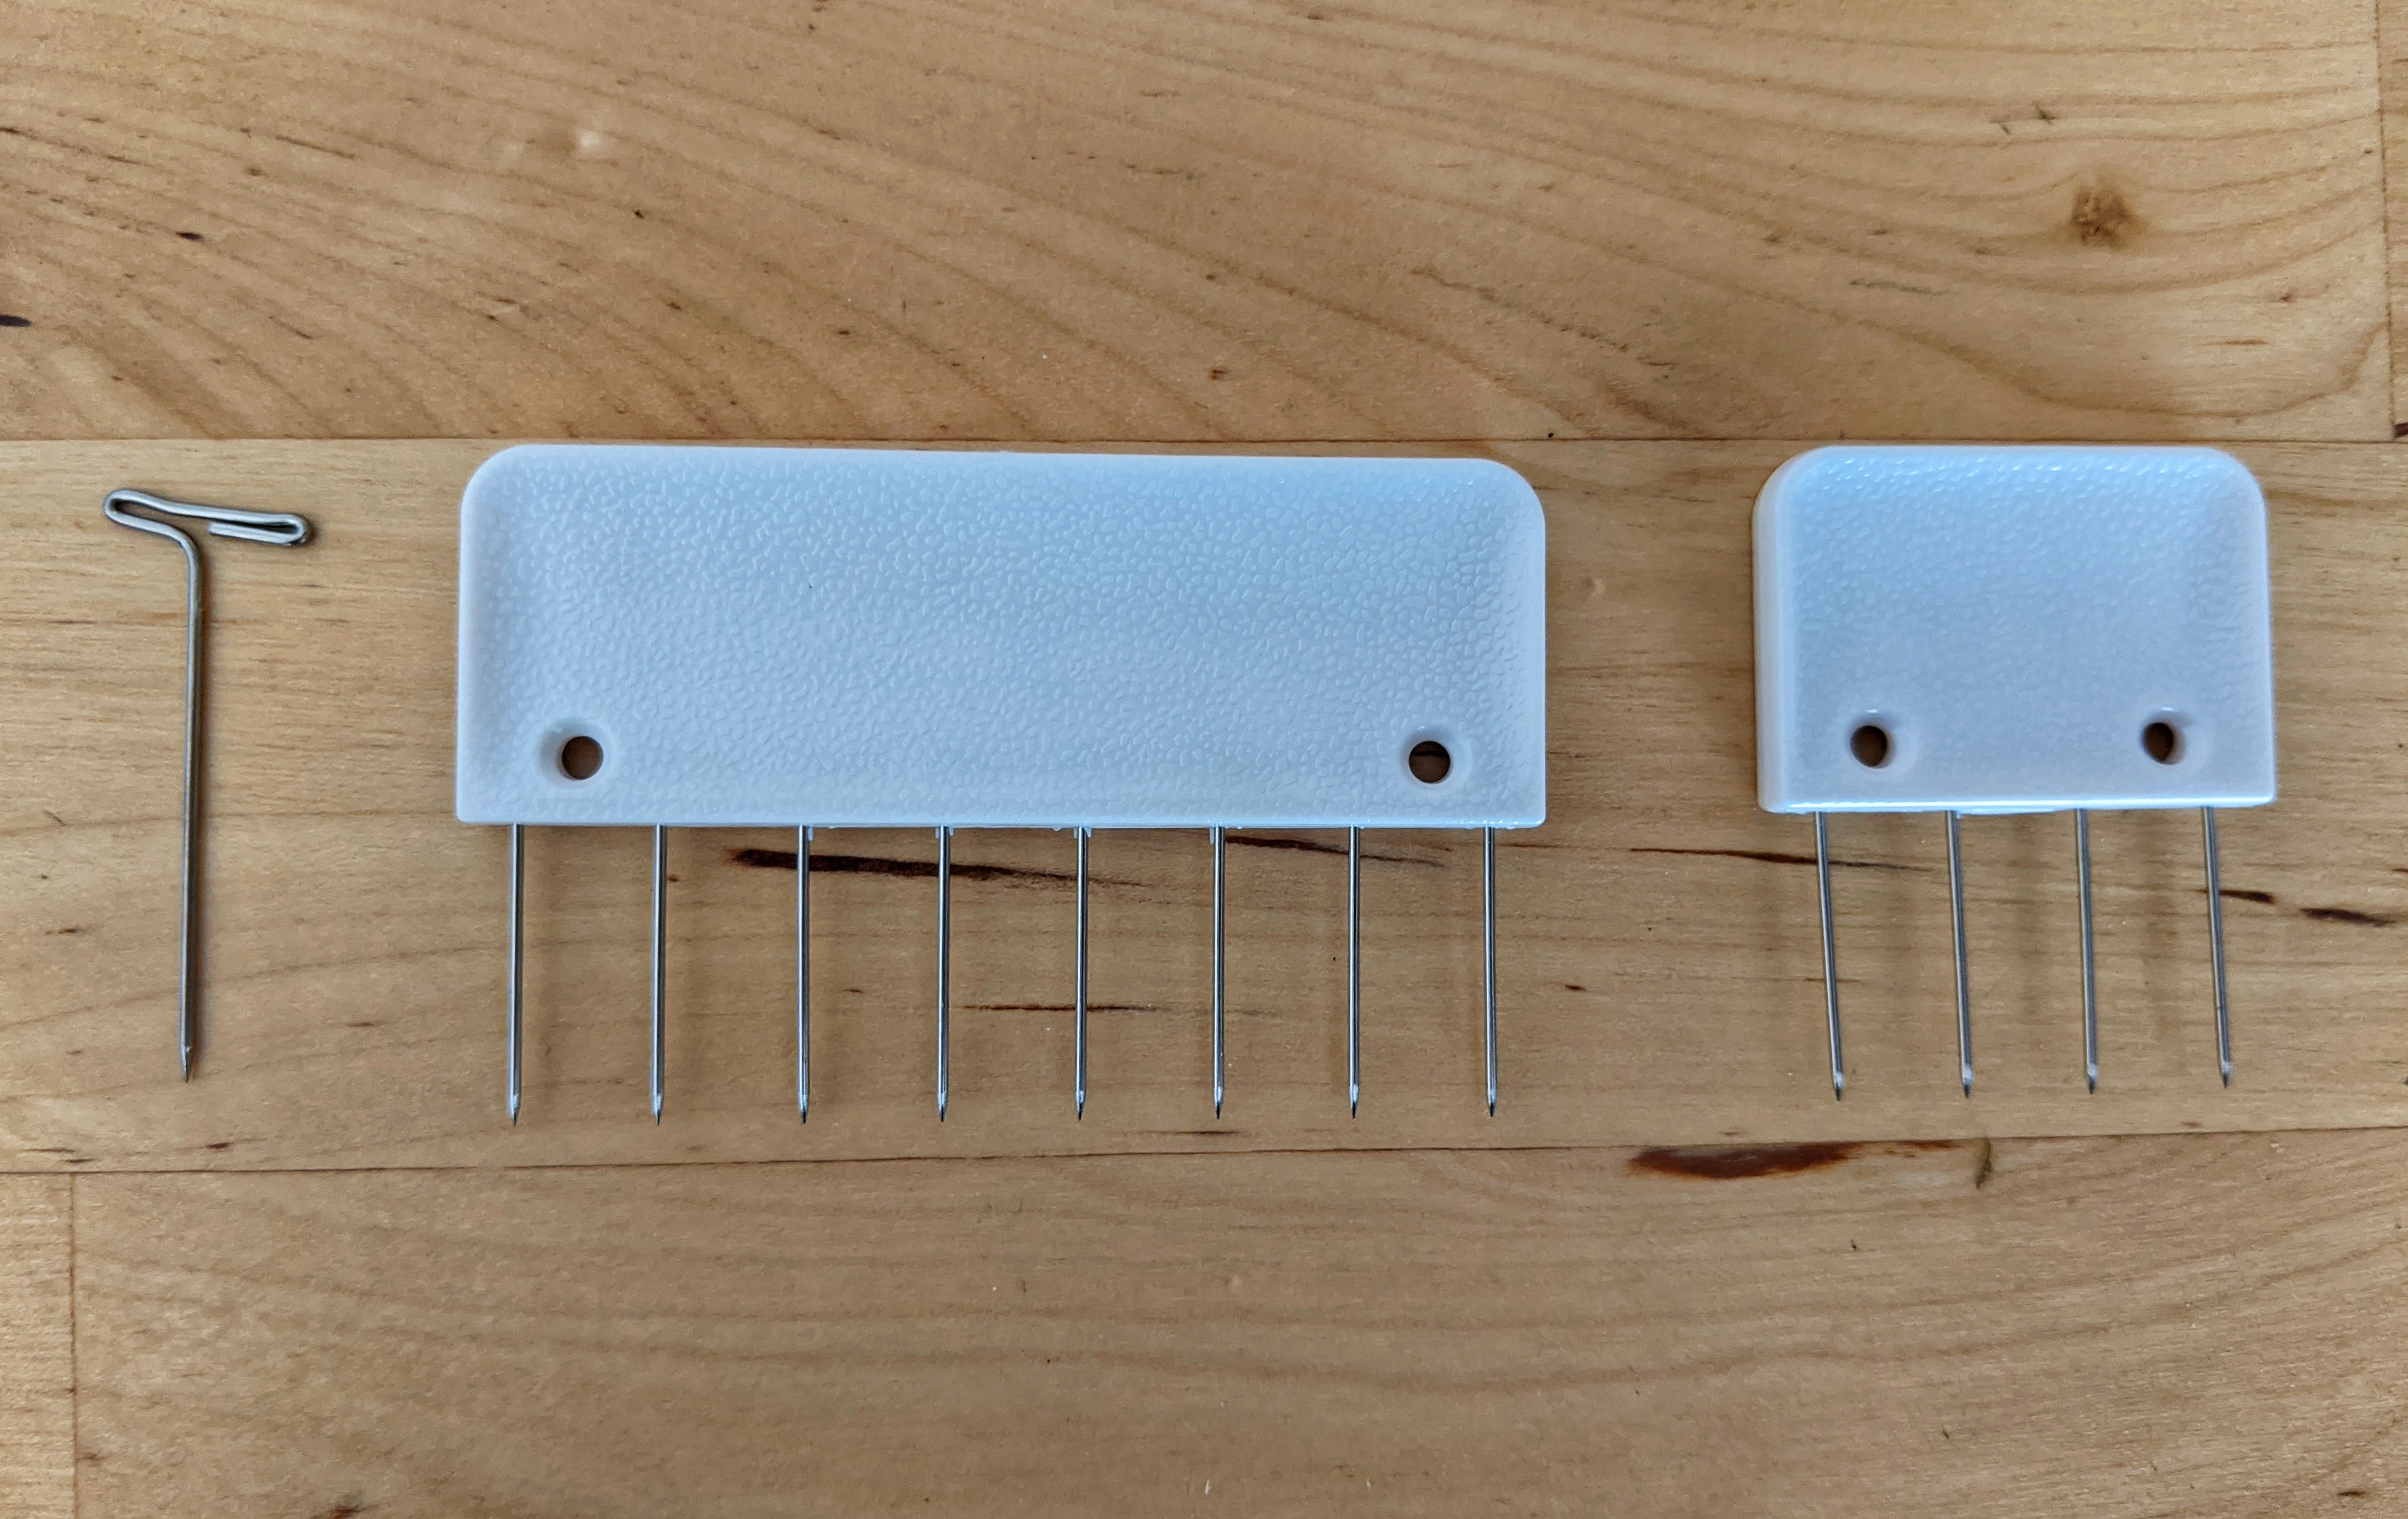
- T-pins and comb pins
- A dish tub, wash tub, or bucket
- Your knitted/crocheted item
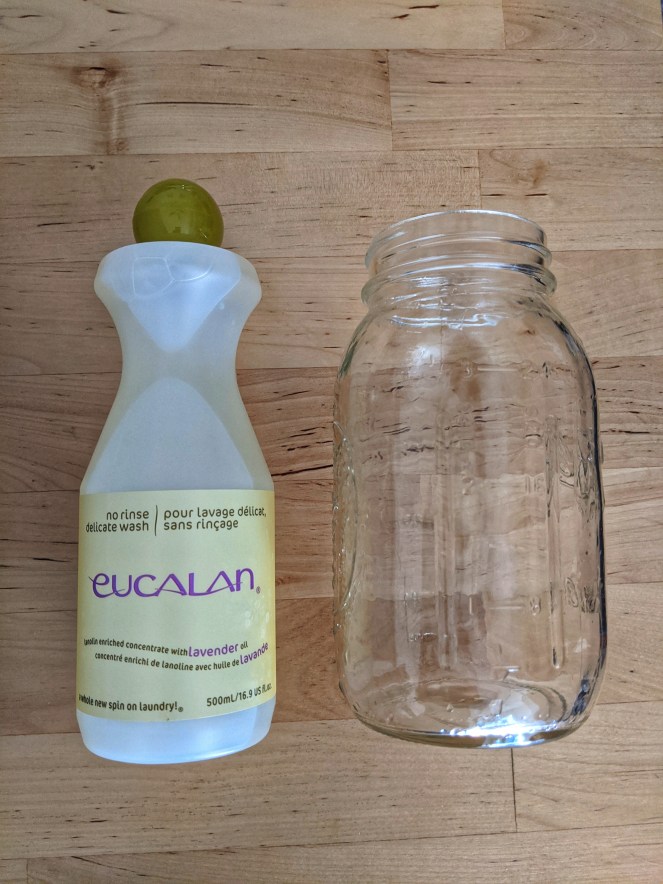
Eucalan has worked so well for me. I love the one scented with lavender because it helps combat the wet wool smell quite nicely. Other options for a no-rinse delicate wash are from KnitIQ and KnitPicks, but I encourage you to look to your local yarn store, where I’m sure they will have a no-rinse wool wash in stock!
Blocking mats are such a lifesaver when wet blocking. It is nice to have a dedicated surface for your knits that will reliably air dry them quickly, while also aiding in measuring each piece. The set I use is can be found here. It comes with a case of T-pins and nine interlocking foam mats. I would definitely recommend purchasing two of these sets for the extra foam mats if you tend to knit larger items such as sweaters and shawls.

There are alternatives to blocking mats, however; if you have any clean foam mats, such as the ones used for children’s play areas or for workshop floors, those will work! (And, they’re often much less expensive.) Another option is to use spare towels, which will be a nice surface for your knits and pins, but will slightly delay the drying process. I suggest covering the towels with a garbage bag so that the moisture is forced to evaporate into the air rather than soak into the towels. Alternatively, if you aren’t concerned with pinning but want to wash your garment, letting it air dry on a garbage/plastic bag on any flat surface will work. This quick blocking style is great for projects that you aren’t concerned with shape or size. (Though, when initially blocking your project, I do recommend using pins to help size your garment.)

As for pins, I have found that I very much prefer to use pin combs over T-pins because it pulls the fabric edge flat instead of warping it between individual T-pins. The set I have linked also comes with 100 T-pins, so this would be a great option if you are looking for pins but already have mats or a blocking surface.
I use a basic dish tub for my blocking. I like something that is portable and can hold a good amount of water. Just make sure it is clean!
Now that you have gathered your tools, it is time to block! Here are the steps:
- Weave in any ends of your project that you would like to weave in. This is optional, and can be done after blocking, too.
- Prepare your towels for after soaking by laying out three to four towels on top of one another. These will be used later to squeeze out the excess water before pinning.
- Fill a washtub with 1 tsp. of Eucalan to 1 gallon of water. Look to the yarn label to see what temperature water works best with your yarn. If you are unsure, lukewarm water will normally work. You don’t want water that is really hot or really cold.
- I normally use my (clean) hand to stir the water/soap mixture to evenly distribute the soap.
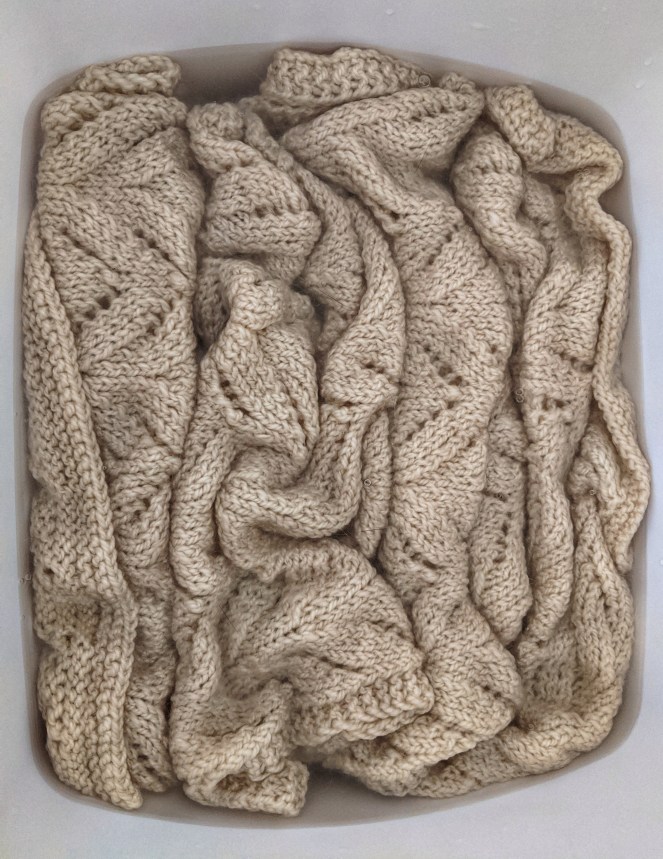
- Submerge your garment in the tub. DO NOT AGITATE, especially if using wool. Agitating your wet garment will cause it to felt and shrink! Make sure your entire garment is wet and in the water. Some color may bleed from your yarn, so be sure to soak only one project at a time.
- Let it soak for 15-20 minutes.
- Drain the tub. Try not to squeeze, wring out, or agitate your wet project. Instead, place it back in the drained washtub and carry it in the tub to your towels.
- Lay your project flat on the towels. Roll the towels up into a big burrito, completely covering your project.
- Step on the towel burrito to drain the excess water from soaking.
- Unroll the towels and retrieve your project. You’ll notice how much more dry it is now! (I like to hang up the towels to dry after this step because sometimes the next step, pinning, can take a while.)
- (Alternatively, you could place your wet project in a clean salad spinner and spin it to remove excess moisture instead of using the rolled towel method.)
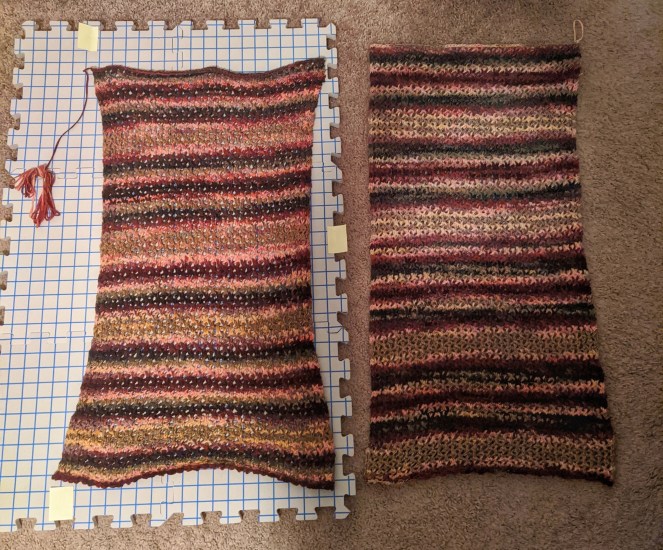
- Lay your project on your blocking surface and pin into desired shape and size. You can push the pins directly into your project and the foam mats. I love how my blocking mats have a grid on them; I use this to make sure my pieces match in size, such a sleeves for a pullover or pieces of a poncho like in the image below. Notice how different in size the two pieces are below!
After completing these steps, allow you pinned project to air dry for at least 24-48 hours. The longer it can air dry, the better.
Then, after it is completely dry, weave in any ends, sew your project together, and do any other finishing you would like to do, and then you’re done! Enjoy your clean, blocked, and finished project. Until next time, happy blocking!

2 thoughts on “How I Wet Block A Finished Project”